Do you want to migrate from Shopify to WooCommerce? If you are looking for a simple guide, keep reading this article!
Migrating an online store is a major step, especially when you are changing your eCommerce platform. Many store owners move away from Shopify to gain more control over their website, reduce ongoing costs, and customize their store without platform limitations.
WooCommerce offers a flexible, open-source solution that runs on WordPress and gives you full ownership of your data and design.
In this guide, you will learn how to migrate from Shopify to WooCommerce safely and efficiently. We will cover the preparation process, data transfer methods, and common mistakes to avoid so you can complete the move with minimal downtime and no loss of important store information.
First, let’s see why you should migrate from Shopify to WooCommerce.
Table of contents
- Why Migrate from Shopify to WooCommerce
- Things to Prepare Before Migration
- What Data Can be Migrated
- How to Migrate from Shopify to WooCommerce
- Handling SEO During Migration
- Common Migration Issues and How to Fix Them
- Testing Your Store Before Going Live
- Post-Migration Checklist
- Frequently Asked Questions
- Conclusion
Why Migrate from Shopify to WooCommerce
Migrating from Shopify to WooCommerce is a common choice for store owners who want more control, flexibility, and long-term cost efficiency.
While Shopify offers an easy-to-use hosted solution, WooCommerce gives you full ownership of your store and the freedom to customize every aspect of your online business. This makes it a strong option for growing brands that need advanced features, better content management, and fewer platform limitations.
- Full ownership of your store: WooCommerce runs on WordPress and gives you full control over your website, data, and hosting environment without locking you into a proprietary platform.
- Lower long-term costs: Shopify charges monthly subscription fees and transaction fees. With WooCommerce, you mainly pay for hosting and optional extensions, which can be more cost-effective as your store grows.
- Greater customization: WooCommerce allows deeper design and functionality customization through themes, plugins, and custom code, making it easier to build a store that matches your exact requirements.
- No platform restrictions: You choose your own payment gateways, shipping tools, and marketing plugins instead of being limited by a closed ecosystem.
- Better content and SEO control: Because WooCommerce runs on WordPress, you can use powerful blogging and SEO tools to optimize product pages and increase organic traffic.
- Scalability and flexibility: WooCommerce can support small stores as well as large catalogs, and you can expand features gradually as your business needs evolve.
Things to Prepare Before Migration
Before starting the migration process, proper preparation is essential to avoid data loss, downtime, and SEO issues. Moving from Shopify to WooCommerce involves transferring products, customers, orders, and site structure, so having a clear plan ensures a smoother transition.
Taking time to audit your current store and set up the right environment on WooCommerce will help you migrate with minimal disruption to your business operations.
- Backup your Shopify store data, including products, customers, and orders
- Choose a reliable hosting provider for your WooCommerce site
- Install WordPress and WooCommerce on your new server
- List the data you need to migrate (products, categories, users, reviews, orders)
- Document your current URLs and site structure to prevent SEO losses
- Check theme and plugin compatibility for required store features
- Set up payment and shipping options in advance
- Plan a low-traffic time window for the final migration and launch
What Data Can be Migrated
When you migrate from Shopify to WooCommerce, you can transfer most core store data without losing critical business information. This ensures continuity in operations, preserves customer records, and allows you to resume selling quickly on your new platform. The migration method or tool determines the exact data transferred, but most solutions support the following items.
- Products (titles, descriptions, images, prices, SKUs, and stock levels)
- Product categories and collections
- Customer accounts and profiles
- Order history and order details
- Product reviews and ratings
- Discounts and coupon codes
- Store settings, such as taxes and shipping zones
- Blog posts and basic pages (in some migration methods)
How to Migrate from Shopify to WooCommerce
There are three methods to migrate from Shopify to WooCommerce:
| Method | Ease of Use | Best For | Pros | Cons |
|---|---|---|---|---|
| Manual (Default) Migration | Low to Medium | Small stores with basic data and technical knowledge | Full control over data, no extra cost, flexible process | Time-consuming, higher risk of errors, requires technical skills |
| Hiring a Professional | High | Large or complex stores and non-technical users | Accurate data transfer, minimal downtime, expert handling of SEO, and setup | Higher cost, depends on third-party availability, and less direct control |
| Using a Dedicated Migration Plugin | High | Medium sized stores and users who want a faster solution | Automated process, saves time, usually includes data mapping options | May require a paid version, limited customization, and possible compatibility issues |
Let’s have a close look at each method.
1. Using the Built-in Tools
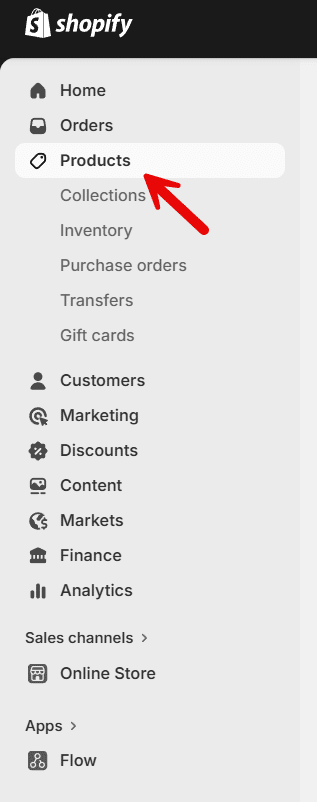
This is the simple and first method we have for you. The first thing you need to do is log in to your Shopify store and go to the products section.
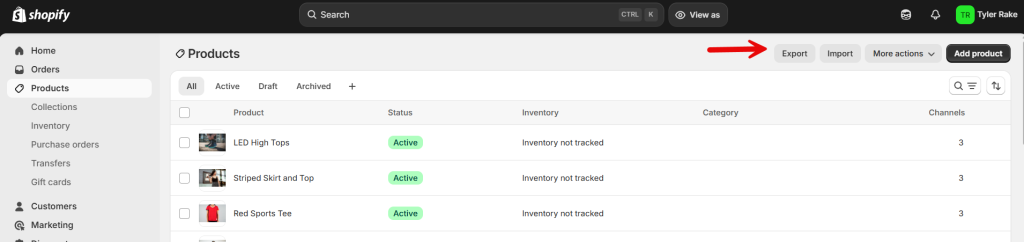
On the top right side, you will see the export button.
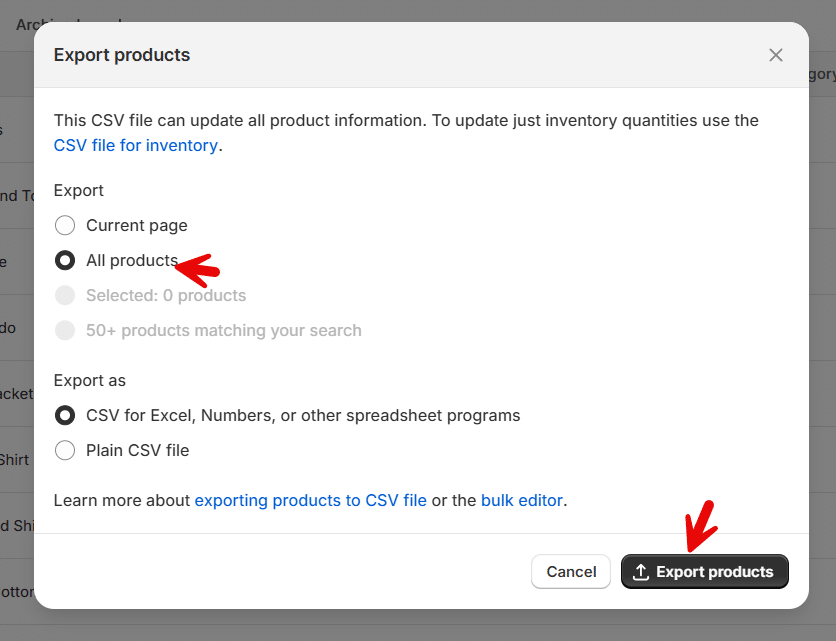
Choose how you need the export file and start the process.
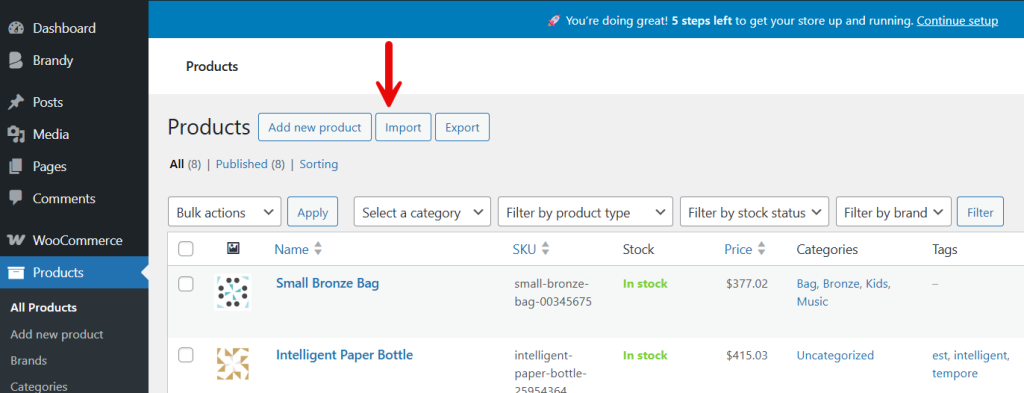
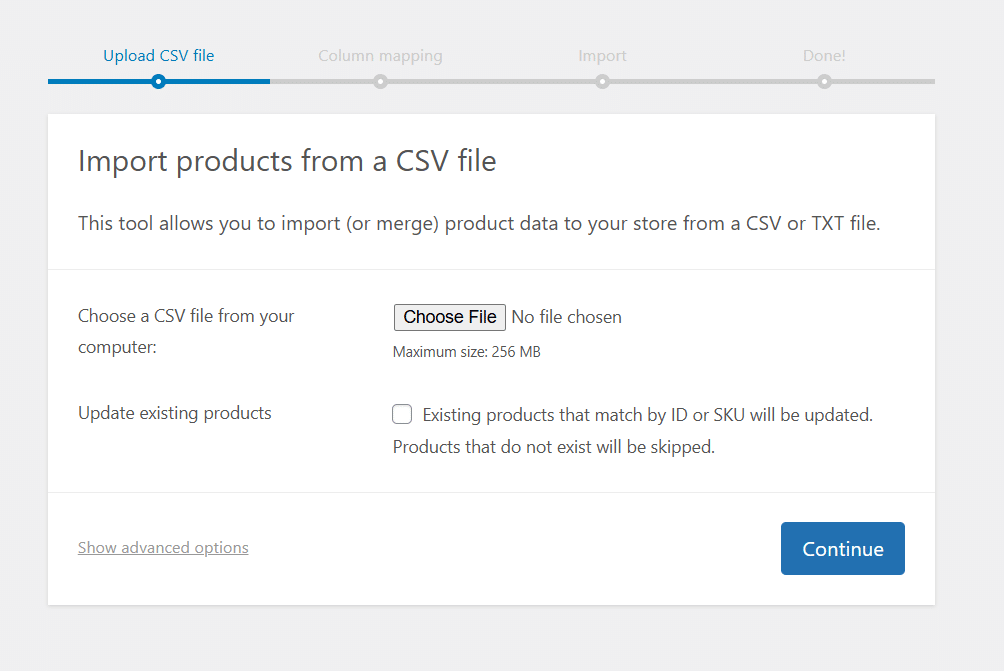
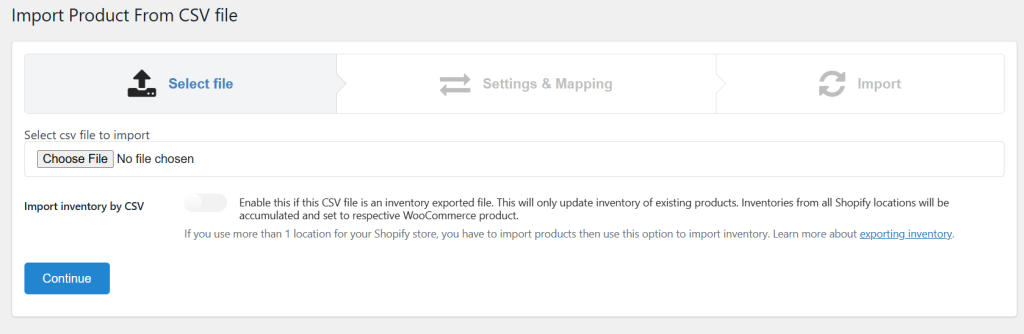
The export file will be emailed to your registered email address. Once you have downloaded the file from the email, log in to your WooCommerce store and go to the import products section.
Now you will be redirected to the import wizard.
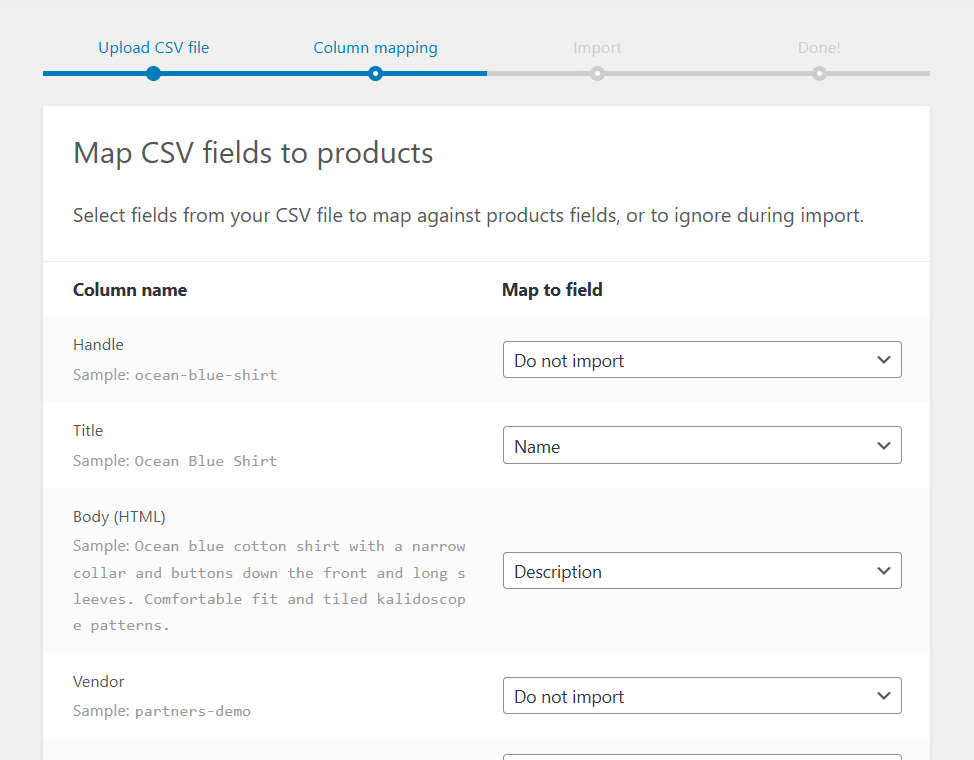
Now you have to do the column mapping.
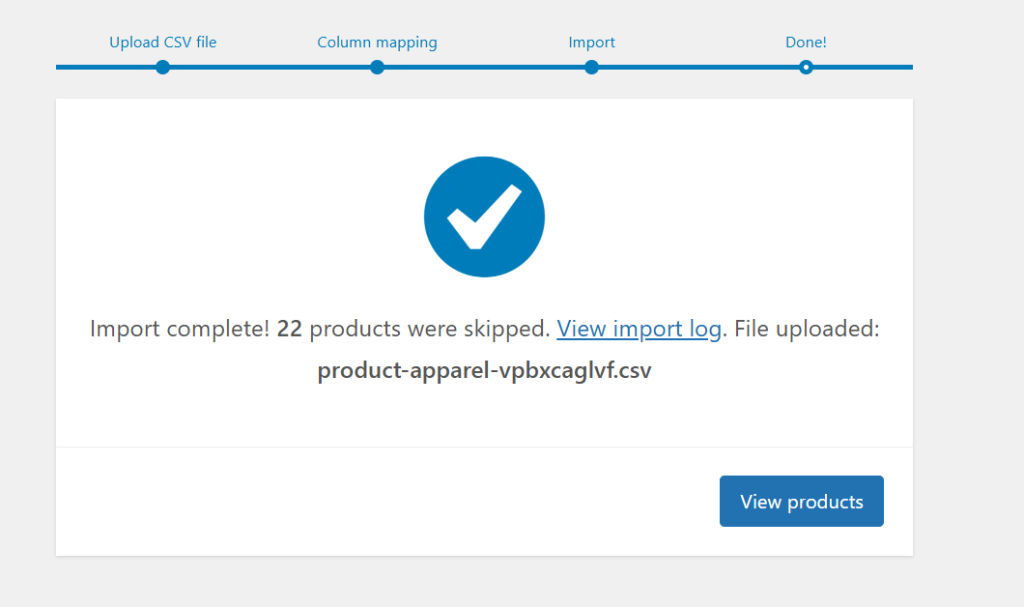
The process might take a few minutes. Once the process is finished, you will see the success message.
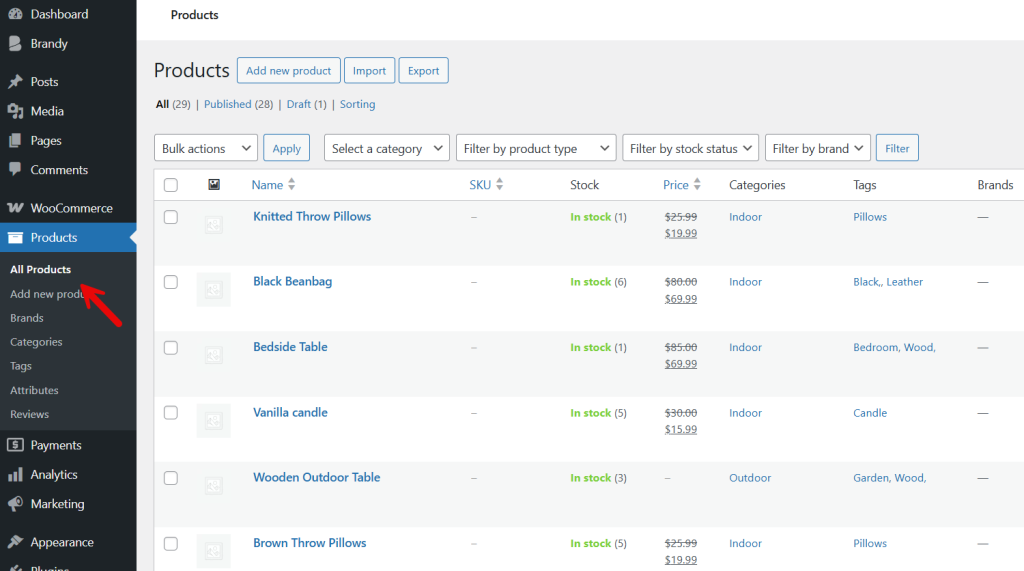
Next, you can check the products, and you will see that the products are successfully imported.
The next method would be ideal if you need less hassle.
2. Hiring a Professional
Hiring a professional can simplify the migration process and reduce the risk of data loss or technical errors. This option is ideal for store owners with large product catalogs, complex setups, or limited technical experience.
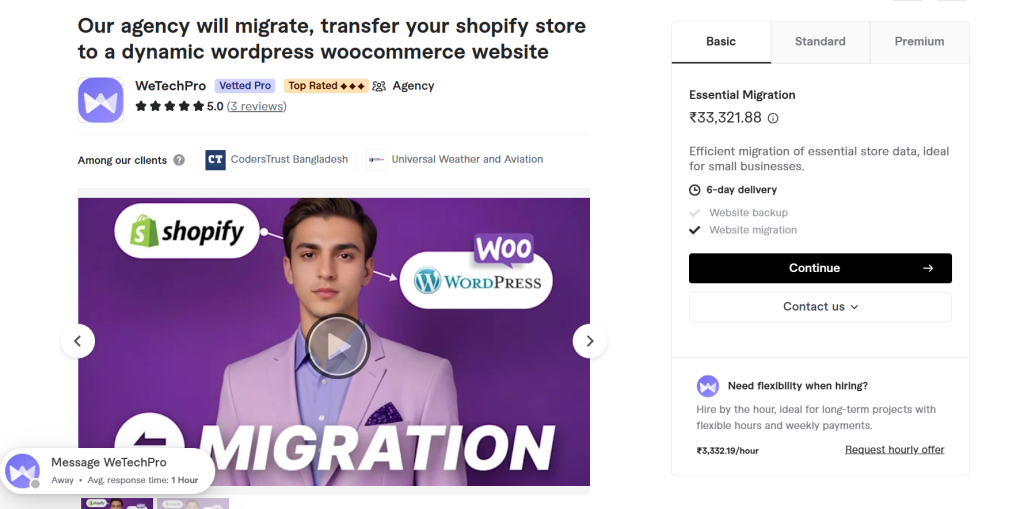
A specialist can handle the entire transition while ensuring your store remains functional and secure.
- Expert handling of data transfer: Professionals ensure products, customers, and orders are moved accurately without missing records.
- Custom configuration support: They can recreate your store structure, payment methods, shipping rules, and tax settings based on your requirements.
- SEO and URL structure management: An experienced provider can preserve search rankings by setting up redirects and metadata correctly.
- Theme and design alignment: They help match your previous store layout or build a new design suited to your business goals.
- Reduced downtime: Migration can be completed faster, minimizing disruption to sales and customer access.
- Post-migration testing and fixes: Professionals usually test the store after migration and resolve issues before launch.
This approach may cost more than doing it yourself, but it offers reliability, technical confidence, and long-term stability for your online store.
Finding an expert is simple. You can find one from freelance marketplaces like Fiverr, Freelancer, or UpWork.
3. Using Dedicated Plugins or Tools for the Migration
Now, let’s see how we can use a plugin for the task. For this tutorial, we will be using this plugin: S2W – Import Shopify to WooCommerce. So install and activate the plugin on your site first.
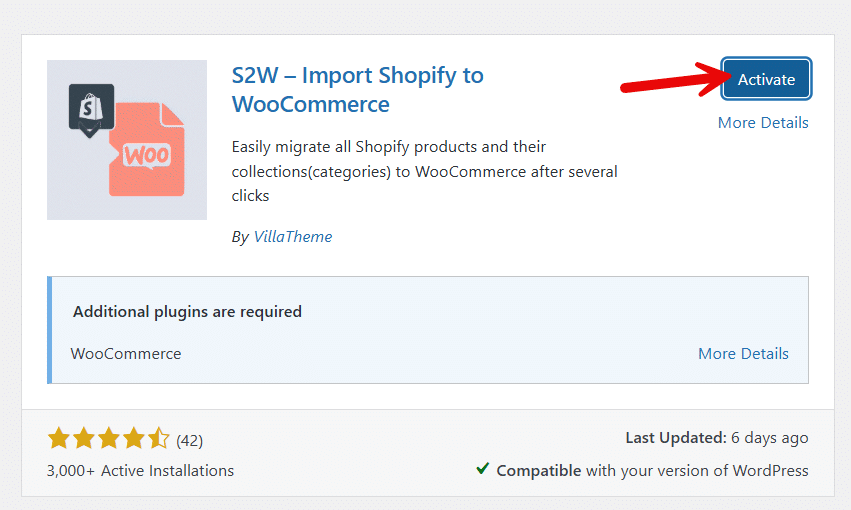
The free version is good enough for starters. But if you have more data to process, the premium version is recommended.
Once you have activated the plugin, on the left-hand side, you can see the plugin’s settings.
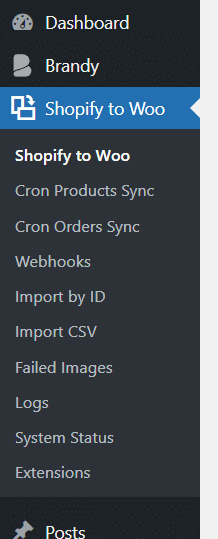
As you can see in the above picture, there are multiple ways you can import Shopify products to WooCommerce via this plugin. The main configuration options available are:
- General Import
- Cron Products Sync
- Cron Orders Sync
- Webhooks
- Import by ID
- Import CSV
- Filed Images
- Logs
- System Status
- Extensions
If you are going to use the general import feature, you need to enter details such as:
- Store address
- Client ID
- Secret
- Access token
- API key
- API secret
- Request timeouts
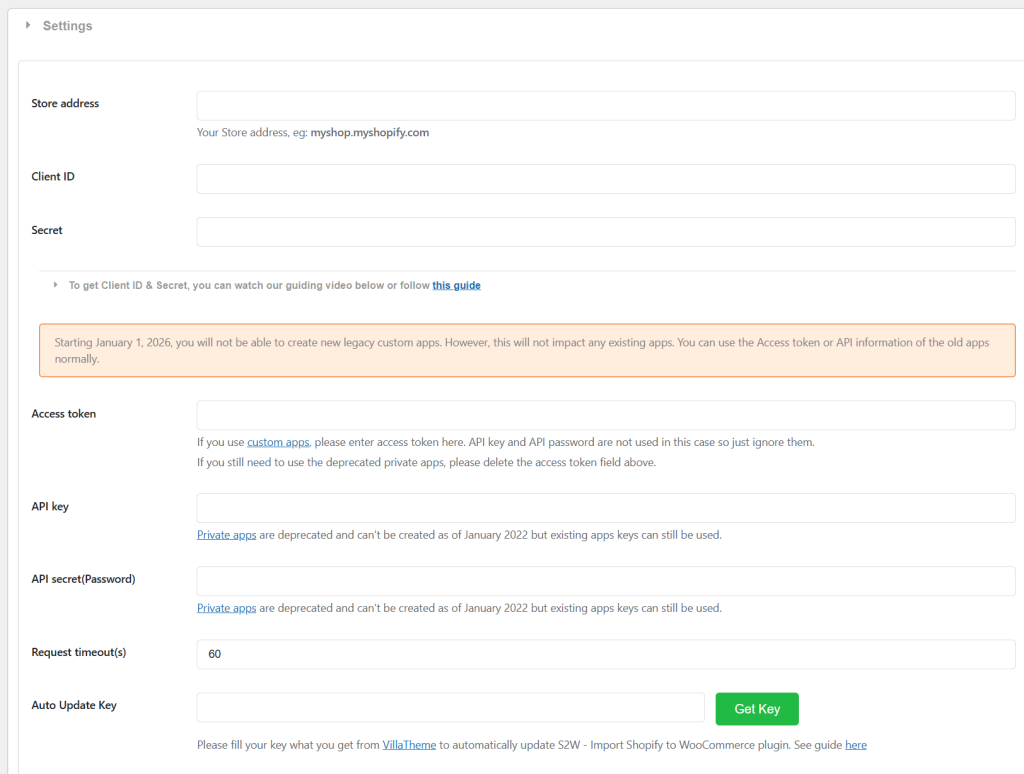
These details can be fetched from the Shopify settings. Similarly, you can also import the products using the CSV method like we did before.
This would be the easy method. Depending on your preferences, you can use the import method and start with the product import function.
It would take a few minutes to finish the process but after that, all your products will be moved to WooCommerce.
Handling SEO During Migration
Preserving your search engine rankings is critical when moving from Shopify to WooCommerce, as even small mistakes can lead to traffic loss. The goal is to ensure that search engines and users can still find your pages without disruption while maintaining your existing authority, backlinks, and indexed content.
Key SEO practices during migration:
- Set up 301 redirects from old Shopify URLs to their new WooCommerce equivalents to avoid broken links and ranking drops.
- Keep the URL structure as close to the original as possible to reduce the number of redirects needed.
- Migrate all SEO metadata, including page titles, meta descriptions, and image alt text.
- Submit a new XML sitemap in Google Search Console after migration to help search engines re-crawl your site.
- Check for crawl errors and broken links using SEO audit tools once the new site is live.
- Avoid major content changes during migration, so search engines can easily match old pages with new ones.
Common Migration Issues and How to Fix Them
Migrating an online store can involve technical and data-related challenges. Identifying these issues early and applying the right fixes helps prevent revenue loss and customer confusion after the move.
- Missing products or categories: Re-run the import process and compare product counts between both stores to ensure no items were skipped.
- Broken images or media files: Check file permissions and confirm that image URLs were transferred correctly. Regenerate thumbnails if needed.
- Incorrect prices or stock levels: Review currency settings and inventory rules, then manually correct any mismatched values.
- Customer account errors: Verify that customer data fields match the new platform structure and reset passwords if login issues occur.
- Order history not displaying properly: Ensure that order statuses and metadata were imported correctly and mapped to the new system.
- Broken links and 404 errors: Set up proper redirects from old URLs to new ones and scan the site for broken links.
- Checkout or payment failures: Reconfigure payment settings and run test transactions to confirm everything works as expected.
- Shipping and tax miscalculations: Review shipping zones and tax rules and align them with your business location and policies.
Addressing these issues promptly helps stabilize your store and ensures a smooth experience for both store owners and customers after migration.
Testing Your Store Before Going Live
Before launching your new store, thorough testing is essential to confirm that all features work correctly and customers can shop without issues. This step helps catch errors that could affect sales or user experience after the migration.
- Verify product data: Check that product names, descriptions, prices, variations, and stock levels match your original store.
- Test navigation and search: Browse categories, use filters, and test the search function to ensure customers can find products easily.
- Review images and media: Open multiple product pages to confirm images load properly, and galleries display as expected.
- Place test orders: Complete several test purchases using different payment methods to validate the checkout process.
- Check customer accounts: Log in with migrated accounts and confirm order history and profile details appear correctly.
- Confirm shipping and taxes: Test different locations to ensure shipping rates and tax calculations are accurate.
- Inspect mobile and browser compatibility: View the store on different devices and browsers to confirm consistent layout and performance.
Once all tests pass, your store is ready to go live with confidence and minimal risk of post-launch issues.
Post-Migration Checklist
After migrating your store, it is important to review everything carefully before making the new site live. This step ensures your data is accurate, your store functions properly, and your customers have a smooth experience.
- Check product images, prices, and stock levels for accuracy
- Review customer accounts and confirm essential data is present
- Test order history to ensure past purchases are visible and correct
- Set up payment methods and run a test transaction
- Configure shipping zones, rates, and tax rules
- Recreate important pages such as About, Contact, and Policy pages
- Set up redirects for old URLs to avoid broken links
- Review SEO settings, including page titles and meta descriptions
- Test checkout, cart, and account registration flows
- Check email notifications for orders and customer actions
- Optimize site speed and mobile responsiveness
- Create a full backup of the new store after verification
Completing this checklist helps reduce errors and ensures your new store is fully ready for customers.
If you enjoyed reading this article, here are a few similar ones you should check:
- 7 Best AI Coding Tools and Plugins for WordPress
- How to Give WooCommerce Discounts for Specific Regions
- How to Give Discounts on WooCommerce Shipping Fees
- Best 7 Cloudflare Alternatives: CDN Options & More in 2026
- How to Give Discounts to Specific WooCommerce Customers
Frequently Asked Questions
Now, let’s see some frequently asked questions and answers regarding this topic.
Yes, most migration processes allow you to transfer core store data such as products, product categories, customer accounts, and order history. This helps you continue operations on the new platform without rebuilding everything from scratch. Visual design and custom features usually need to be recreated separately.
In most cases, your current store can stay live while data is prepared for transfer. Downtime usually happens only during the final switch to the new store. With proper scheduling and testing, this downtime can be kept to a minimum.
Yes, search rankings can be preserved if URLs, redirects, and metadata are handled correctly. Planning the migration from an SEO perspective helps search engines recognize the new structure and prevents sudden drops in traffic.
Some technical understanding is helpful, especially for manual migrations. However, many store owners complete the process using guided tools or professional assistance without needing advanced development skills.
The duration depends on the size of the store and the volume of data being moved. Smaller stores may finish within hours, while larger stores with extensive catalogs and order histories may take several days.
For security reasons, passwords are usually not transferred directly. Customers are often required to reset their passwords when accessing their accounts on the new store for the first time.
You should confirm that products, images, customer records, and order data appear correctly. It is also important to test checkout, payment methods, and email notifications to ensure the store is fully functional before going live.
Conclusion
Migrating from Shopify to WooCommerce is a practical step for store owners who want more control, flexibility, and long-term scalability.
With the right preparation, your products, customers, orders, and SEO value can be transferred safely without disrupting daily operations. There are three main ways to handle the migration process. The first is the default manual method, which suits small stores with limited data and technical confidence.
The second option is hiring an expert, ideal for complex stores that require accuracy and minimal downtime. The third approach is using a dedicated Shopify to WooCommerce export plugin, which balances automation and convenience for most businesses.
By choosing the method that matches your store size and technical skills, you can ensure a smooth transition and start benefiting from WooCommerce’s customization and growth potential.
We hope you found this article helpful and enjoyed reading it. If you need to learn more WooCommerce tips and tricks, check out the YayCommerce blog. Also, feel free to check out our social media handles, such as Facebook, X, Instagram, and YouTube, for more interesting content.
Which method would you choose?
Let us know in the comments.