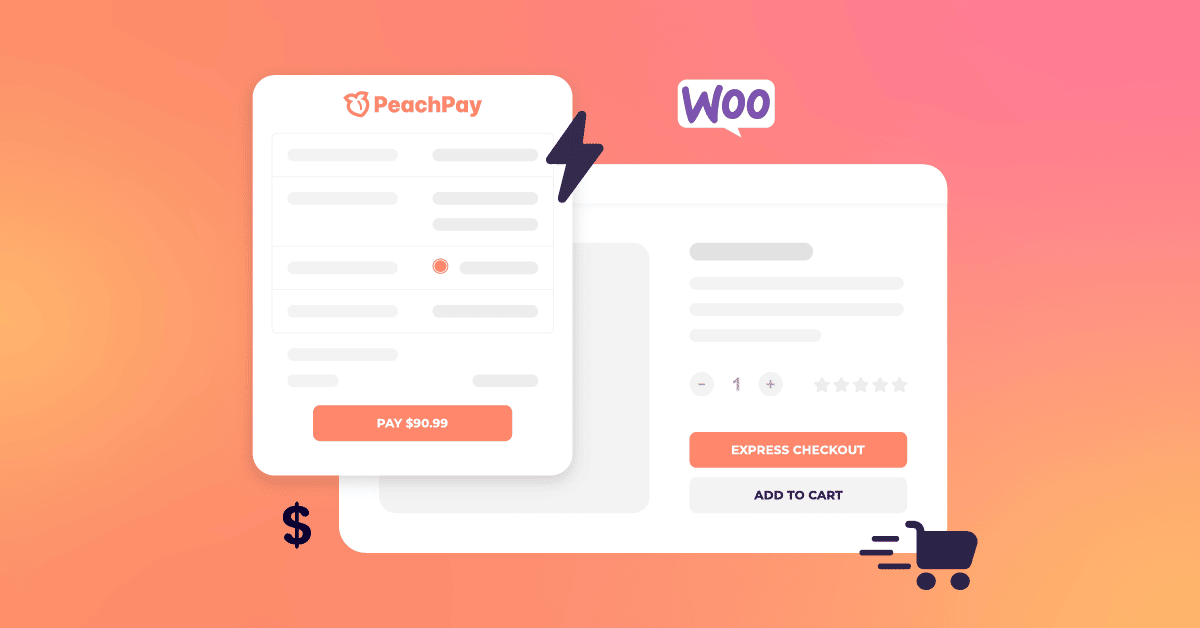
PeachPay supercharges WooCommerce checkout to help your store reduce cart abandonment and skyrocket sales.
PeachPay’s checkout button is highly customizable and automatically placed on product, cart, and checkout pages as well as the mini/sidebar cart. It even supports custom placement through shortcodes.
Perhaps the most revolutionary feature PeachPay offers is one-click checkout. It doesn’t matter which site customers used PeachPay for the first time. The next time they come across PeachPay, they have access to one-click checkout.
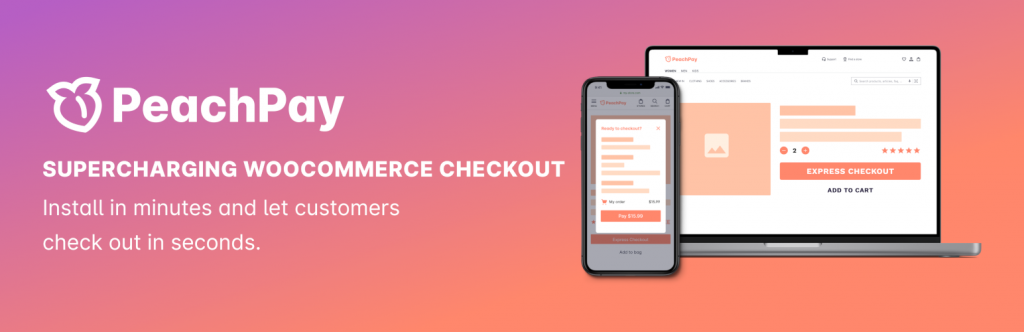
By following the steps below, you can install PeachPay in minutes and let your customers check out in seconds.
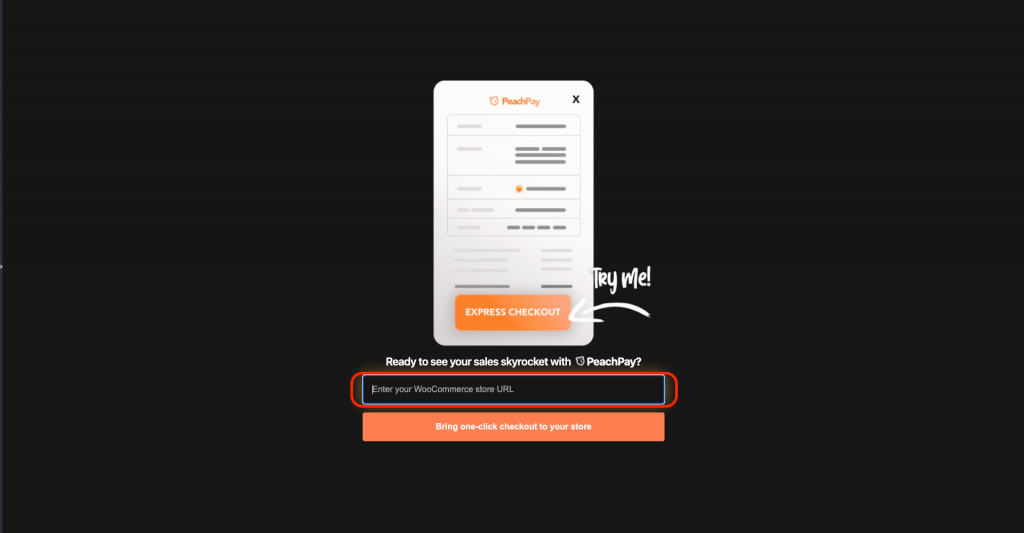
Method 1: Guided Installation
Navigate to https://get.peachpay.app/ and follow the instructions you see on the screen.
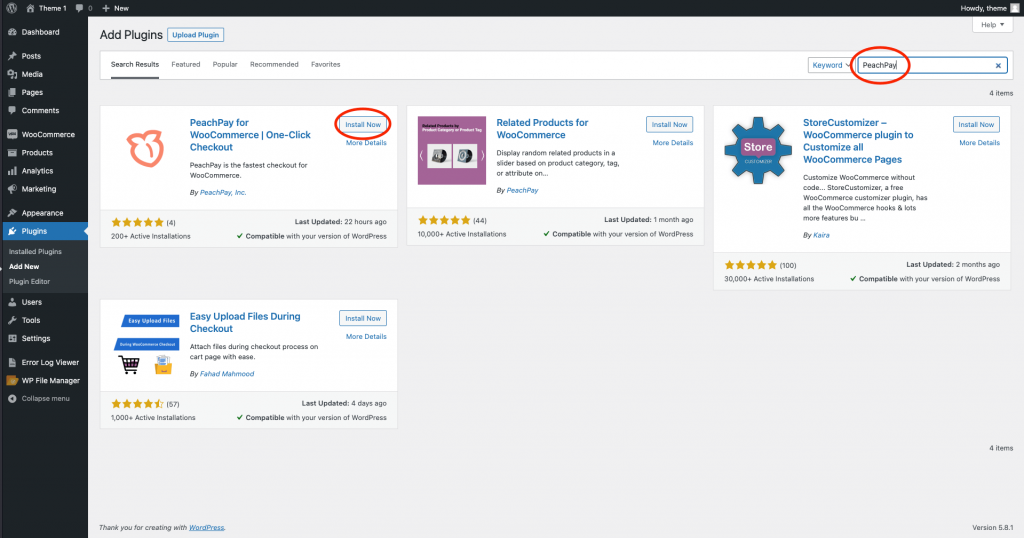
Method 2: Traditional WordPress Plugin Installation
Step 1
Log in to your WordPress admin account and go to the Plugins tab.
Step 2
After you are in the Plugins tab, click “Add New”.
Step 3
Search for “PeachPay” and click “Install Now”.
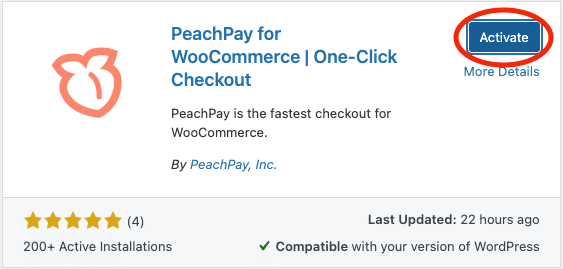
Step 4
Click “Activate”.
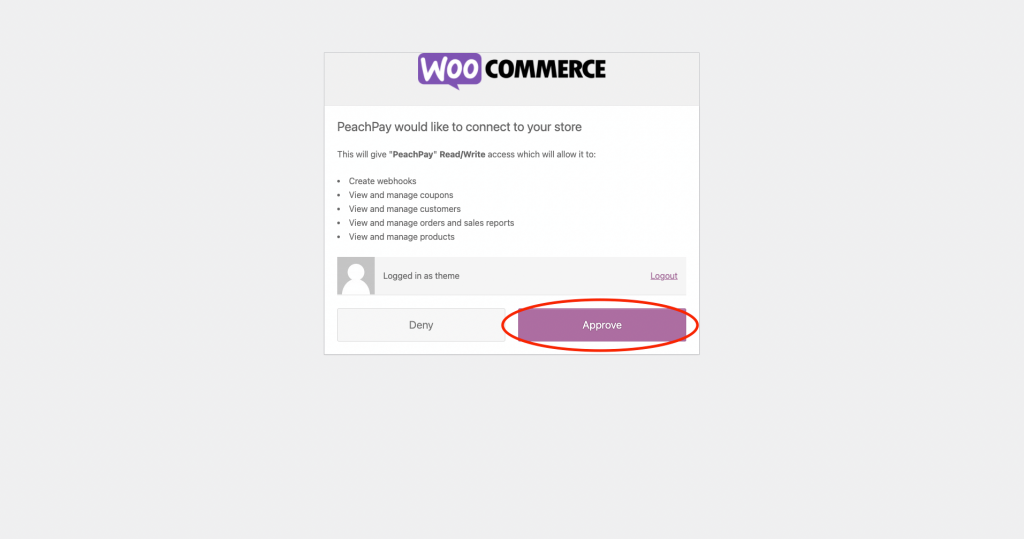
Step 5
After activating PeachPay, you will be redirected to the permissions page. Click “Approve”.
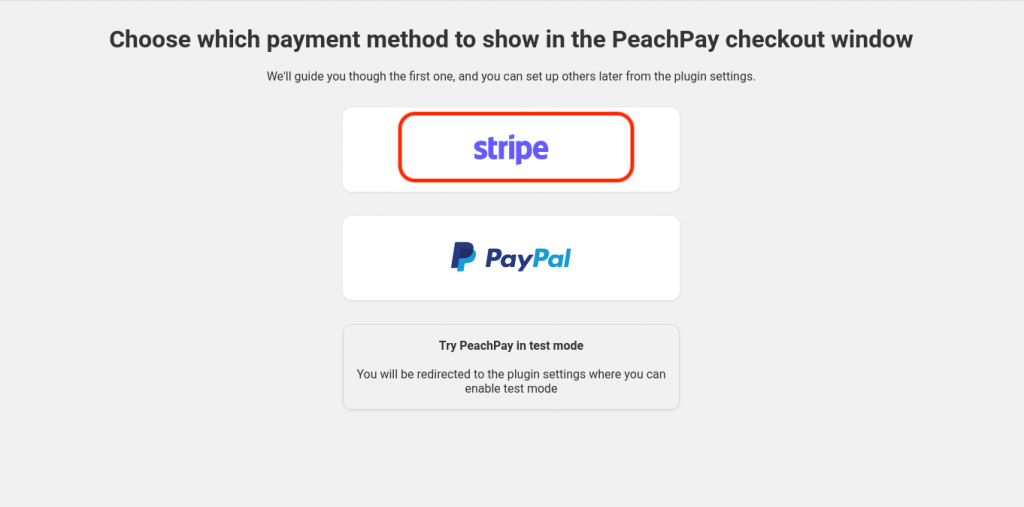
Step 6
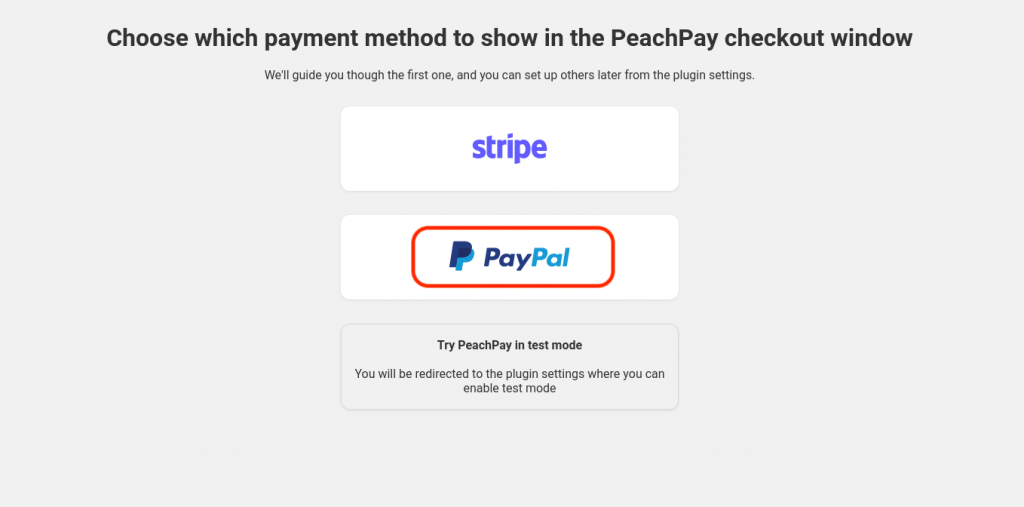
You will be redirected to the payment methods window, where you can connect your Stripe/PayPal account or try PeachPay in test mode.
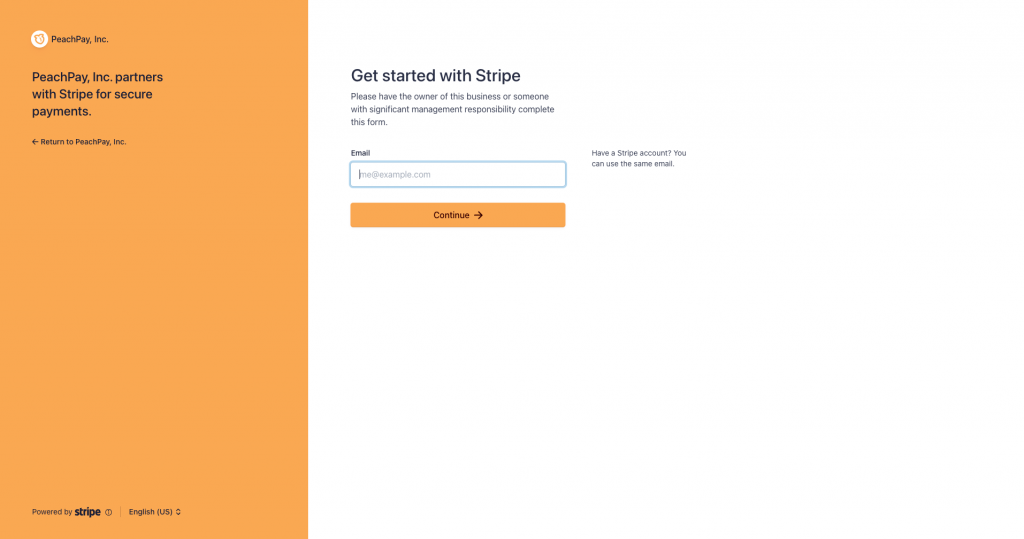
If you click on “Stripe”, you will be redirected to the Stripe Connect page, where you can log in with an existing account or create a new one.
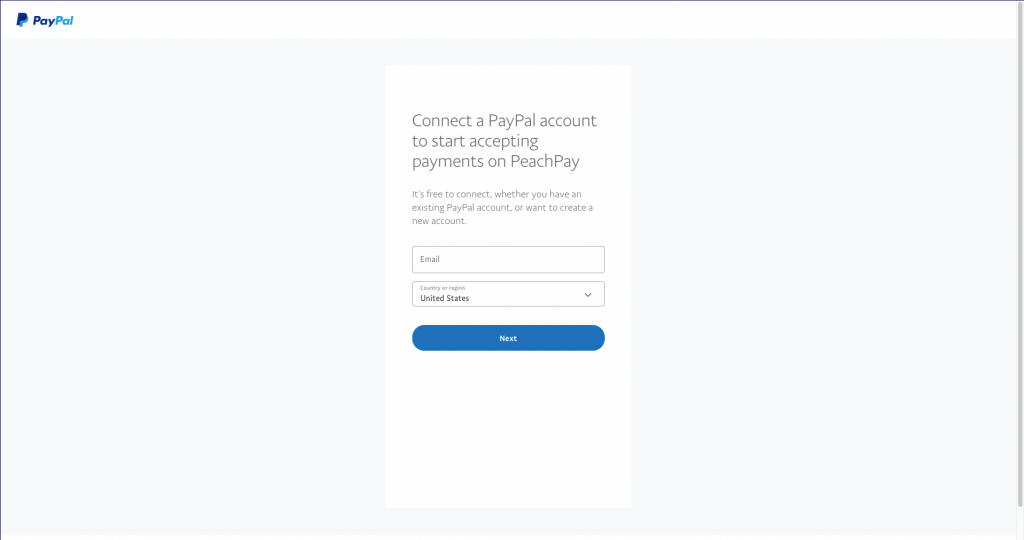
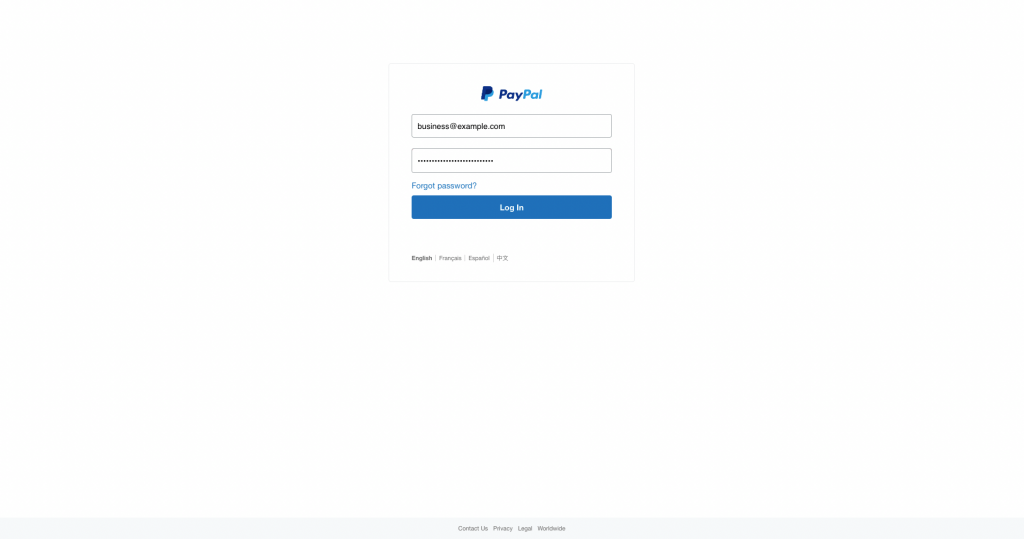
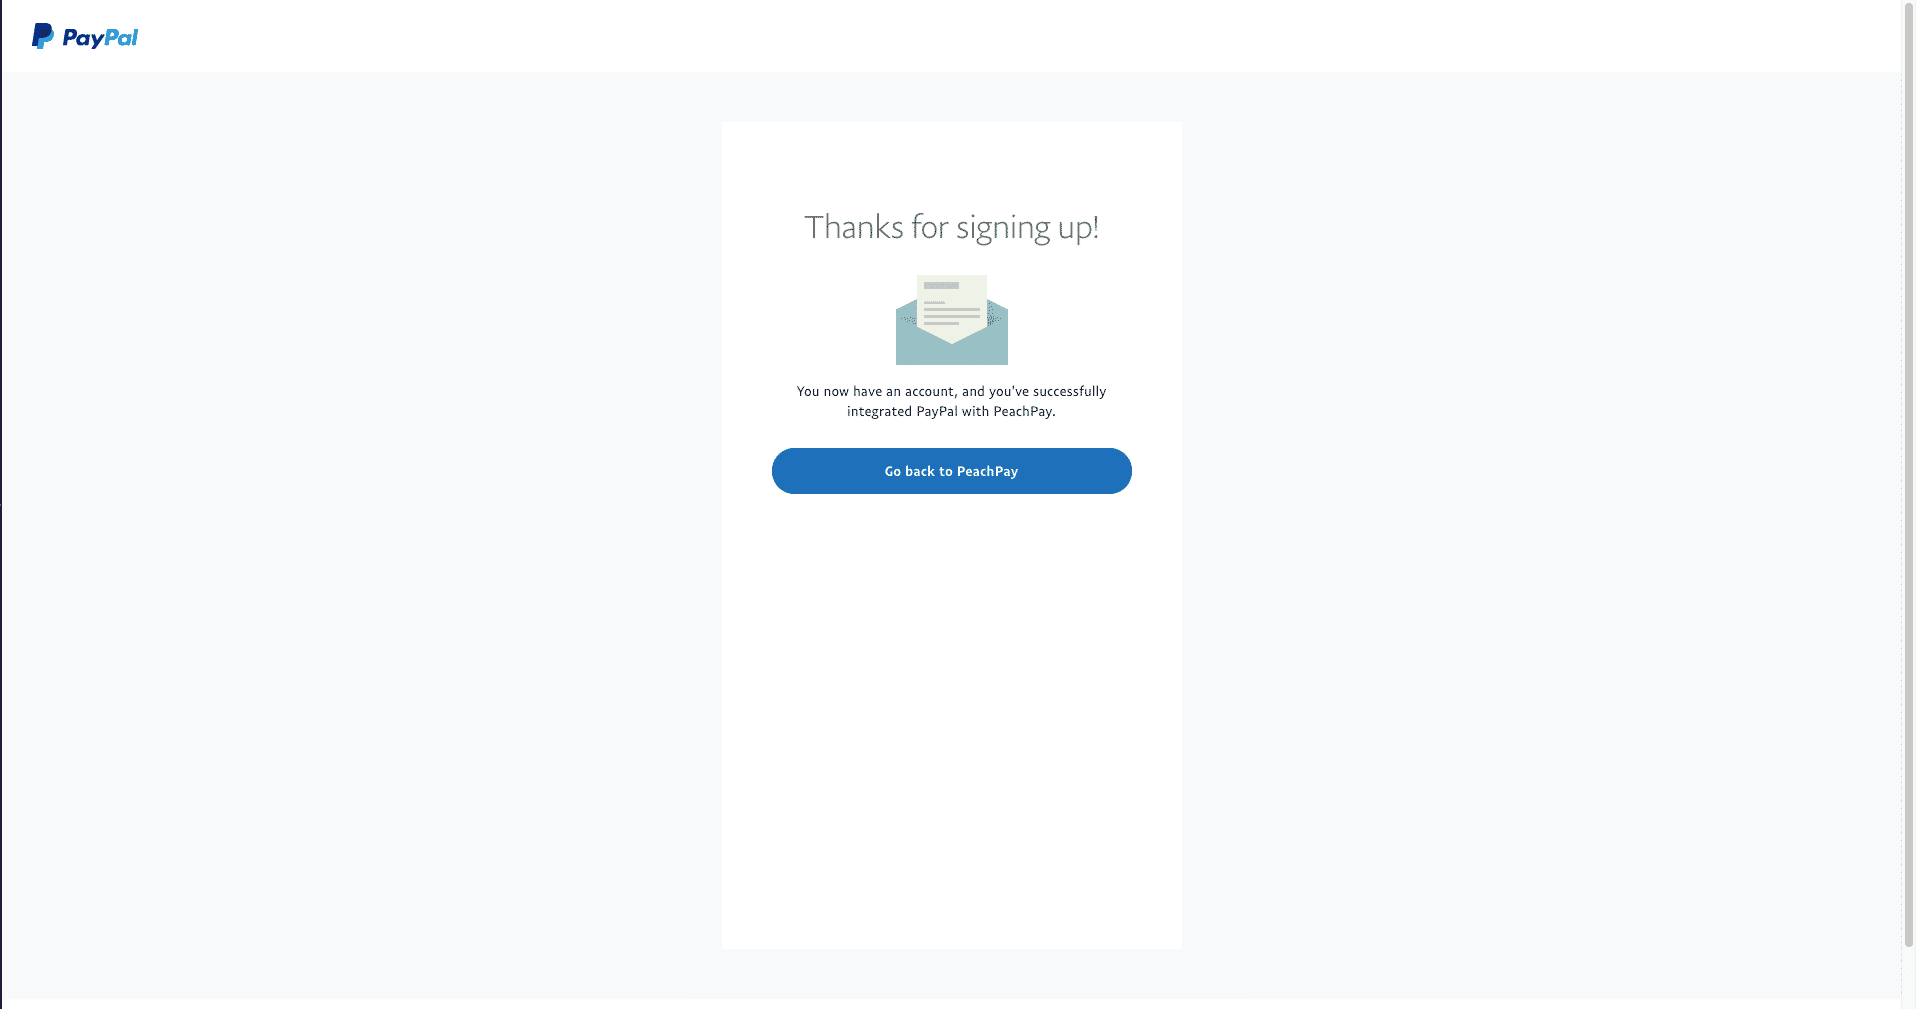
If you click on “Paypal”, you will be redirected to the PayPal page, where you can log in with an existing account or create a new one.
Step 7
After you successfully connect your Stripe/Paypal account, you will be redirected to the PeachPay plugin settings. In the Payment Methods section, you can set up the other payment method.
Once both payment methods are connected, it should look like this:
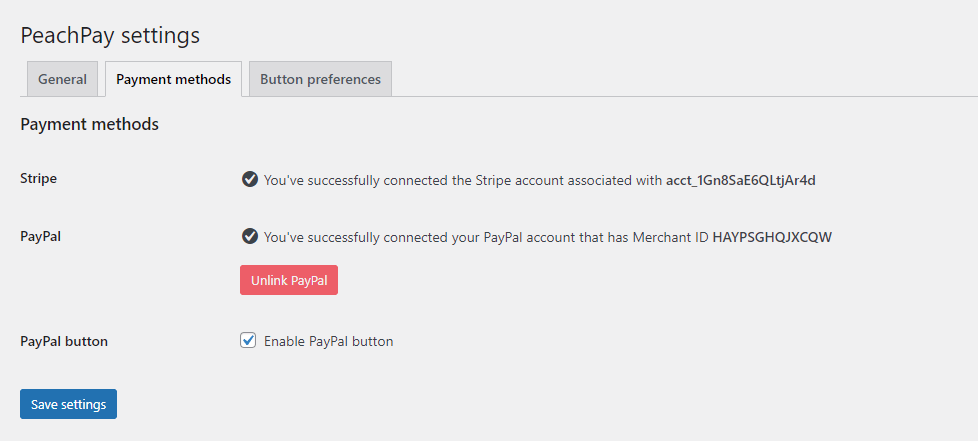
PeachPay general settings
Language
PeachPay currently supports the following languages (it will change the language displayed in the PeachPay plugin settings, the button, and the window):
- English (US)
- Spanish
- Catalan
- Czech
- Danish
- German
- French
- Hindi
- Greek
- Italian
- Romanian
- Japanese
- Korean
- Dutch
- Portuguese
- Russian
- Slovenian
- Swedish
- Luxembourgish
- Thai
- Ukrainian
- Chinese
There is also an option to automatically detect the language of the page in question.
If you would like to see another language, send email to: [email protected]
Coupons
Check “Enable coupons” to add the coupons section to the PeachPay checkout window. PeachPay will integrate with the existing WooCommerce coupons that you have set up.
Order notes
You can choose whether an order notes section shows up in the PeachPay checkout window on/off.
Test mode
In test mode, only those logged in with a WordPress admin account can see the PeachPay button. Customers will not see it.
Stripe test mode allows you to make test purchases with PeachPay, without spending real money. You can make purchases using the 4242 4242 4242 4242 test card with any expiration/CVV.
This helps you see how the PeachPay checkout experience works and how it shows up in your order feed. You do not need to connect a Stripe account to use test mode, and you do not need an activation key. For that reason, the test purchase does not show up in your Stripe dashboard.
When the PeachPay plugin is in test mode, you can also try a PayPal purchase by choosing Pay with Debit or Credit Card when the PayPal window opens, filling out the information, and clicking “Continue as Guest.”
You can use a test credit card 4556 5196 6069 6666 with any expiration/CVV code. If that card doesn’t work, any other card from Get Credit Card Numbers will work for test mode purchases.
After the test PayPal purchase is complete, you will see the order in the WooCommerce order feed. It will be marked as PayPal and will have the PayPal transaction ID.
As of now, we do not have a way for you to access the test PayPal business account on which the money is sent to. If you would like to verify the test mode payment on PayPal, get in touch with us and we can provide you with the full transaction details.
Product images
You can choose whether product images should show up in the PeachPay checkout window.
Upsell items
You can choose whether upsell items configured with native WooCommerce settings show up in the PeachPay checkout window.
Payment Methods
The Payment methods section allows you to connect your Stripe/PayPal accounts. More payment integrations coming soon!
Button preferences
Color: Choose from a few presets or enter your own color with RGB/HSL/HEX codes.
Show icon: Choose from a few preset logos.
Rounded corners: Choose how rounded the corners of the button are (border radius).
Text: Customize the text of the PeachPay button. Leaving it blank defaults to “Express checkout” in your chosen language. Or change it to “Checkout Now” as shown in the screenshot below.
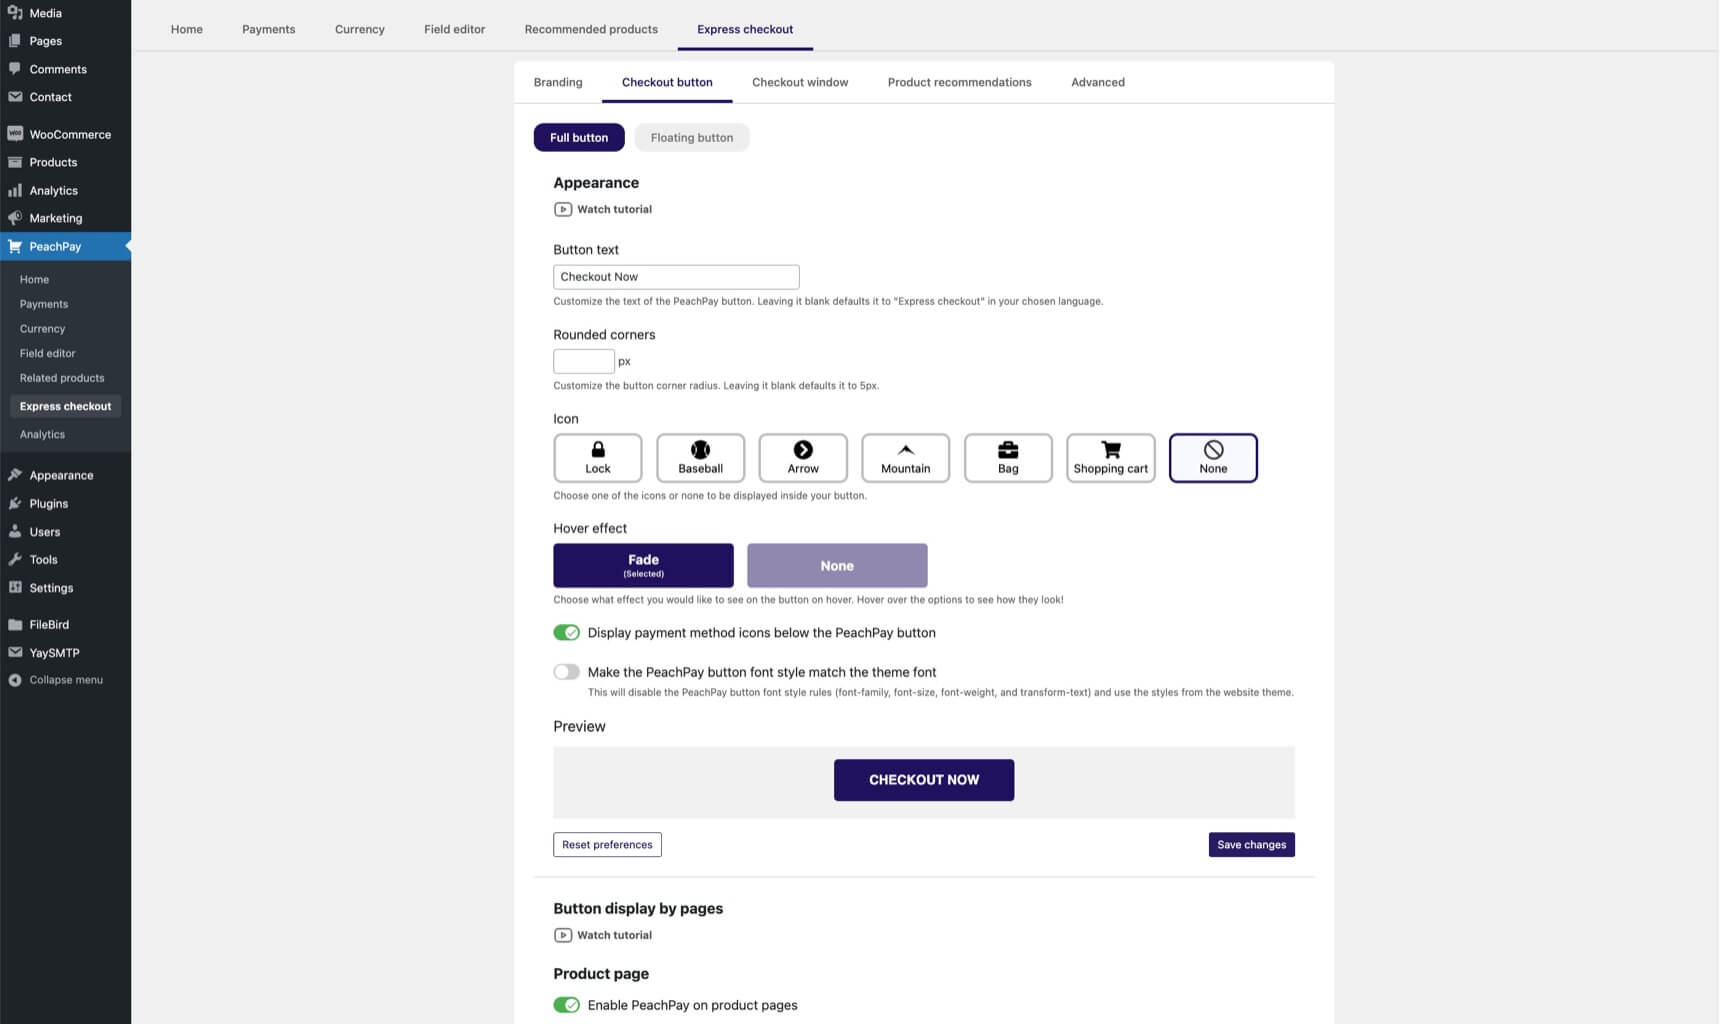
Shine: Choose whether the shine animation appears on the button.
Hide on product page: Choose whether the PeachPay button appears on product pages.
Hide payment methods: Choose whether payment method icons (Stripe, PayPal, Visa, etc.) appear below the PeachPay button.
Position: You can adjust the location of the button on the product page and cart pages separately.
The available choices are Left, Right, Center, and Full. This helps you make the button fit well with your theme.
Width: You can also adjust the width of the PeachPay button for the product page and the cart pages separately. Note: if you set the position to Full, the corresponding width field will be disabled since Full makes the button take up the full width of its container.
Preview: You can see the live preview of your chosen button preferences (separate for product, cart, and checkout pages).
Reset: You can reset to default settings.
My partner and I absolutely love your blog and find nearly all of your post’s to be precisely what I’m looking for. Does one offer guest writers to write content available for you? I wouldn’t mind publishing a post or elaborating on a number of the subjects you write with regards to here. Again, awesome blog!