Do you want to set up push notifications in WordPress? Keep reading this article if you are looking for a beginner’s guide to the task. We will show you everything you need about WordPress and its push notification integration.
The main issue most bloggers and WooCommerce store owners face is returning traffic. Studies show that over 90% of website visitors won’t return to their websites after the initial visit.
As a blogger or online business owner, this can hurt.
What’s a quick and straightforward fix for this issue?
The answer is push notifications.
Read this guide if you need to integrate push notifications with your WordPress website. We will help you configure push notifications on your service, test them, and show you how to send custom messages via the platform.
Before proceeding, let’s examine why you should use push notification plugins in your blog or WooCommerce store.
Why You Should Start Using Push Notification Plugins
Like email marketing, push notifications are a great way to get returning traffic. So many professional bloggers, online businesses, and online stores use this strategy to scale their business.
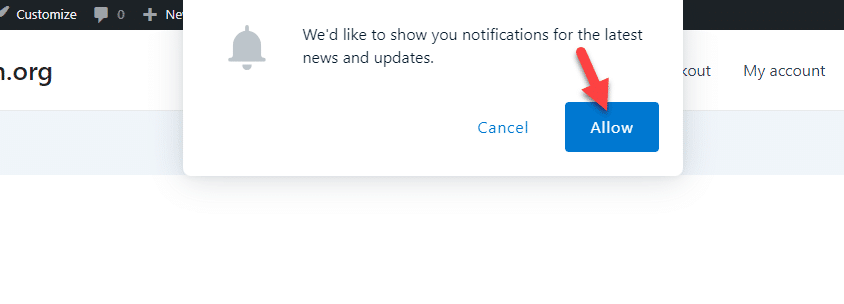
The idea is pretty simple. When visitors land on the website, they are greeted with a message asking, “Do you want to opt in for our notifications?”. If they click accept, they will be added to the push notification list (just like an email list).

From now on, the business owner can send targeted notifications to them. The notifications will be delivered to their device within seconds.
The best thing about this process is you can deliver content related to limited-time deals. Since online stores rely entirely on customers, this is an ideal option.
Now you know why you should use push notification plugins on your website. Next, let’s see how to configure push notifications on your website or WooCommerce store.
How to Set Up Push Notifications in WordPress
To set up push notifications in WordPress, you need two things.
- A push notification plugin
- A valid subscription
For this tutorial, we will use OneSignal as the push notification plugin. However, there are many available. Based on your preferences, you can pick one (we will talk more about the available push notification plugins later in this guide).
Without any further ado, let’s get started.
1. Installation and Activation
The first thing you need to do is install and activate OneSignal on your website. The plugin is available in the WordPress plugins repository, and you can get it directly from the repo.
After activation, you will see the plugin’s settings on the left-hand side.

Now, let’s start configuring it.
2. Configuration
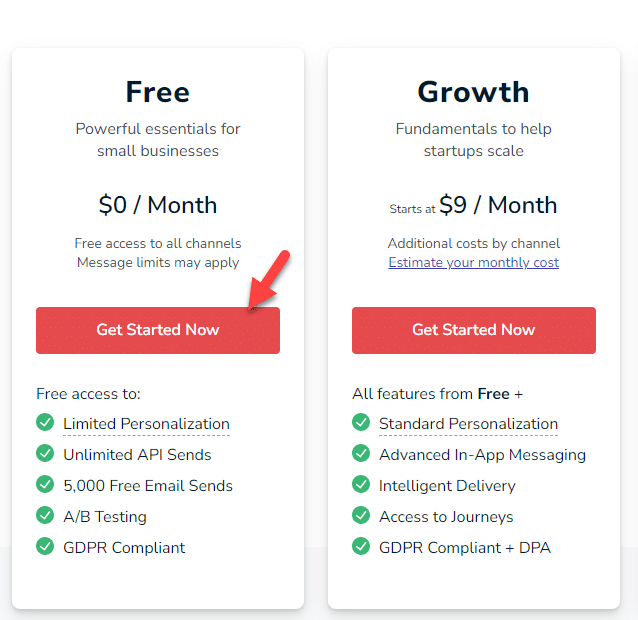
Next, you need to get a OneSignal subscription. So, go to their pricing page.
As you can see in the screenshot, they have four subscription plans.
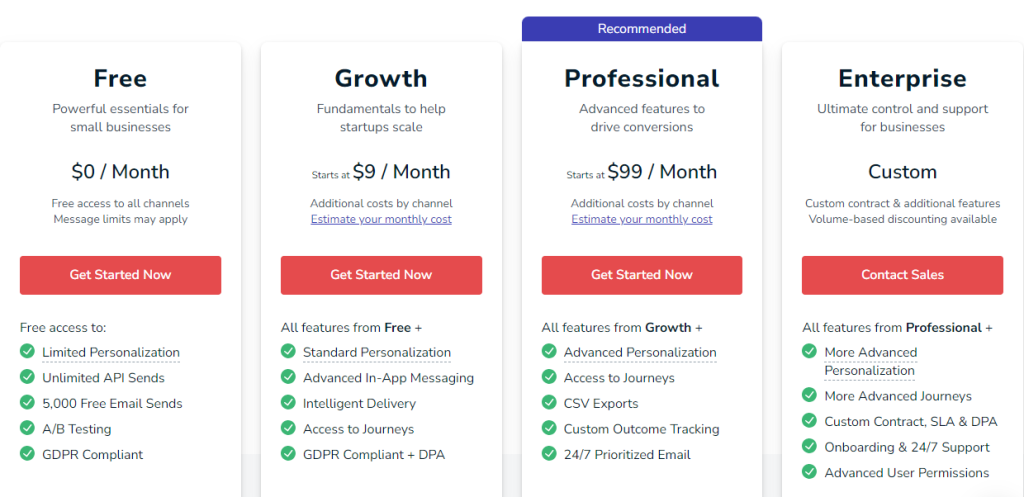
- Free – $0/month
- Growth – $9/month
- Professional – $99/month
- Enterprise – custom billing
If you are a starter, the free plan is enough. Click the Get Started Now button and start creating your account.
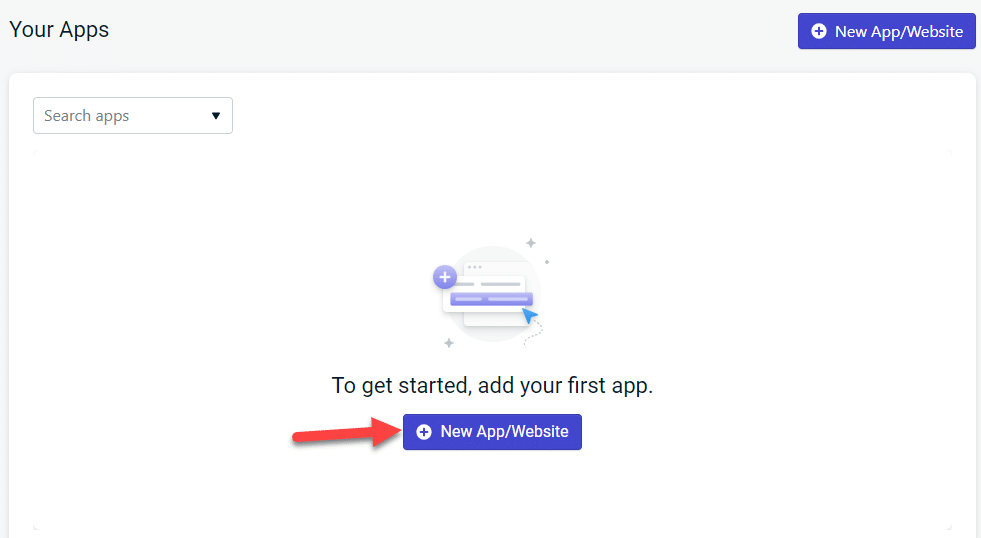
The platform will ask you for your name, email, etc. You can add your first product once you have completed the account creation. To do that, log in to the account and open the dashboard.
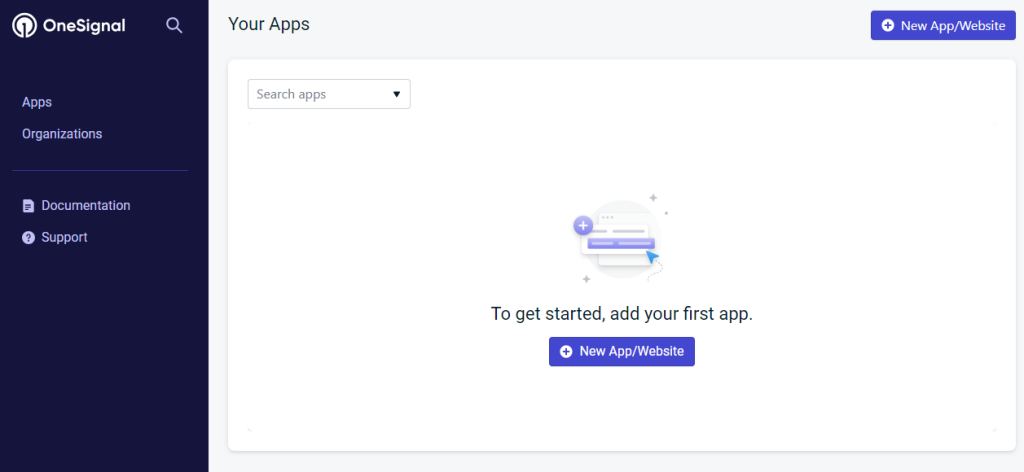
Next, click the New App/Website button.
Now, you need to enter a few details like:
- App name
- Organization
- Push notification type
And so on.
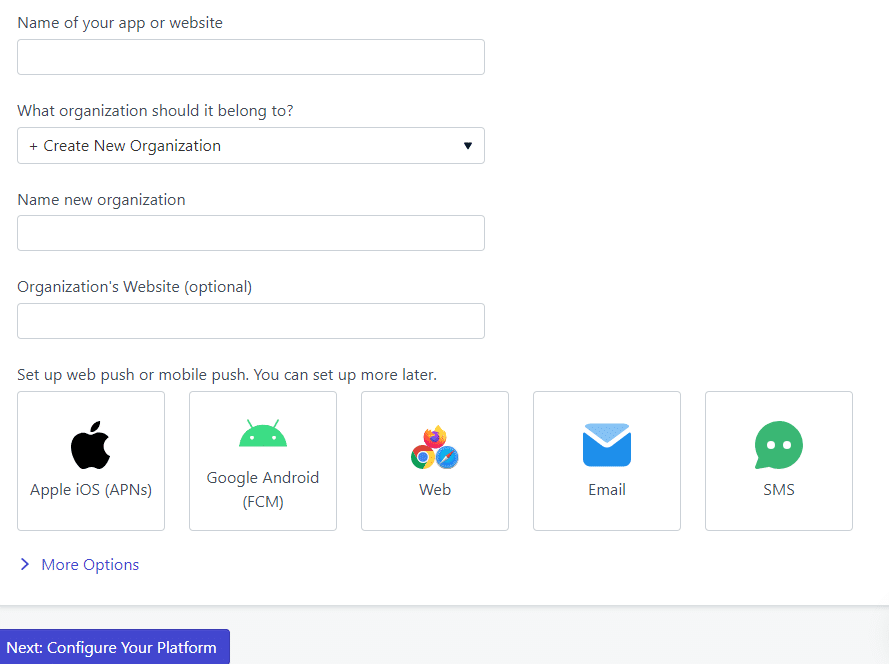
Here, we have named the app and selected the web as the push notification type.
On the next page, you must choose where to use the push notifications. Since we will use them on WordPress, we have selected it from the page.

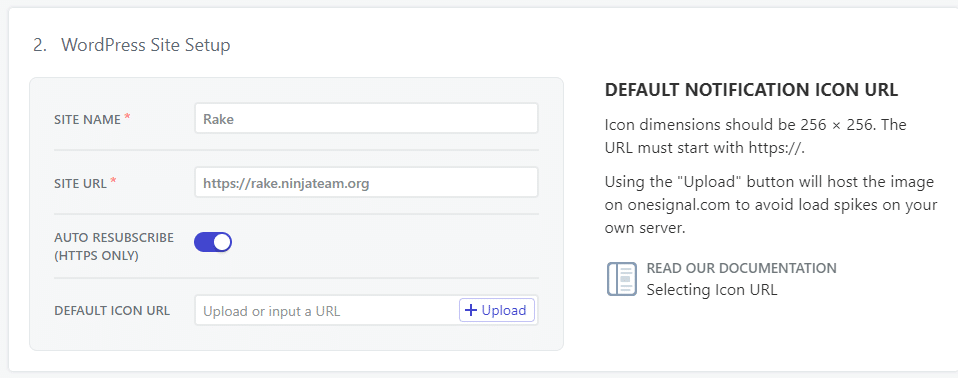
If you scroll down to the bottom, you can find the options to enter your app name and the domain. Fill in those details as you need.
On the next page, you can see the keys.
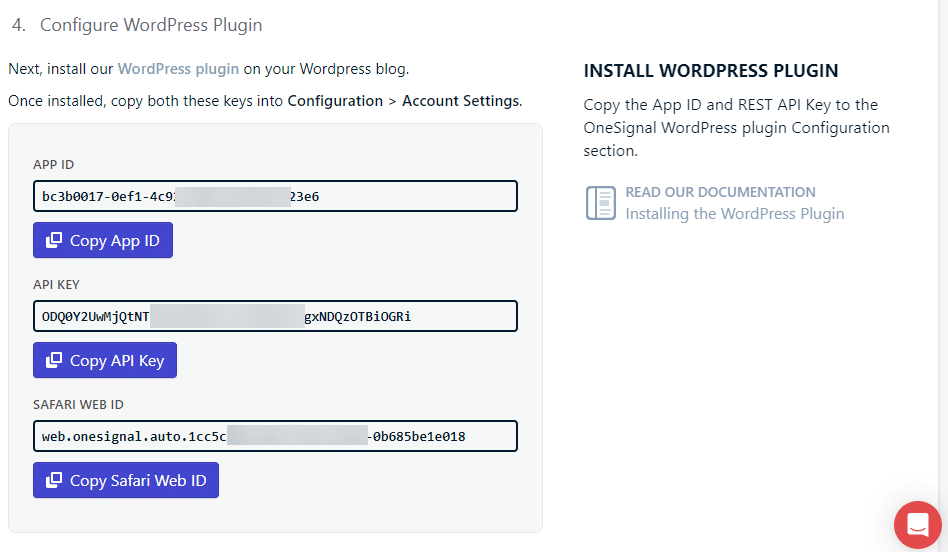
You must copy the keys from there and paste those in the plugin’s settings.
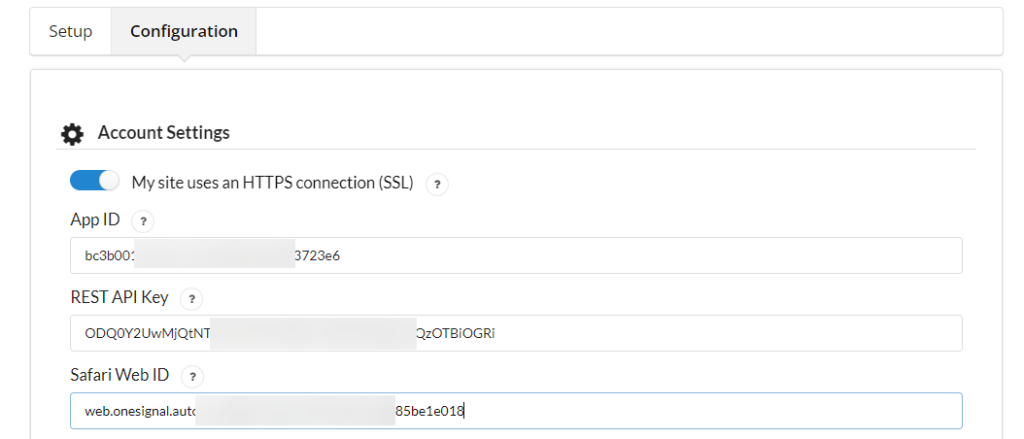
Save the settings once you have done that.
We have configured the plugin so far. Now, it is time to test it and ensure it will work correctly.
3. Display Settings
Inside the plugin’s settings, you can see several options for customizing the visibility of the subscription bell. For example, from the prompt bell & subscription bell settings, you can take the customization to the next level.
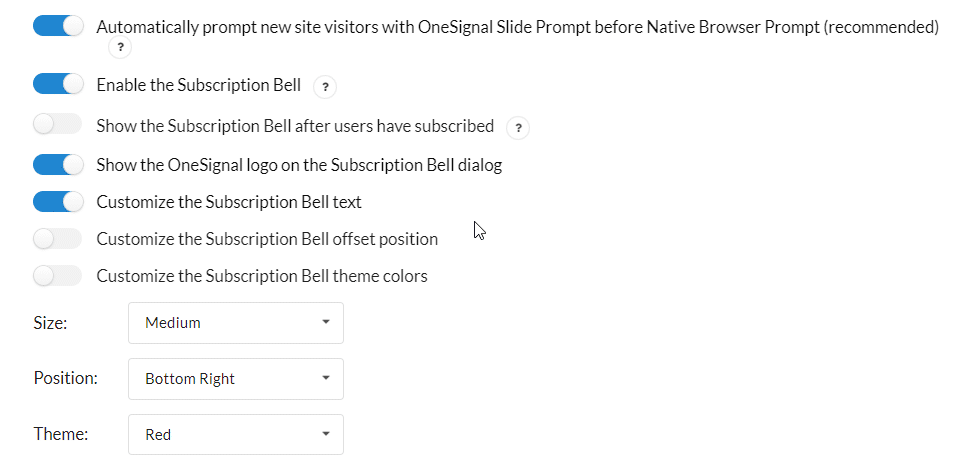
The same settings page allows you to modify bell size, alignment, and theme. Customize these options to your liking. If you need to add custom UTM tracking, that is possible too.
You can save the settings after all the modifications.
4. Testing
You can send notifications directly from your WordPress dashboard after publishing posts, pages, or custom post types. You also have the option to send custom messages to your subscribers.
After completing the integration, open your website from the front end, and you will get the subscription notification.
We have enabled notifications on our device, and let’s see what it will look like. First, we will send a notification directly from the post editor. If you open the Gutenberg or Classic Editor, you will see the option to notify all your subscribers.
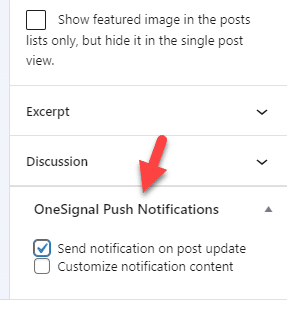
You need to check that box and publish/update the article. The server will send the notification to all your subscribers. This is an ideal choice if you need to automate post notifications. The next option you have is the manual messages.
To send manual messages, go to the messages tab and select a new message.
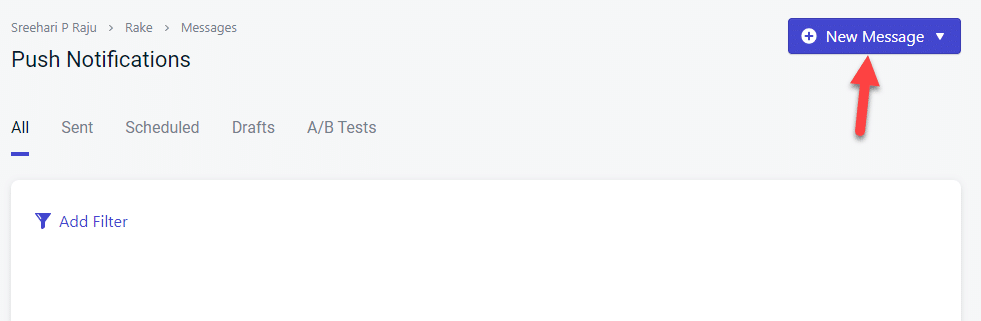
Choose push notifications from the dropdown.

On the next page, you can see the custom options available.
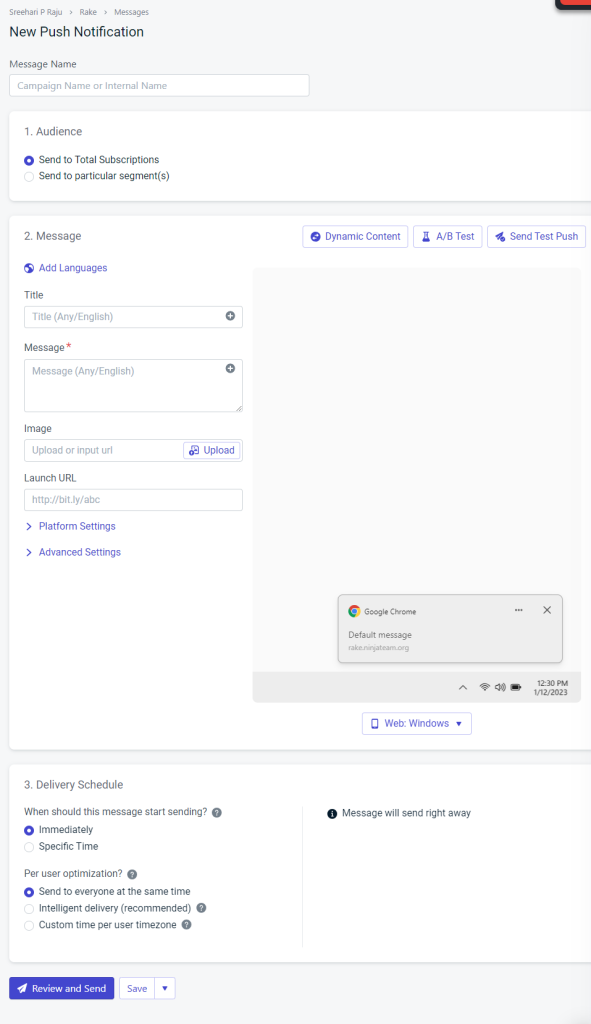
Since the platform also shows a live preview of the message, you can customize it according to your preferences.
That’s it!
This is how you can set up push notifications in WordPress.
Bonus: Best WordPress Push Notification Plugins
This section will show you the best push notification plugins on WordPress. They are:
- OneSignal – ideal for beginners
- PushEngage – suitable for advanced users
- WonderPush – easy-to-use push notification service
- PushAssist – comes with multiple features to get returning traffic
- VWO Engage – best for both bloggers and business owners
And so on.
Conclusion
If you run an online store and need to increase traffic, adding push notifications to your website is a great idea. Several free options are available, so you do not need to spend money on this.
As you can see in this article, setting up OneSignal is simple. You do not need to write a single line of code to complete the integration. Since you can send notifications directly from your WordPress website, this will make your life easier.
We highly recommend giving this platform a try.
Are you going to integrate push notifications with your WordPress installation?
Let us know in the comments.