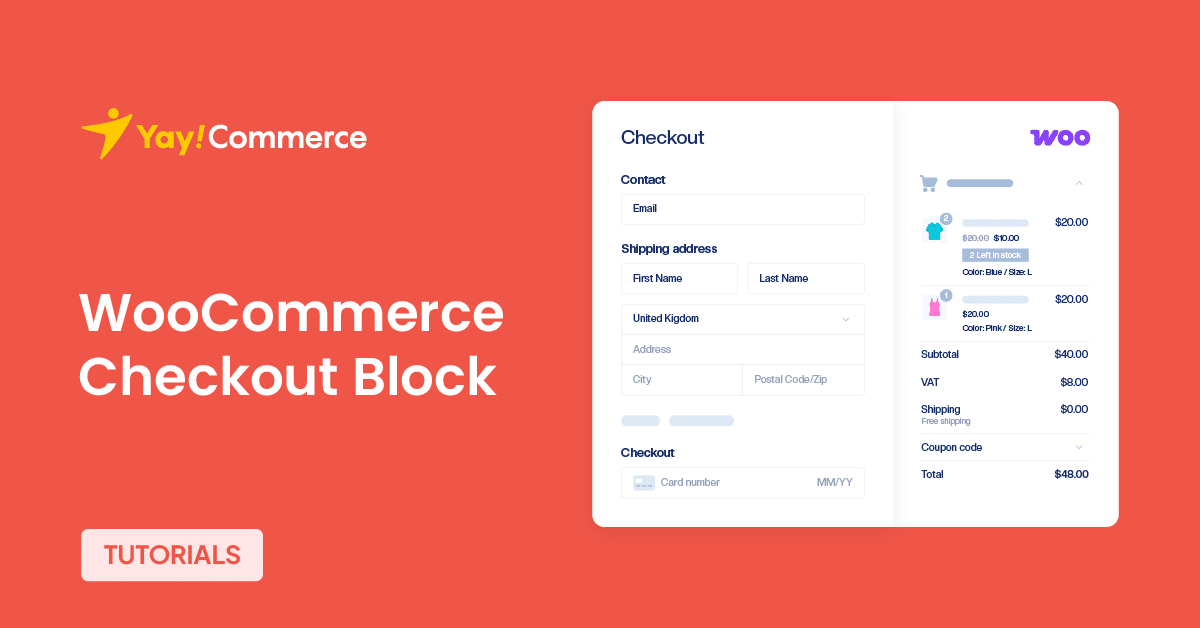
Do you want to know more about the WooCommerce checkout block? In this post, we will show you everything you need to know.
When having a WooCommerce store, you must develop multiple strategies to optimize your sales and conversions. Designing your WooCommerce store is another great thing that affects the conversion rate.
Gutenberg devised an excellent choice – WooCommerce checkout block to simplify the checkout process.
This article will show you everything about the new WooCommerce checkout block.
But first, let’s see what the Gutenberg WooCommerce checkout block is and what it has to do.
What Is WooCommerce Checkout Block
The WooCommerce Checkout Block is an integral component of the WooCommerce Blocks plugin, which is designed to modernize and optimize the checkout process on WooCommerce-powered websites.
It replaces the traditional checkout shortcode with a dynamic block-based system, leveraging the power of Gutenberg, WordPress’s block editor. This shift to blocks allows for a more intuitive and user-friendly checkout experience.
The WordPress Checkout Block is engineered to offer features like inline form validation, where users instantly see if they’ve missed a field or entered incorrect data without submitting the form first. This immediate feedback can significantly reduce cart abandonment rates.
Moreover, it facilitates express checkouts, enabling customers to complete purchases swiftly, which is particularly appealing in online shopping.
Benefits of Using the WooCommerce Checkout Block
Adopting the WooCommerce Checkout Block has many advantages that can significantly elevate your eCommerce site’s performance and customer experience. Here are some key benefits:
- Improved User Experience: The Gutenberg Checkout Block simplifies the checkout process by presenting it in a more organized, step-by-step manner. This clarity reduces confusion and frustration, common causes of cart abandonment. With inline validation, customers are informed of real-time issues with their input, making the experience smoother and less error-prone.
- Mobile Optimization: In an era where mobile shopping is predominant, the Checkout Block is designed with mobile-first principles. Its responsive nature ensures that the checkout experience is as seamless on a smartphone or tablet as on a desktop, catering to the preferences of modern consumers who shop on the go.
- Extensive Customization: Unlike the traditional checkout setup, which could require developers to tweak code or use additional plugins for customization, the Checkout Block integrates directly with WooCommerce’s block editor. This allows merchants to modify the checkout process visually, adjusting elements like form fields and layout and even integrating custom blocks to match specific business needs or branding without deep technical knowledge.
- Streamlined Express Checkouts: By supporting express payment options, the Checkout Block can reduce the number of steps to purchase, speeding up the transaction process. This is particularly beneficial for returning customers or those using services like Apple Pay or Google Pay, where a quick checkout can be the difference between completing a sale or losing a customer.
- Enhanced Conversion Rates: A more intuitive and less cumbersome checkout process increases the likelihood of customers completing their purchases. The Checkout Block’s design principles focus on reducing distractions and guiding the user to conversion, potentially leading to higher sales conversion rates.
How to Set Up WooCommerce Checkout Block
You must follow seven simple steps to set up the WooCommerce checkout block. The steps are:
- Ensure compatibility
- Access your checkout page
- Replace shortcode
- Add the checkout block
- Customize the block
- Save the changes
- Configure additional settings
Let’s have a close look at each step below.
1. Ensure Compatibility
Ensuring compatibility with your current setup is crucial before setting up the WooCommerce Checkout Block. Firstly, you must verify that you’re running WooCommerce version 8.3 or a later iteration since the Checkout Block became the default checkout experience.
Next, consider your theme’s compatibility. While the Checkout Block is designed to work with most modern WordPress themes, some older or highly customized themes might require adjustments to fit seamlessly with the block’s design.
Check the WooCommerce documentation or your theme’s support forums for any known issues or necessary CSS adjustments. Plugin compatibility is another aspect to consider.
Some plugins, that modify the checkout page, might not yet be updated to work with the new block system. Look for plugin updates or check the developer’s documentation to confirm whether they support the Checkout Block.
If a plugin you rely on isn’t compatible, you might have to look for alternatives or contact the developer for an updated timeline. Lastly, ensure your hosting environment supports the latest versions of PHP and MySQL that WooCommerce recommends.
While the checkout block doesn’t have unique server requirements beyond WooCommerce’s standard, running an outdated server environment can lead to performance issues or incompatibilities with newer features.
2. Access the Checkout Page
The next thing you need to do is access your checkout page. You can see it under the Pages section.
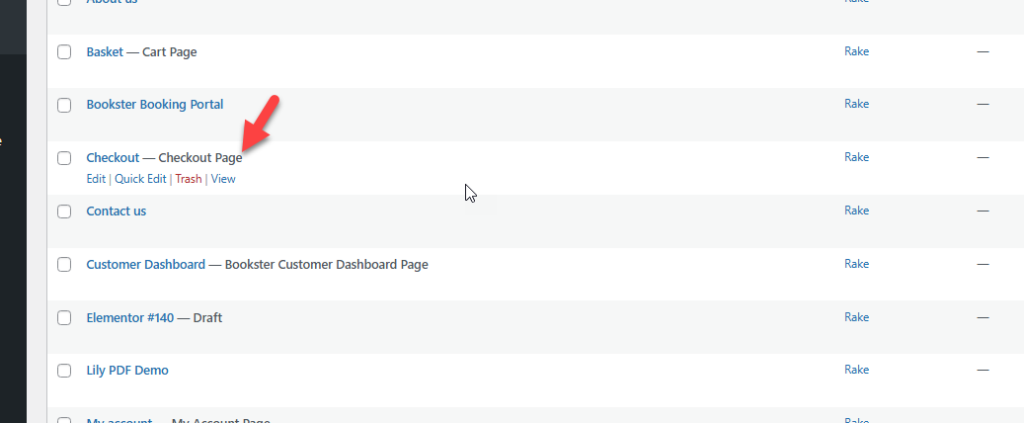
There, you can see the checkout page.
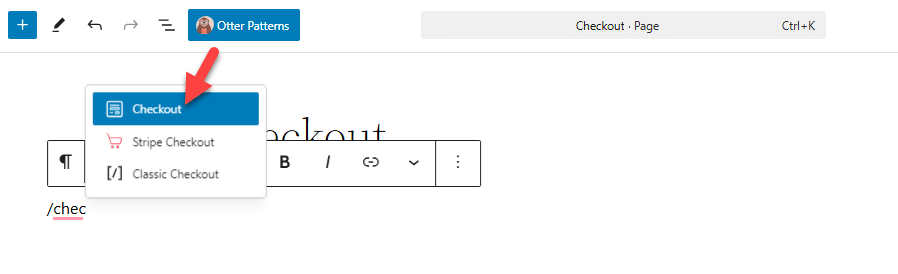
3. Replace Shortcode
On the page, you will see the default shortcode to display the WooCommerce checkout page:
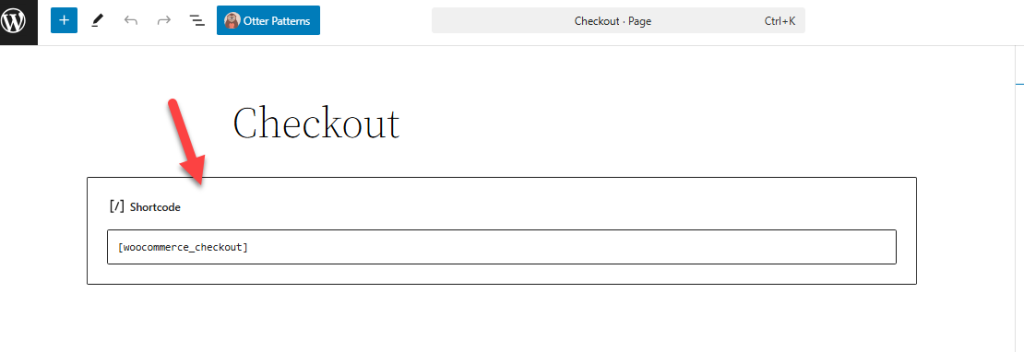
You need to remove it from the page.
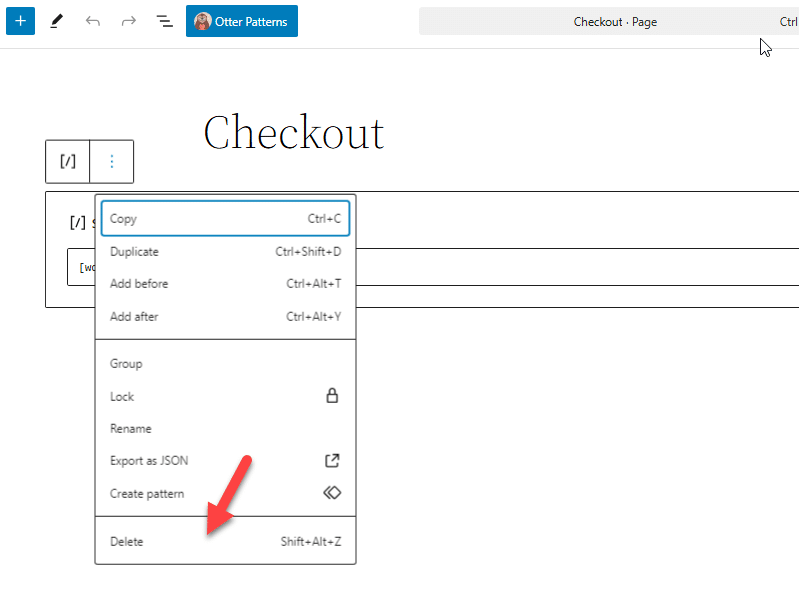
4. Add the Checkout Block
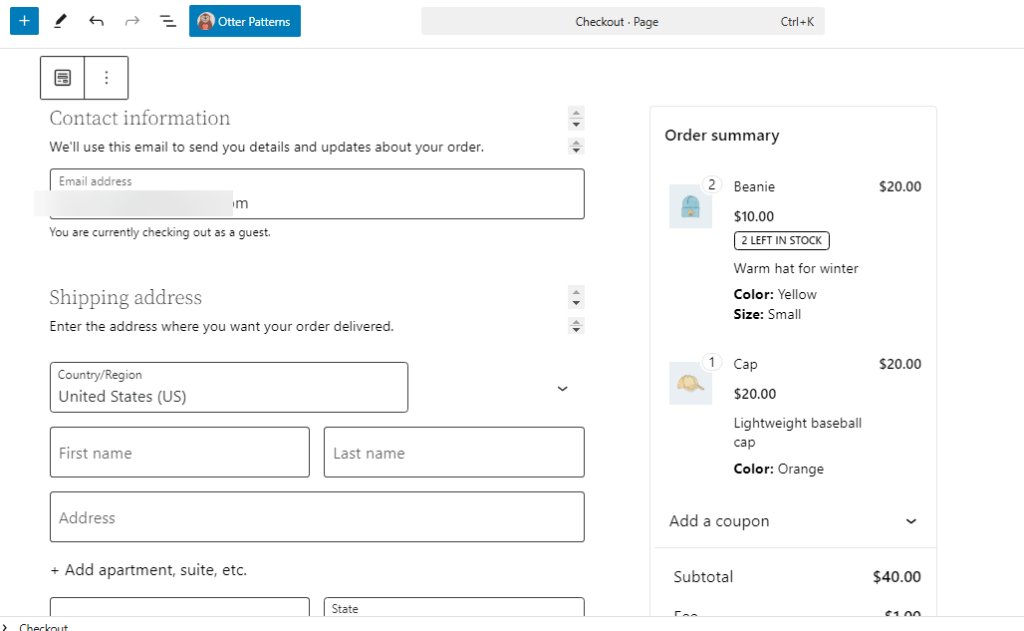
Once you have removed the shortcode, you can insert the new Checkout Block.
After adding, you can see the full checkout page there.
If you use a theme like Brandy, you will have multiple checkout customization options.
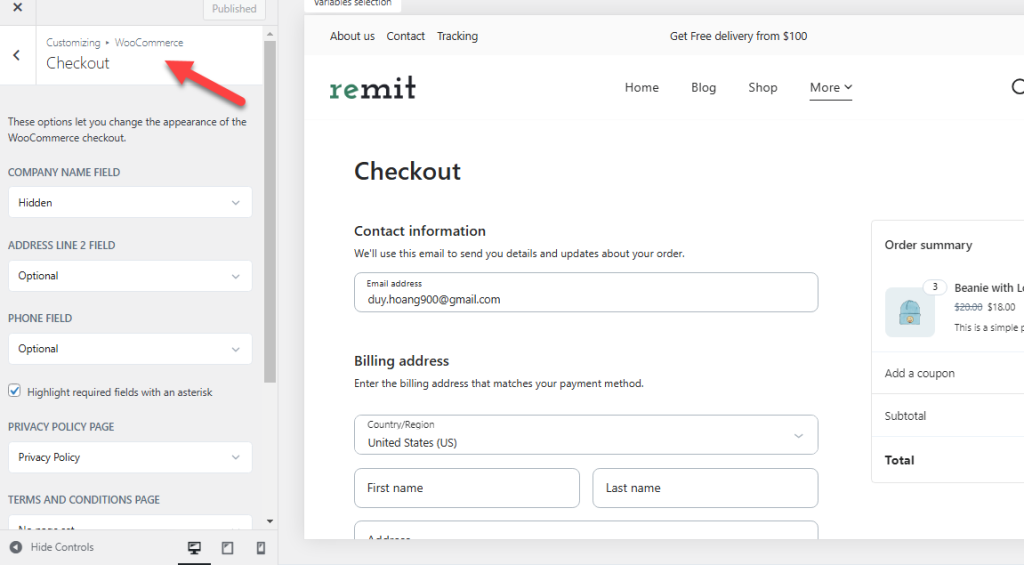
5. Customize the Block
The next thing you need to do is customize the block. If you select the parts of the block, you can see the settings on the right-hand side.

You can tweak the options according to your preferences. All the sections can be modified, so edit those options.
6. Save the Changes
After making the changes, you need to save it.
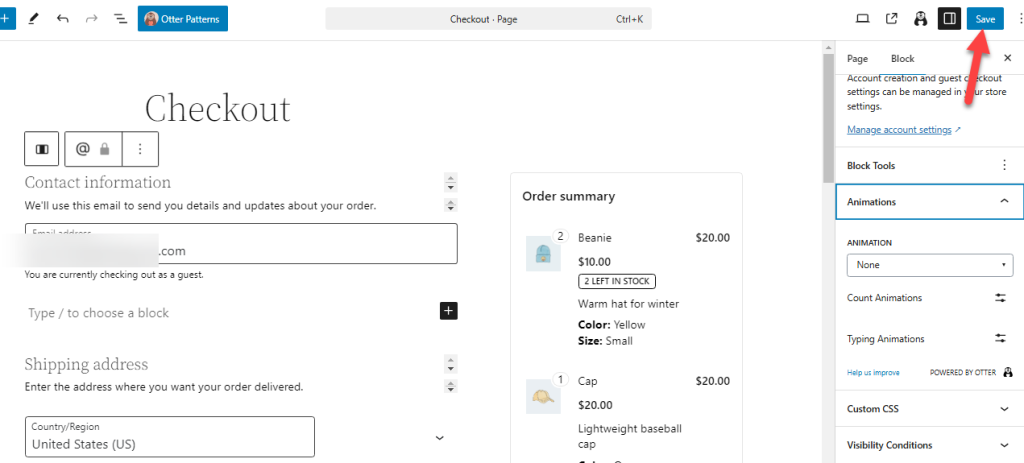
7. Configure Additional Settings
Now, you need to go to the advanced settings. There, you can see some options.
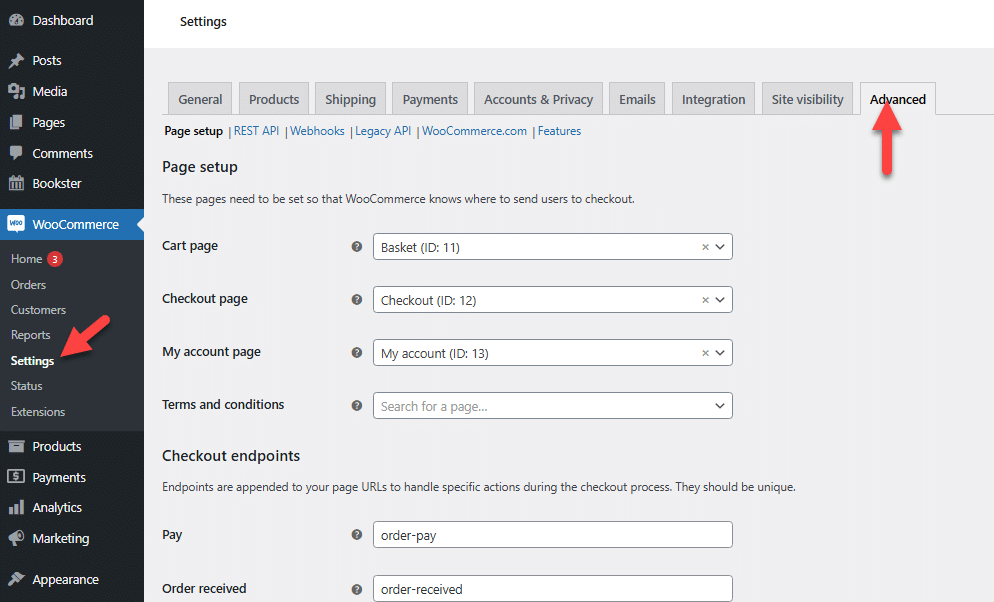
You can customize it as you like.
Frequently Asked Questions
Next, we will see a few frequently asked questions.
Delete the Checkout Block and reinsert the [woocommerce_checkout] shortcode on your checkout page.
Look for compatibility statements from your gateway provider or test them on a staging site before going live.
You must update to at least WooCommerce 8.3 to use the Checkout Block. Always back up your site before updating.
Use a plugin like “WooCommerce Checkout Field Editor” for easy field management, or add custom fields via code for more control.
Conclusion
The WooCommerce Checkout Block stands out as a game-changer for store owners looking to optimize their checkout process. It offers a blend of user-centric design, customization flexibility, and performance enhancements that can lead to improved conversion rates and customer satisfaction.
Leveraging the power of WordPress’s block editor simplifies the management of the checkout experience, making it accessible even to those without deep technical expertise. Whether you want to reduce cart abandonment, enhance mobile shopping, or streamline your checkout flow, the Checkout Block provides a modern solution.
Remember, your ability to adapt to new tools like this can significantly impact your store’s success. So, if you haven’t yet, consider integrating the WooCommerce Checkout Block into your WooCommerce store to unlock its full potential. Keep exploring, keep optimizing, and watch your online business thrive.
Do you know anything else about the new WooCommerce checkout block?
Let us know in the comments.
Also, if you prefer video content over written tutorials, please check out our YouTube channel.
your plugin should be compatible with this updated checkout, yaycurrency plugin