Do you want to add the WooCommerce upload image to your store’s product page feature? If you are looking for a step-by-step guide, keep reading this article!
When you run an online store, you should develop multiple strategies to improve the conversion rate. When you print t-shirts or coffee mugs based on a user’s request, you should find a solution to collect the image file from the user.
By default, WooCommerce doesn’t come with this feature. So, if you need to add this feature, this could be challenging.
That’s why we have created this guide.
Here, we will show you the step-by-step guide on how to add WooCommerce upload images to the product page feature without a hassle.
But first, let’s see why you should allow image upload on WooCommerce.
Why You Should Allow Image Upload on WooCommerce
As we mentioned, if you run a store that will produce goods based on customer’s needs, the image upload feature on the WooCommerce product page would be ideal. This way, the customers can upload their designs, and the business can modify the product accordingly.
This feature will be helpful when you have a print-on-demand website. Now you know why you should allow image upload on WooCommerce. Next, let’s see how to add the WooCommerce upload image feature to the product page.
How to Allow WooCommerce Upload Image on Product Page
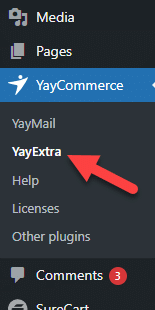
Since WooCommerce doesn’t come with this feature, we will use the YayExtra plugin for the addition. YayExtra is a freemium plugin, and we will use the premium version for this tutorial. Once you have activated the plugin, you can see its settings on the left-hand side.
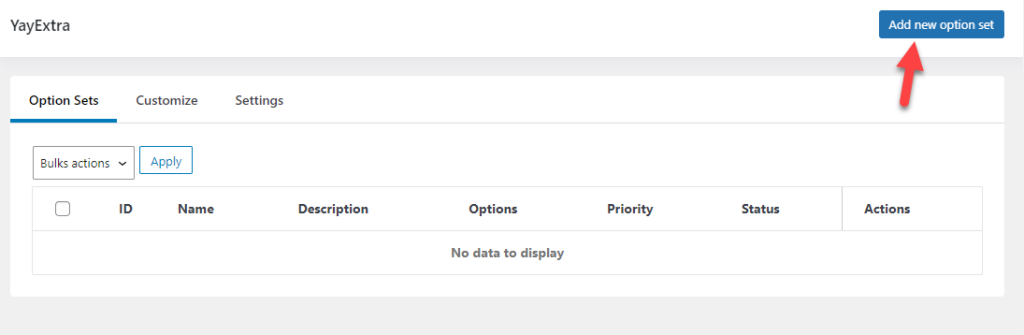
Here, you need to add a new option set.
There are four customization options.
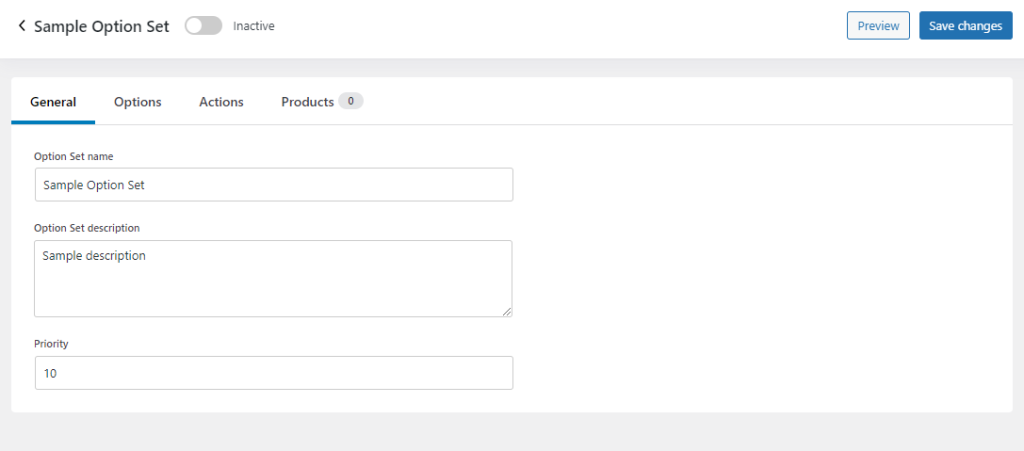
- General
- Options
- Actions
- Products
Let’s take a close look at each option.
1. General Settings
General settings have minimal options. Here, you can name the option set and give it a description.
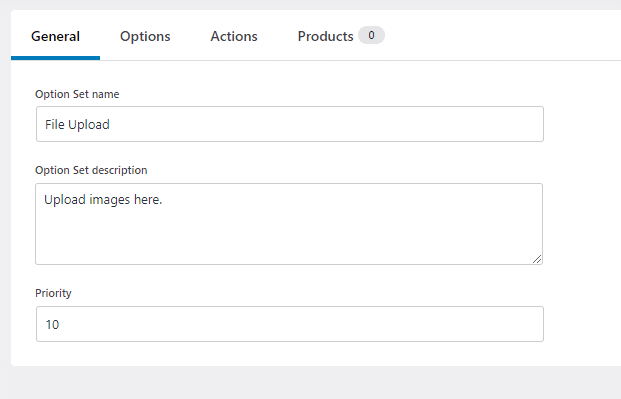
Once you have modified it, move to the following configuration option.
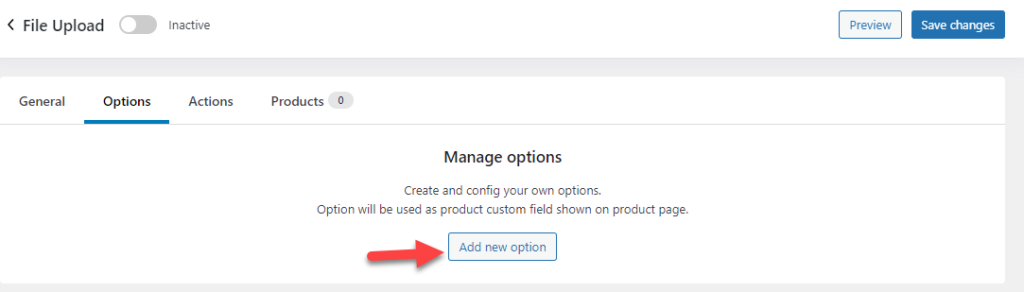
2. Options
By default, there won’t be any options. You should add a new one.
Now, you can configure the label, option type, etc. The label will be visible on the front end. And for the option type, choose file upload.
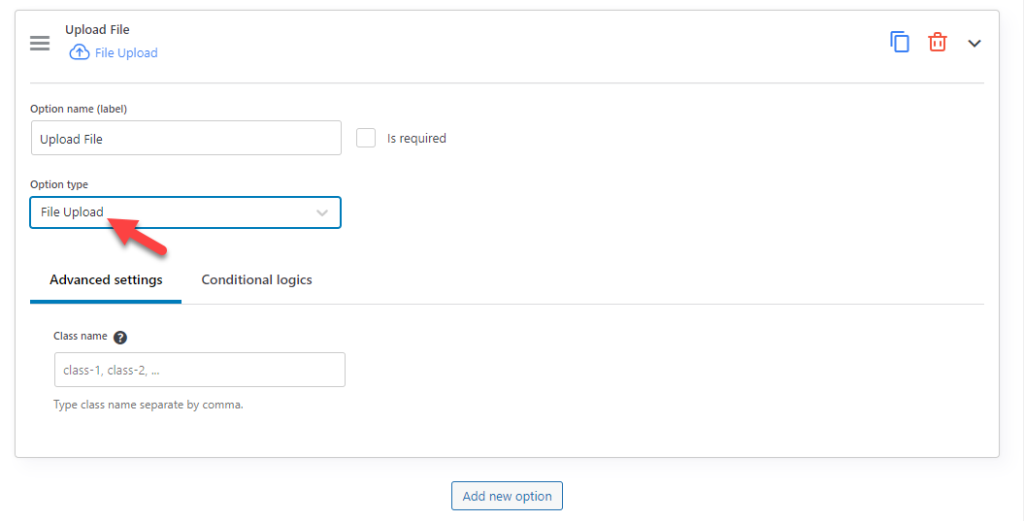
Add custom CSS classes there if you need to style the field differently. Similarly, you can use the conditional feature to disp[lay the field based on the user’s selection.
After configuring the options, move to the next stage.
3. Actions
This is optional. The actions settings would be handy to make your newly created option set more powerful.
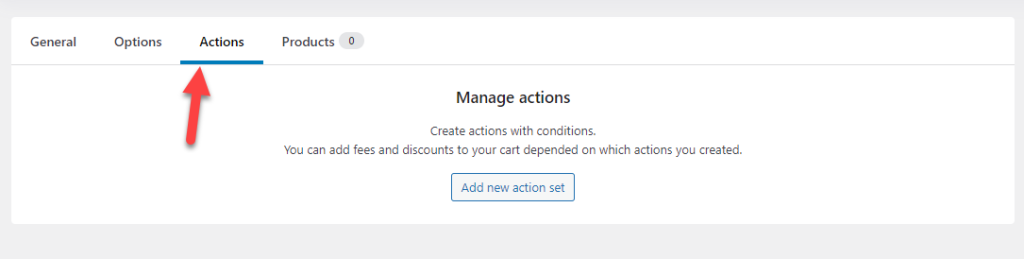
For this tutorial, we won’t be using any custom actions.
4. Products Settings
You can choose the products you need to add to this custom set from the fourth option.
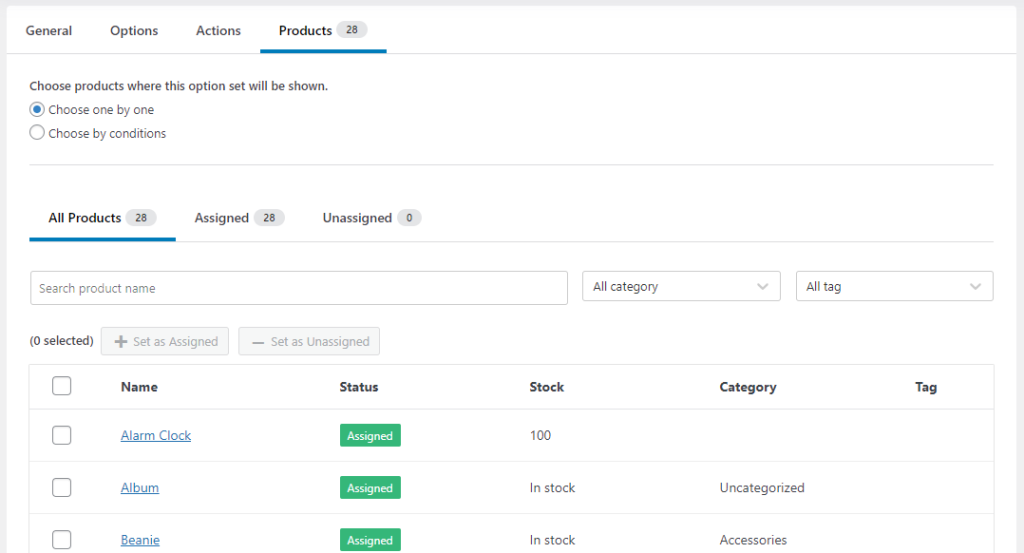
Once you have completed all the options, save the settings and make the options set active.

That’s it!
This is how you can allow WooCommerce to upload images on the product page.
Checking and Verifying the Feature
So, we have successfully added the image upload option to the WooCommerce product page. Next, you should check the feature from the front end. You can open any product you have added the feature to.
There, you will see the file upload feature.
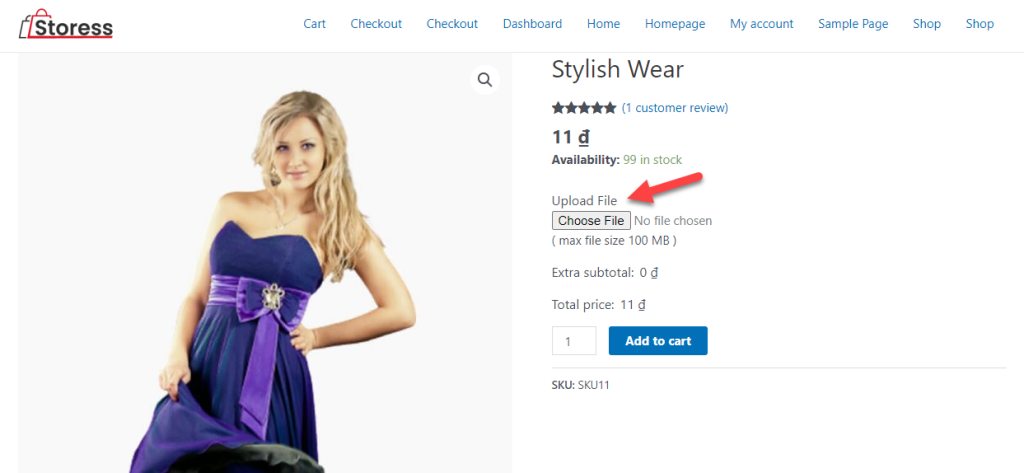
You can test it by uploading an image through the page. When someone orders a product through the page, you will see the image in the order details.
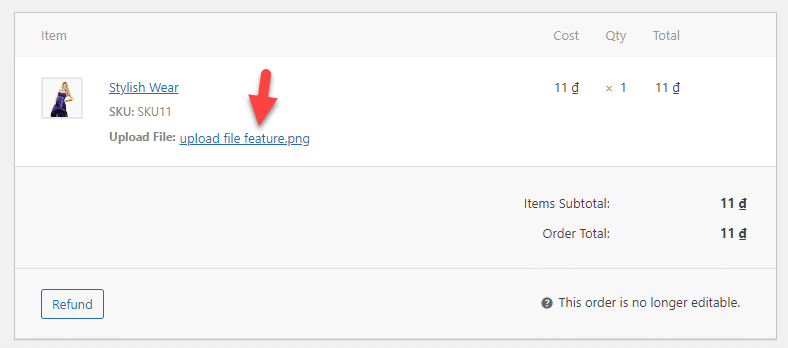
Now, the feature is working. If you need to organize your media folder, you can use the CatFolders plugin.
This way, you can arrange the files and folders based on your requirements.
That’s it!
Conclusion
The WooCommerce image upload feature will be helpful in multiple situations. Since WooCommerce doesn’t have this feature, you should use a third-party plugin to add this feature to your website.
As you can see in this tutorial, you can ease the process with a plugin like YayExtra. No complex steps are involved, and you can start adding multiple fields to your WooCommerce product page. The free version of the plugin comes with limited features, so we highly recommend checking out the premium version.
Will you enable the WooCommerce to upload images on the product page?
Let us know what you think.