Do you want to translate YayMail plugin? If you are looking for a simple yuet powerful guide, keep reading this article.
If you’re building a multilingual WooCommerce store or working with international clients, having a fully translated email builder is crucial.
The YayMail plugin makes customizing WooCommerce emails easy; however, it is not available by default in every language.
In this guide, you’ll learn how to translate YayMail using simple tools, contribute your translations, and ensure a smoother experience for users in your preferred language.
Whether you’re doing it for personal use or to help the community, translating YayMail is a quick way to make a big difference.
However, before proceeding, let’s examine why you should translate the YayMail plugin and submit the translation files.
Table of contents
Why You Should Translate YayMail Plugin and Submit Translation Files
Translating the YayMail plugin ensures that users across different regions can enjoy a fully localized experience when managing their WooCommerce email templates.
By contributing translation files, you’re helping make the plugin more accessible and user-friendly for non-English speakers.
Here are a few key reasons why you should translate YayMail and submit your translations:
- Improve usability for global store owners who prefer using YayMail in their native language.
- Enhance WooCommerce localization, especially for multilingual shops.
- Help the developer community by contributing to open-source efforts and improving plugin adoption.
- Ensure consistent terminology across your website and email designs.
- Get recognized — many plugins credit top translators in updates or communities.
- Make onboarding easier for your clients or team members using YayMail.
By translating YayMail, you actively enhance its global reach and contribute to a more seamless WooCommerce experience for users worldwide.
How to Translate YayMail Plugin and Submit Translation Files
You can use two primary methods to translate the YayMail plugin.
- Directly via the WordPress repository
- Using a dedicated plugin
Below, we will show you both methods. You can pick one according to your preferences. Without any further ado, let’s get started with the tutorial.
1. Manual Method
The first method we recommend is through the official WordPress repository. First, open the YayMail translation page. You will see this screen.
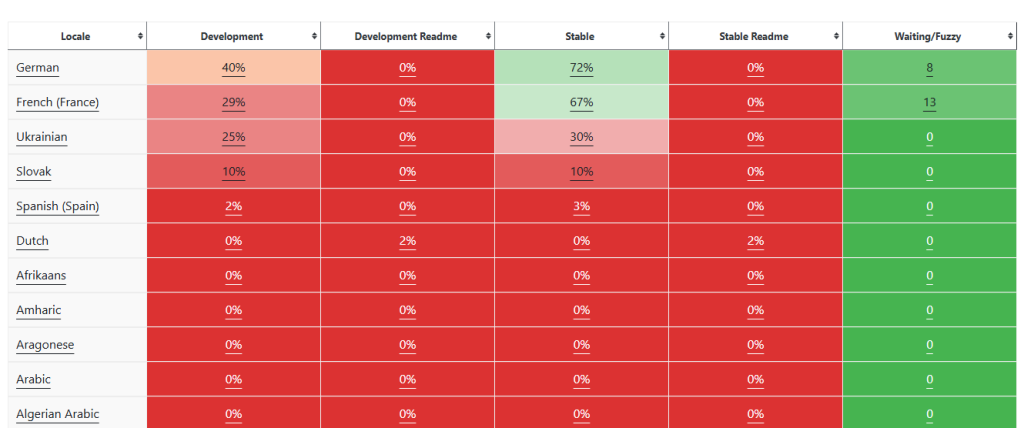
As you can see in the screenshot, the left side shows all the languages. Pick the language you prefer, and you will see which set or sub-project you need to translate.
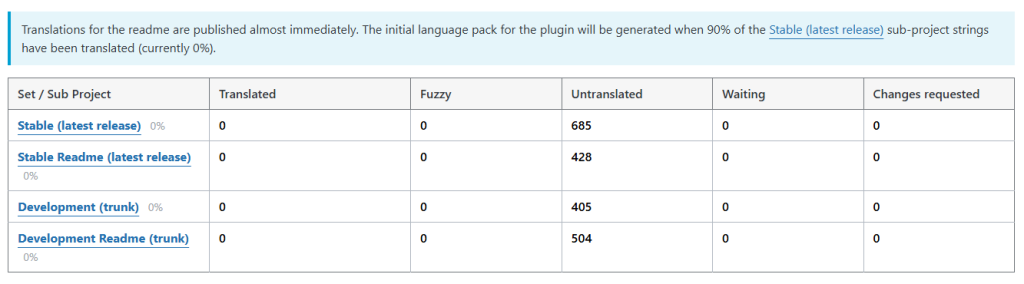
Pick one from there, too.
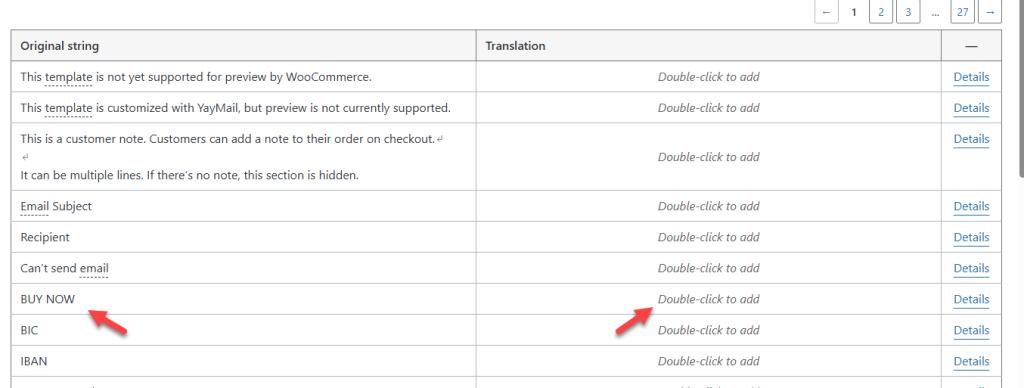
On the next page, the left side will display the string. And when you’re ready to translate the string, simply double-click in the translation tab, and you’re good to go.
When you double-click on the translation, a new submission box will be opened. You can enter the translation of the string there and submit the suggestion.
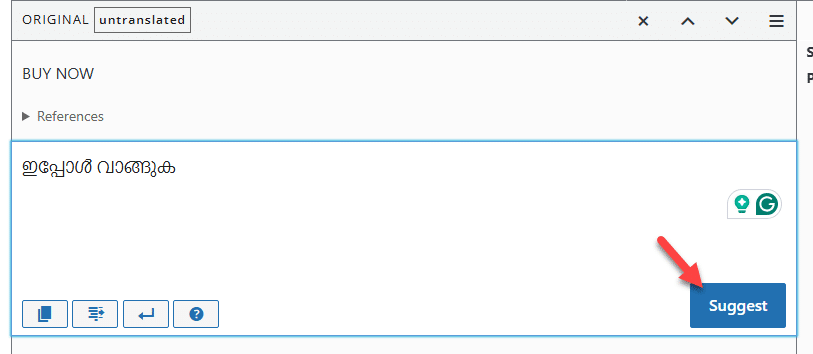
Spend some time translating the strings.

That’s it! Now, a member of the official team will review the changes and provide feedback. If the translation is good, that would be added to the plugin.
This is how you can use the WordPress repository for translating the content.
2. Plugin Method
Last time, we showed you how to translate the entire plugin for everyone. That takes time and effort.
If you are looking for a plugin method to translate the YayMail plugin, use Loco Translate or WPML. Below, we will show you how each plugin works.
2.1 Loco Translate
Loco Translate is an excellent plugin for translating your WordPress website or WooCommerce store. Install and activate the plugin on your website by navigating to the Add New Plugins section.

After the activation, you can see the plugin’s settings on the left-hand side.
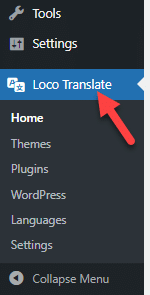
From there, choose the YayMail plugin.
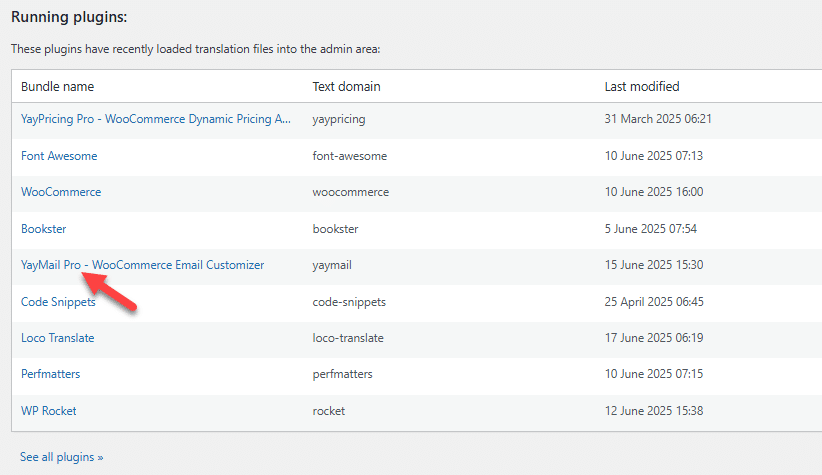
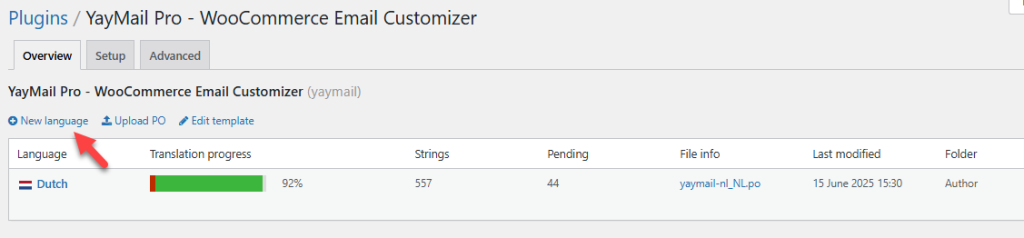
Once you have opened it, you can see all the available languages. As you can see, there is a Dutch translation. To add a new language, click the + button.
Next, select a language from the dropdown. Also, choose the translation file path.
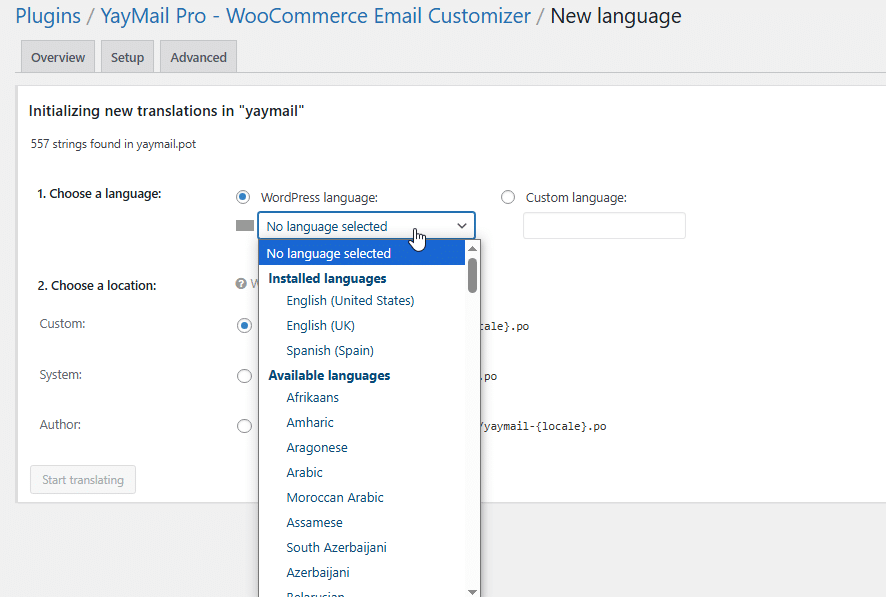
After choosing both, start translating.

You will now be redirected to the editor.
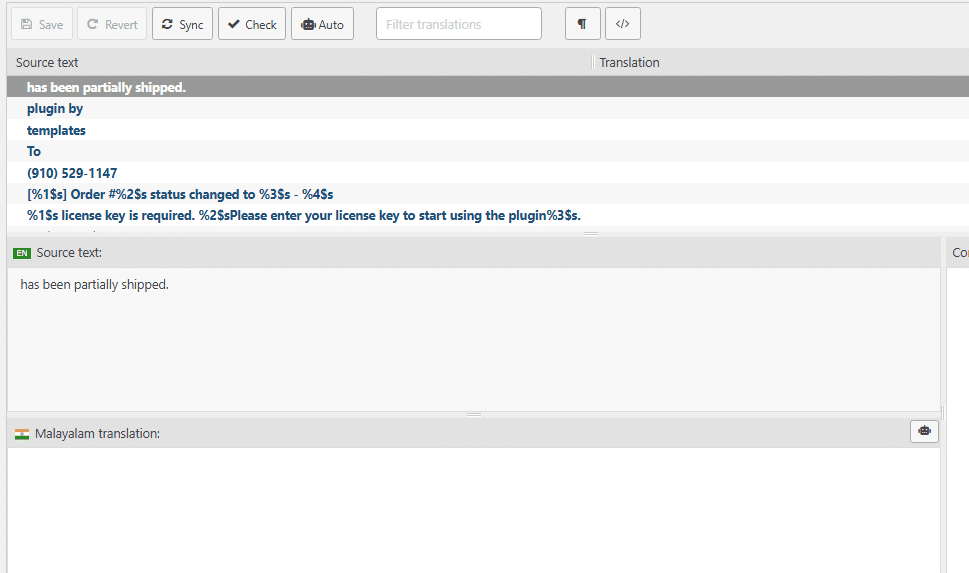
As you can see, you need to select a source string, enter the translation, and save when you’re done.
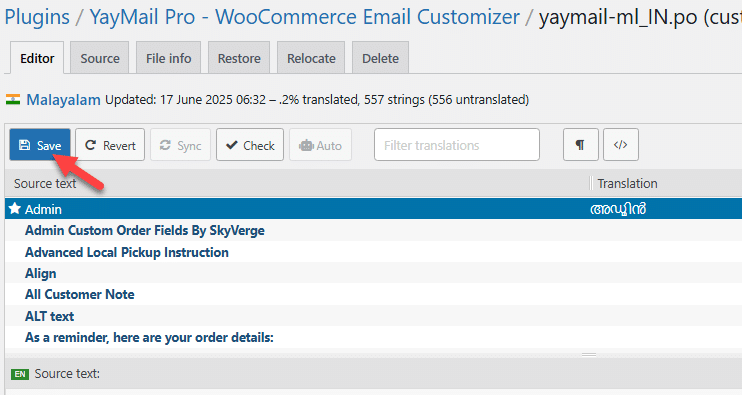
You can translate the plugin to as many languages as you need. By default, the plugin saves all translation files in the selected folder.
However, if you need to download a copy of the translated files, check the right-hand side of the editor. From there, you can download the wanted files.

Next, let’s see how to use the WPML plugin for translation.
2.2 WPML Method
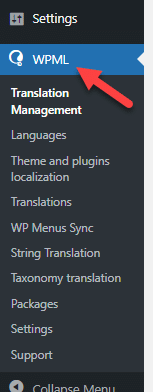
Install and activate the WPML plugin on your website. After activating the plugin, you can see its settings on the left-hand side.
Now, go to the theme and plugin localization. Scroll down and select the plugin you need to translate. After selecting, add the components to the strings.
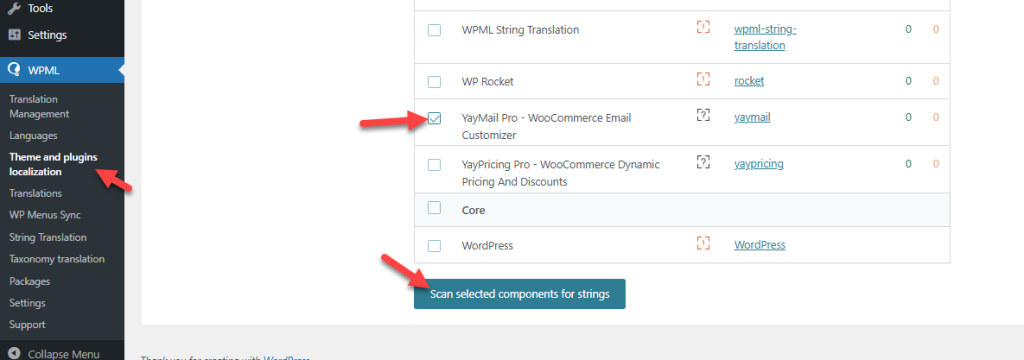
The process will take a few seconds to complete. Once the scan is complete, go to the string translation.
There, you can see all the strings.
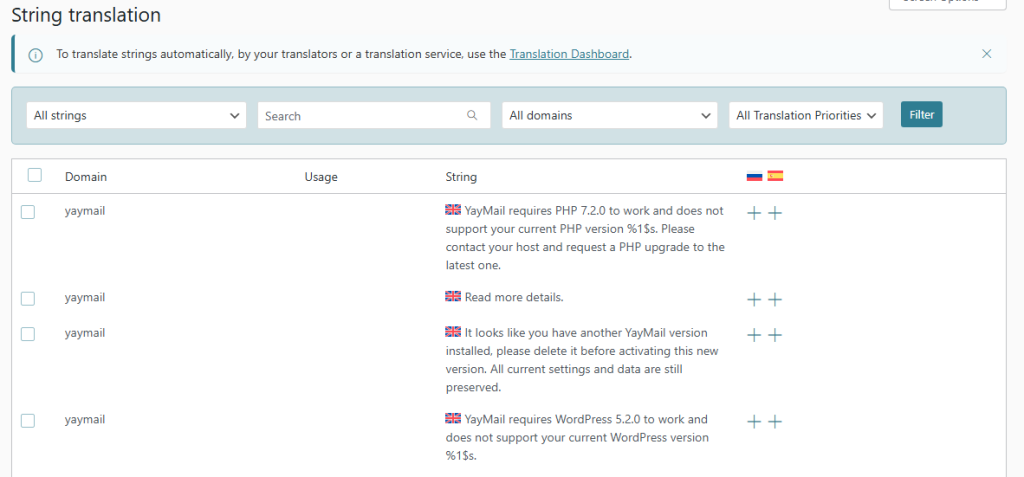
If you take a closer look, you can see the English string there. Also, the Spanish and russian strings for the same are missing. To add those, you can click the + button.
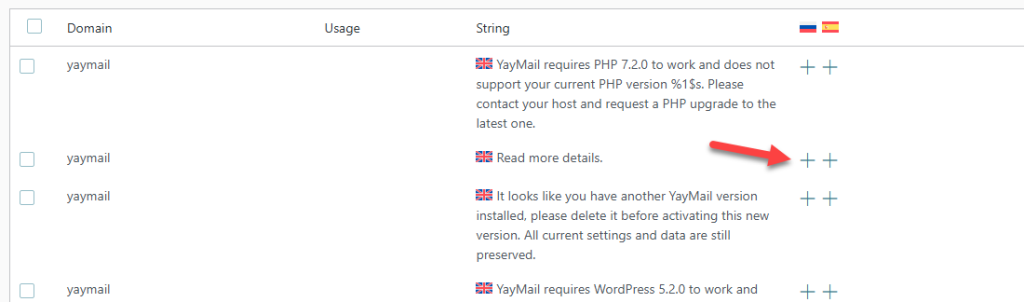
A pop-up will appear, and you can enter the translation there.
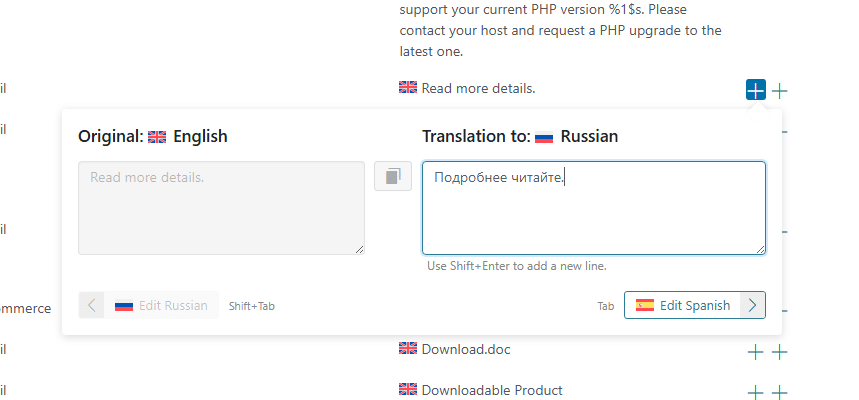
That’s it!
This is how you can use WPML for translation. You can translate every string without a hassle.
How to Submit Translation Files Manually?
Once you’ve finished translating YayMail using tools like Loco Translate or WPML, you’ll end up with .po and .mo files for your language.
To contribute your translations to the official plugin, you can submit these files directly to the YayCommerce team. Simply email your .po and .mo files to [email protected] with a brief message indicating the language you’ve translated and your intention to contribute.
The team will review your files and may include them in future plugin updates, helping more users benefit from your translation.
Frequently Asked Questions
Now, let’s take a look at some of the frequently asked questions regarding this topic.
Yes, you can. You can translate YayMail directly via the WordPress translation repository by contributing to the plugin’s language files online. However, using tools like Loco Translate or Poedit gives you more control locally.
Absolutely. YayMail is fully compatible with WPML, allowing you to create translated versions of your WooCommerce emails for different languages on your site.
Translation files are typically stored in wp-content/languages/plugins/ or the plugin’s own languages/ folder, depending on how they’re added (manually or via a plugin like Loco Translate).
If you use a plugin like Loco Translate, it stores translations in a safe location outside the core plugin files, so they’re preserved during updates. Always avoid editing files directly inside the plugin folder.
Yes! You can contribute translations through the WordPress.org repository. This helps the plugin reach a wider audience and enhances accessibility for non-English speakers worldwide.
Conclusion
Translating the YayMail plugin isn’t just about language — it’s about creating a better, more accessible experience for users worldwide.
Whether you choose to translate YayMail directly via the WordPress repository, use a user-friendly tool like Loco Translate, or opt for a multilingual solution like WPML, each method provides a straightforward way to localize your WooCommerce email templates.
By submitting your translation files, you’re not only customizing your site but also helping the broader WordPress community.
It’s a small effort with a significant impact — better usability, improved client experience, and a more professional storefront. Start translating today and make YayMail work exactly how (and where) you need it to.
Which method will you use?
Let us know in the comments.
It not only simplifies the translation process but also encourages community contributions—by submitting completed .po/.mo files to the YayCommerce team, you help extend the plugin’s reach and usability for non-English users worldwide.