Do you want to create a notification bar in WordPress? In this post, we’ll show you how to easily create a WordPress notification bar in less than 5 minutes.
A notification bar is one of the simplest ways to grab attention on a WordPress site. You can use it to share sales, important updates, or limited-time offers without redesigning your pages.
Notibar by Ninja Team makes this process straightforward.
The plugin lets you create and customize notification bars with a live preview, multiple display rules, and mobile-friendly options. In this tutorial, you will learn how to install Notibar, set up your first bar, style it, and control where it appears so visitors see the right message at the right time.
First, let’s see why you need a notification bar in WordPress.
Table of contents
Why Do You Need a WordPress Notification Bar
A notification bar sits at the top of your site and delivers a clear message the moment someone lands on a page. It works well for promotions, announcements, and important updates because it stays visible without interrupting the rest of the content.
Here are the main reasons site owners use a WordPress notification bar:
- Highlight limited-time offers or discount codes to boost sales
- Announce new products, events, or blog posts so visitors notice them right away
- Share urgent information such as shipping delays or policy changes
- Direct traffic to a specific landing page or signup form
- Keep messages consistent across the whole site without editing every page
A well-placed notification bar helps you communicate quickly and keep visitors focused on what matters most.
How to Create a Notification Bar in WordPress
As we said, we will be using the Notibar WordPress plugin. It is one of the best WordPress notification bar plugins in the market. Notibar comes with many cutting-edge features. There is a lite version with basic features to get you started.
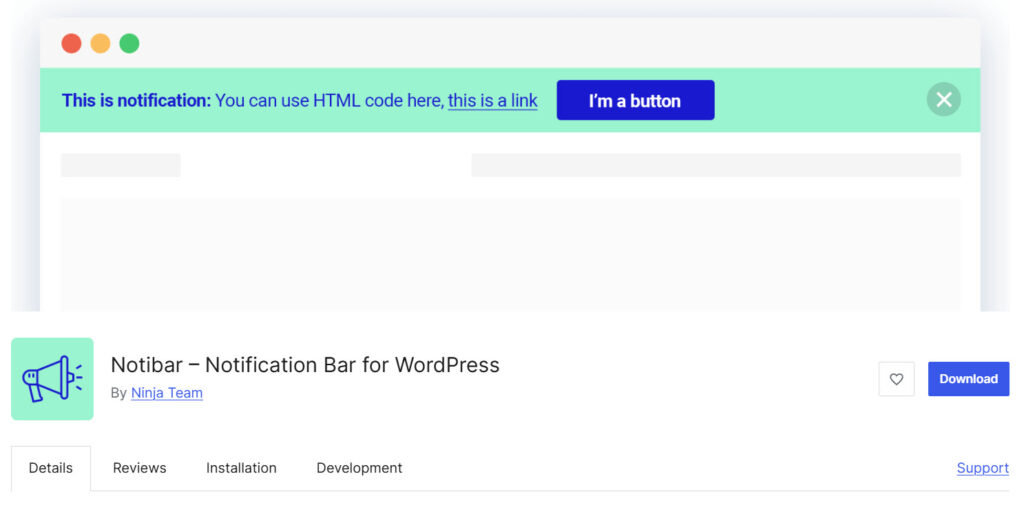
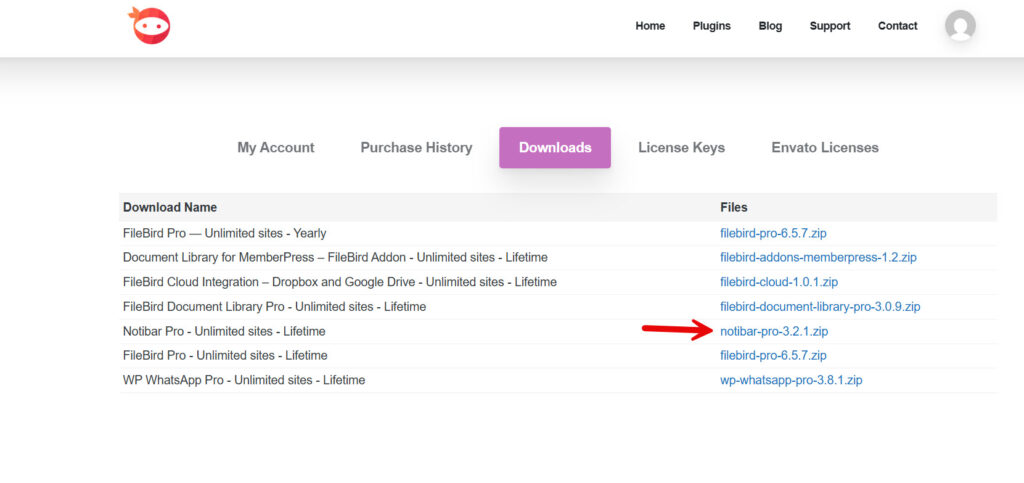
For this tutorial, we will be using the premium version of Notibar. If you are planning to use the lite version, you can install and activate it from the repository. Since we are using the pro plugin, which is available on our website, go to the account section to download it.
After activating the plugin, you can see its configuration options on the left-hand side.
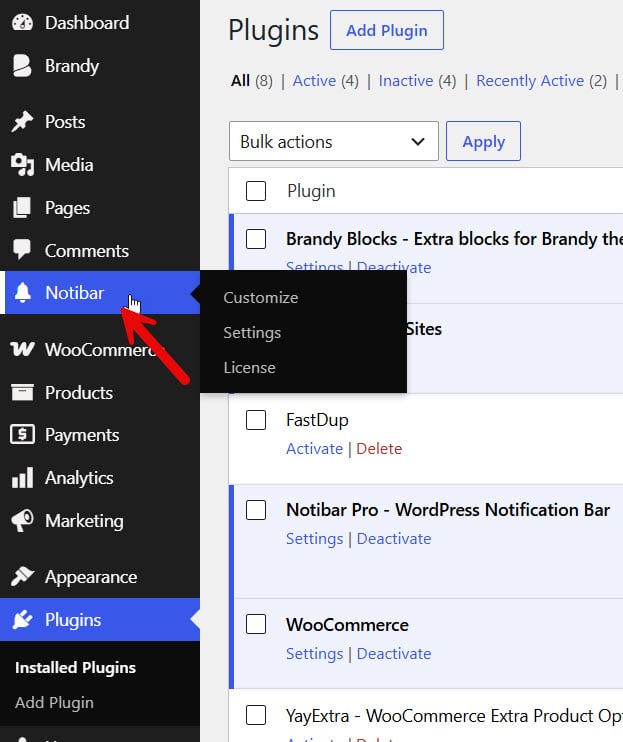
Click the Customize button. You will be redirected to the WordPress customizer.
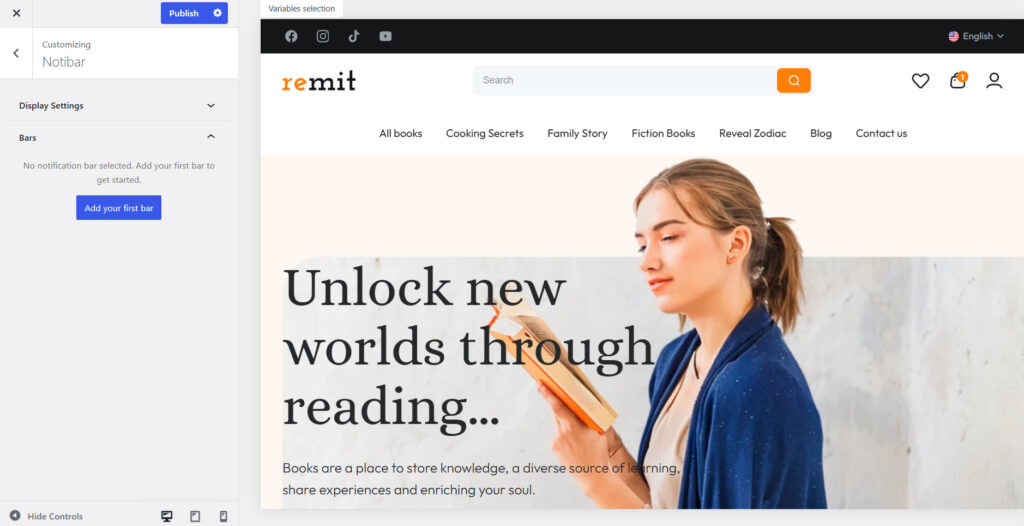
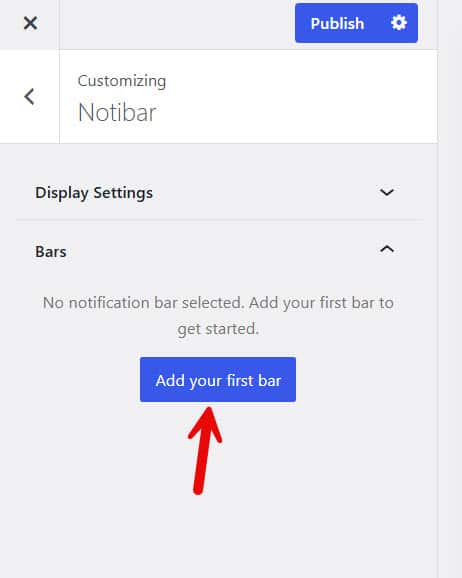
As you can see in the image, this is the Notibar configuration wizard. Currently, there are no bars. So the first thing you will do is create a new notification bar.
1. Create a New Bar
You will see four settings:
- Content
- Style
- Display
- Behavior
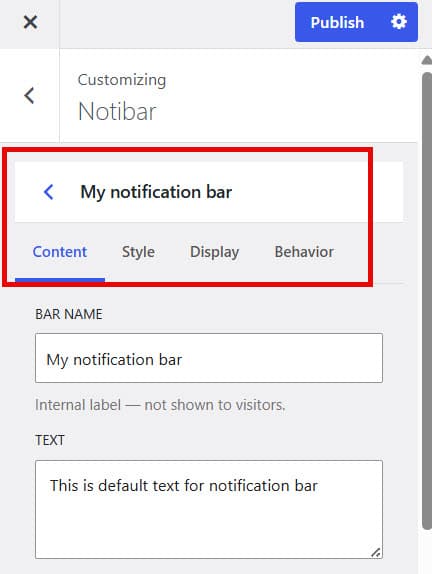
Let’s take a closer look at what each option offers.
1.1 Content Settings
As the name says, we will be dealing with the bar content. We have options such as:
- Bar name
- Text
- Button settings
- Countdown timer
- Mobile
Let’s see how it is done.
First, we will do the bar name and text. The bar name won’t be visible on the front end. It is just for identifying them when you have more than one bar on your site. Next, in the text field, enter the content. You can add emojis, HTML, or even shortcodes.
You can also insert custom variables to show live values too. Since the plugin gives you real-time results, we can see what we are building.
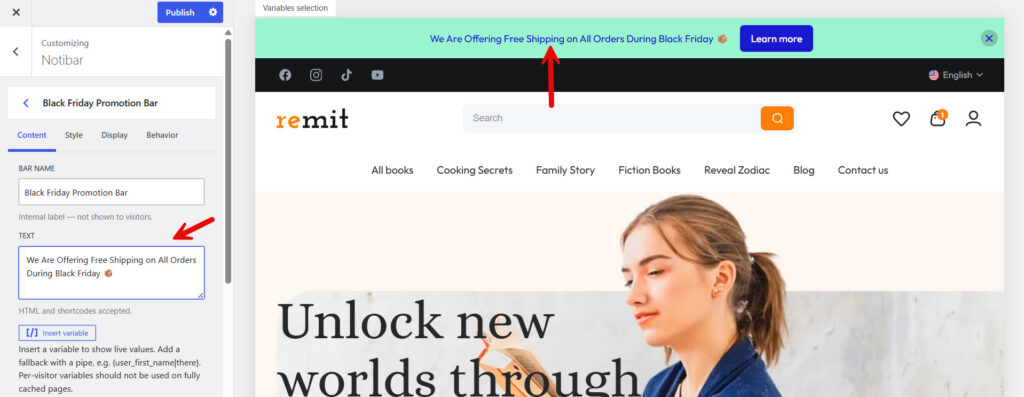
If you scroll down, you can see the button settings.
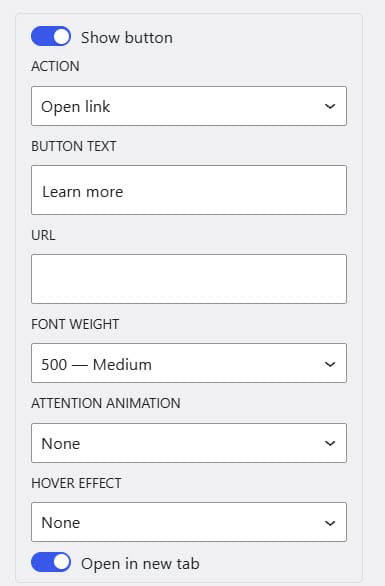
If you need to redirect the users to any specific page or URL, you can use this. As you can see in the screenshot, you can tweak the:
- Action
- Button text
- URL
- Font weight
- Attention Animation
- Hover effect
- Open in new tab
And so on from the settings. We will redirect users to our shop archive, which will open in a new tab. So, the configuration will look like:
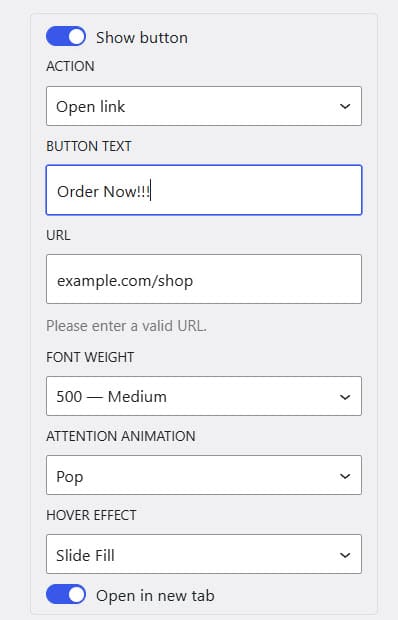
Next is the countdown timer option. Choose the right countdown option from the dropdown. In this case, we will go with a fixed date and time. Then choose the date and time when the timer ends. Although this tutorial will cover Black Friday, we will choose a close-by date for demonstration purposes.
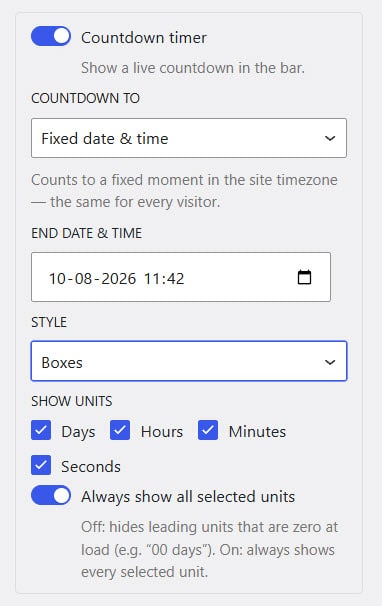
You also have a few style options you can tweak. You can show boxes, circles, or flip cloak for the design. Once you have configured everything there, move to the next option.
It is the mobile content option.
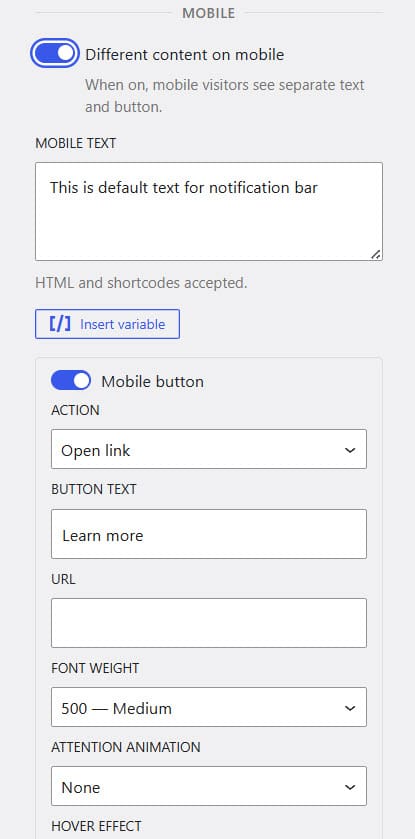
This feature will help you if you need to show different content on mobile devices. If you need to show the same content and design on mobile, keep the option disabled.
1.2 Style Settings
Next, we have the style options. As you thought, we will be styling the bar here. There are a few pre-made styling presets which you can use.
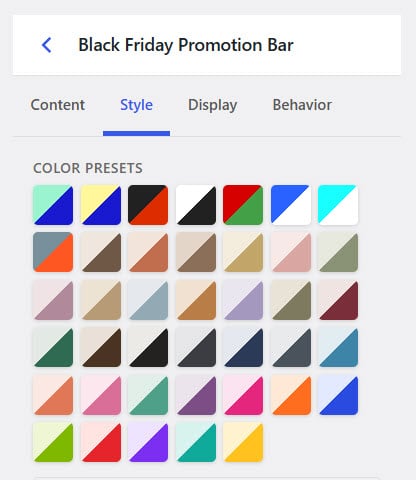
If you are in a hurry, you can choose any of those presets. On the other hand, if you need to build a completely new one from scratch based on your website’s color schemes, that is possible too.
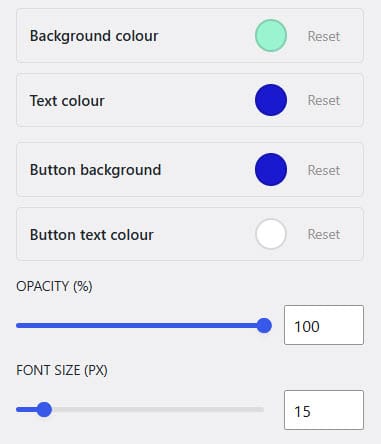
You can also see a few more configuration options that you can use to style your bar further. Tweak them according to your preferences.
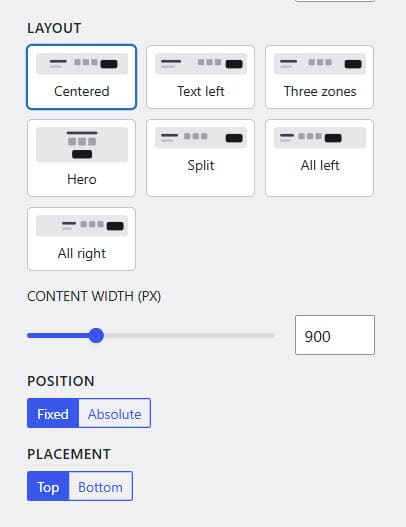
1.3 Display Settings
The display options control the notification bar visibility.
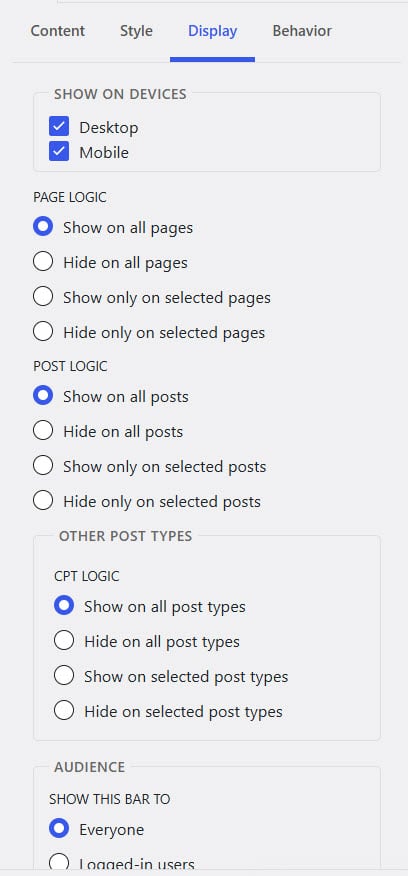
You can show/hide bars based on:
- Devices
- Page
- Post
- Post types
- Audience
- Country
If you need to show the notification bar to everyone, keep the default settings. If you need to tweak the visibility, change the settings as needed.
1.4 Behavior Settings
The final configuration option we have is the behavior settings. As the name says, here we will control how the bar behaves.
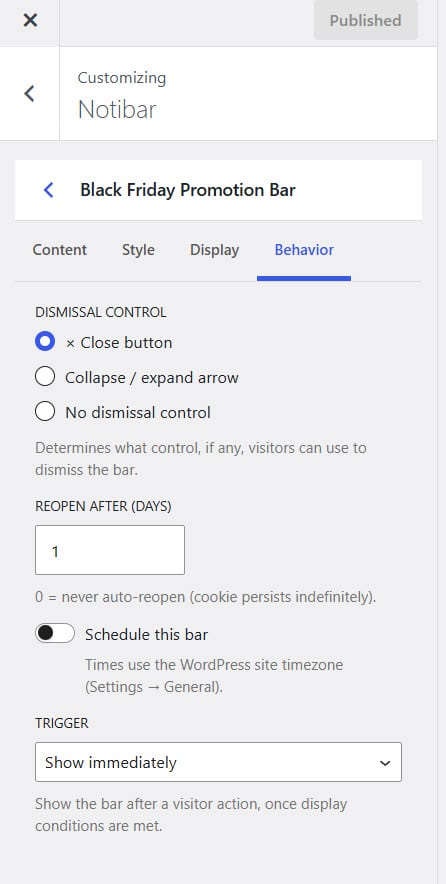
The first option is dismissal control. This controls how we can dismiss the bar. Choose an option you like. We will stick with the X close button option.
Next, choose the reopen interval. It is in days. If you enter 0 there, the bar will be shown to the visitor again and again after each website visit. If you need to limit the showing interval, it’s better to use 3 days or something depending on your liking.
Next is the scheduling option.
Here, you can schedule the bar so it will be only displayed during that period.
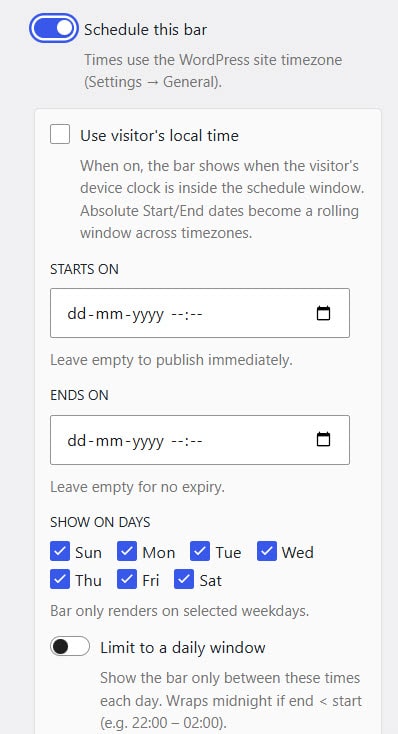
As you can see in the screenshot, you can choose a start and end date, choose the days to display the bar, or limit it to a daily window.
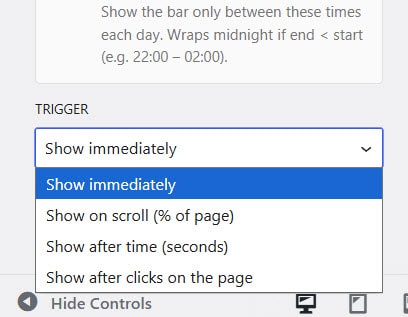
Finally, you can also choose a trigger.
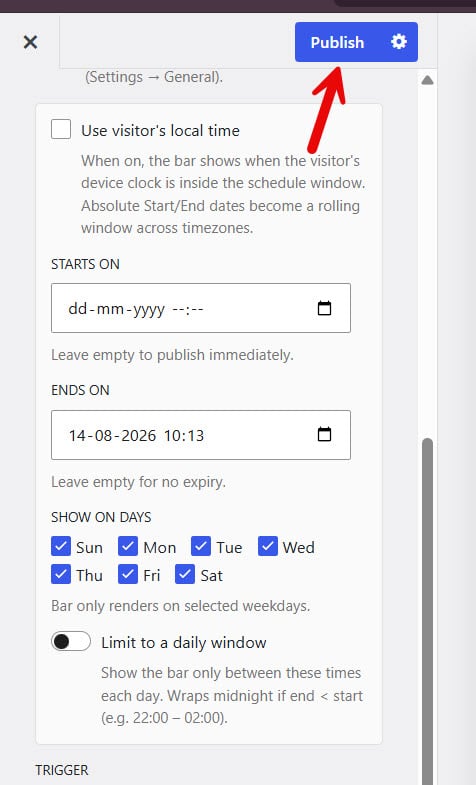
Once you are done with these configurations, publish the changes.
Now, it is time to test the bar from the front end.
2. Check the Bar
Check your website from the front end. You will see the notification bar at the top of the page.
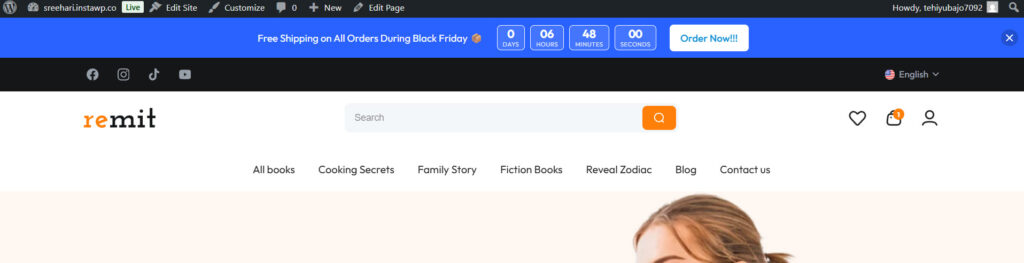
As you can see in the image, the notification bar works perfectly. When you need to change its contents or styling, you can go to the Notibar settings and update them.
The best thing about Notibar is that you can add multiple bars and rotate them as you like. That is for another tutorial and we’ll cover how to do it there.
If you are looking for more similar articles, feel free to check these posts:
- How to Get More (and Better) Product Reviews on Your WooCommerce Store
- How to Add a Request a Quote Button to Your WooCommerce Store
- What’s New in YayExtra 2.1.0
- Why WhatsApp Blocked My Number and How to Unblock
- What’s New in Brandy Blocks 2.0
Frequently Asked Questions
Now, let’s take a look at some frequently asked questions and answers on this topic.
A WordPress notification bar is a slim banner that appears at the top of your site. It displays short messages such as promotions, announcements, or important updates so visitors notice them right away.
Yes. Notibar is available as a free plugin on WordPress.org. It includes core features like live preview, display rules, mobile content options, and more. A Pro version adds extra tools for advanced use.
Go to Plugins > Add New in your WordPress dashboard, search for “Notibar”, then click Install Now and Activate. After activation, you can open the Notibar settings to create your first bar.
Yes. Notibar lets you set separate text and button content for mobile visitors. This helps keep messages clear and readable on smaller screens.
Yes. You can set start and end dates so the bar automatically goes live and stops showing at the times you choose. This works well for limited-time offers or event announcements.
Yes. Notibar includes display rules that let you show a bar on all pages, selected pages, or exclude certain pages and posts. You control exactly where each bar appears.
You can choose how the dismiss button works. Options include closing the bar permanently, collapsing it so visitors can reopen it, or disabling the close button entirely.
Yes. Notibar supports multiple bars. You can create different messages for different campaigns and manage them from one place. Some versions also let you rotate bars for testing.
Notibar is designed to work with most WordPress themes. It adds the bar independently and does not require major theme changes, so it fits cleanly on most sites.
Open the Notibar settings and use the live preview editor. You can change colors, text, button style, positioning, and alignment while seeing the results in real time before publishing.
Conclusion
A notification bar helps you share important messages without cluttering your pages.
With Notibar, you can create clean, mobile-friendly bars, set display rules, and update content in minutes. The live preview makes it easy to get the design right before going live.
Use it to promote a sale, announce an update, or guide visitors to a key page. Notibar gives you the tools to do this quickly and keep your messages consistent across the site. Install the free version, set up your first bar, and start reaching your audience more effectively.
We hope you found this article helpful and enjoyed reading it. If you need to learn more WooCommerce tips and tricks, check out the YayCommerce blog. Also, feel free to check out our social media handles, such as Facebook, X, Instagram, and YouTube, for more interesting content.
Are you going to create a notification bar on your WordPress website or WooCommerce store?
Let us know in the comments.