Do you want to customize the WooCommerce new order email to customers? If you are looking for a step-by-step method, keep reading this article!
While running a WooCommerce store, you need to spend time optimizing the store for better conversion rates and user experiences. If you need to stand out from the crowd, you should start offering unique services and tweak your store accordingly.
Tweaking the default email template is one of the best ways to improve your business. It will make your business look more professional, and your clients will always love it.
But is there any way to customize the new order email to customers?
By default, there is no way. But, with the help of the YayMail plugin, you can tweak the emails sent from your WooCommerce store.
Wondering how to do it?
To help you achieve the task, we have got this tutorial. Here, we will teach you how to properly customize the WooCommerce new order email to customers!
But before going further, let’s see why it is a good idea.
Why Are Customizing WooCommerce New Order Emails Good?
By default, WooCommerce’s new order emails are kind of basic.
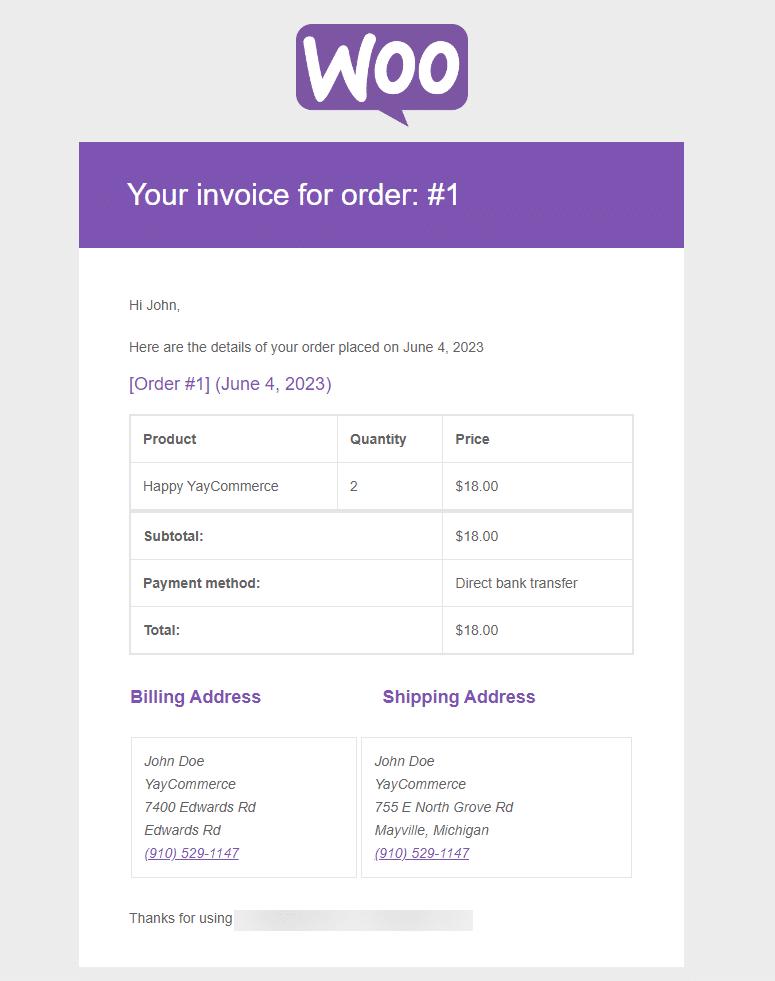
As you can see in the screenshot, there is nothing special about it, and it looks unprofessional. Consider tweaking the new order emails if you run an online store and are serious about the business.
It will help you with branding, personalization, upselling/cross-selling, etc. So next time, instead of sending the default email template to customers, you should try tweaking it a little.
Now you know how and why customizing the WooCommerce new order emails are a great way to boost the user experience. Next, let’s see how to complete the task.
How to Customize WooCommerce New Order Emails to Customers
This section will show how to customize WooCommerce’s new order email to customers. As we mentioned earlier, we will be using YayMail for the task. So, the first thing you need to do is get YayMail.
It is a freemium plugin. The free version (YayMail Lite) is available in the WordPress plugins repository. For this tutorial, we will use the premium version of the tool.
1) Installation and Activation
Once you have the plugin, log in to your website and go to Plugins > Add New. From there, you can install the plugin.
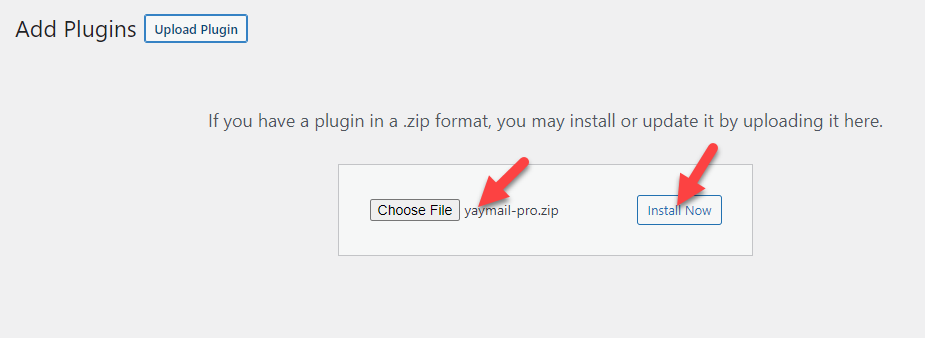
Next, activate it.
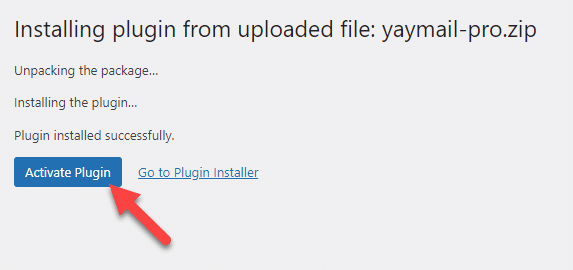
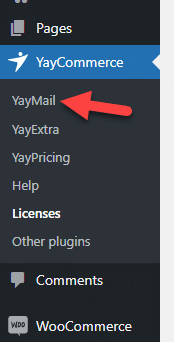
After activation, you need to go to the plugin’s settings. On the left-hand side, you can see the YayMail configurations.
Let’s move to the main topic of this post, customizing the email template.
2) Tweaking the Email Template
Once you click YayMail, you will be redirected to the drag-and-drop email customization wizard.
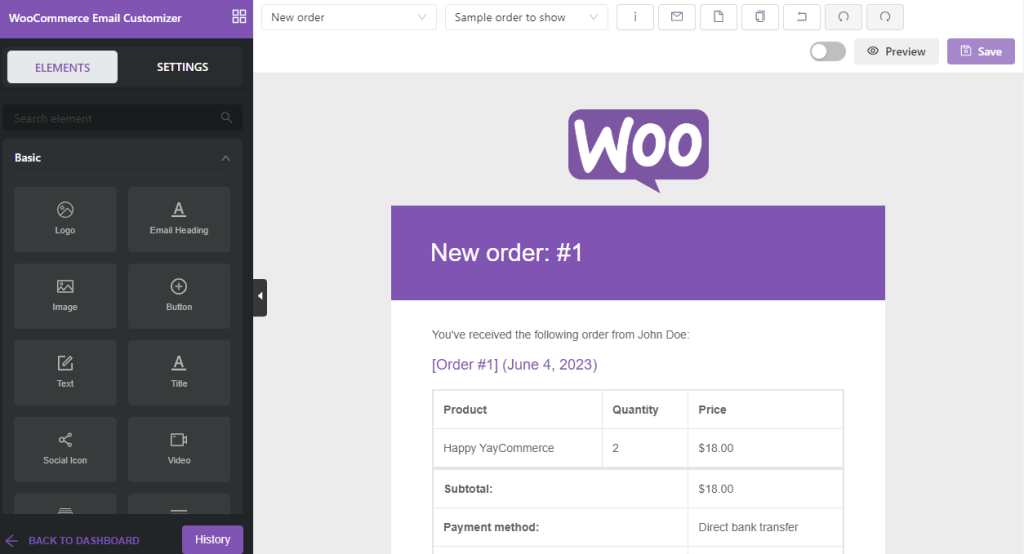
If you look closely at the left hand, you can see all the elements you can use inside the email.
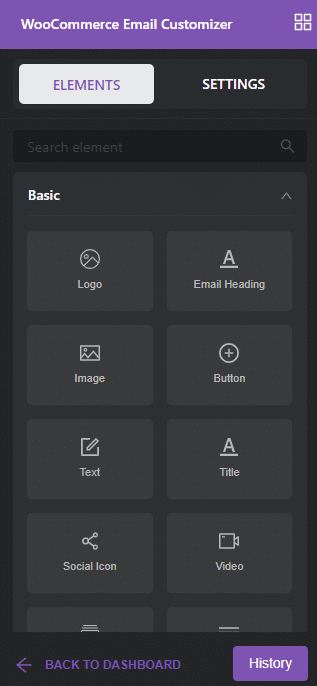
They have categorized the elements into individual sections:
- Basic
- General
- WooCommerce
- Blocks
The right side will display the live preview of the email template.
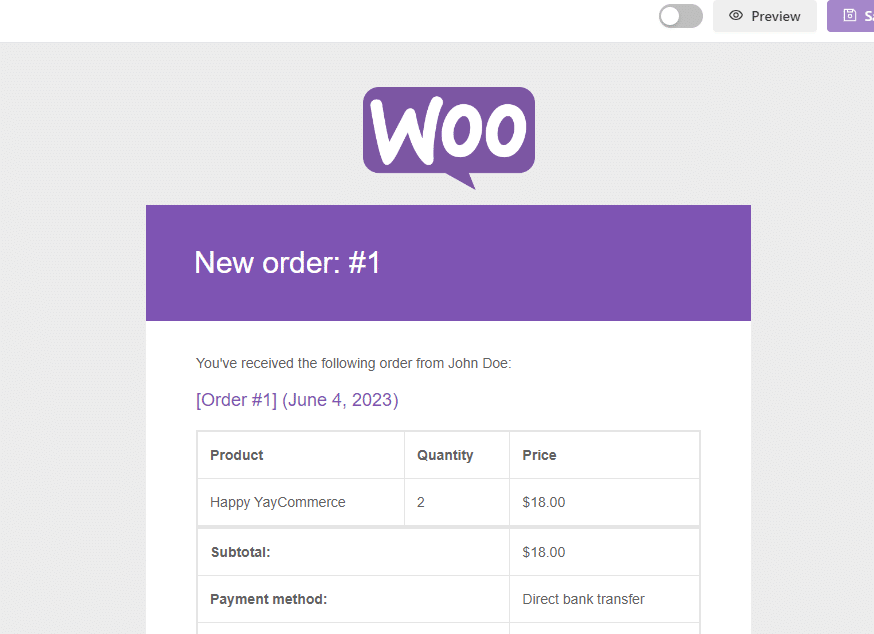
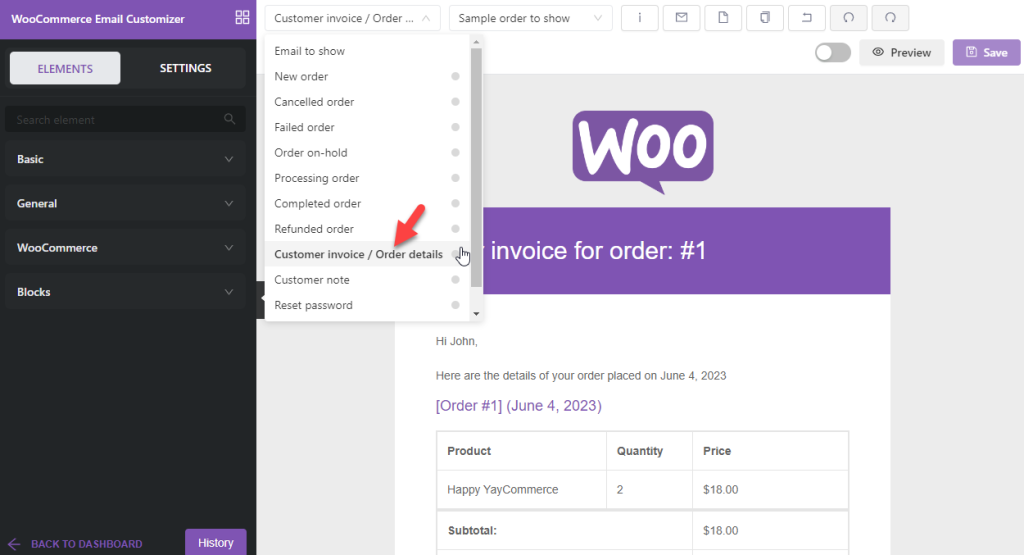
You will drop them in this section when adding new elements to the email template. To change the email templates, use the dropdown available at the top.
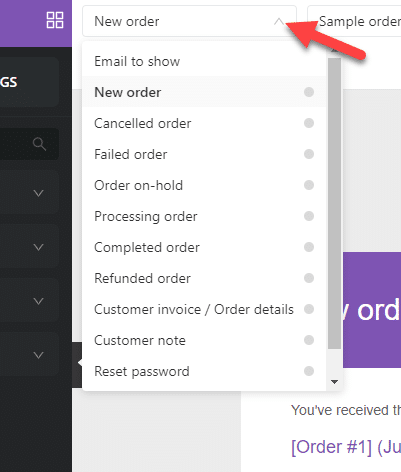
You’ve got an idea of the configuration options.
The next thing you need to do is, select the template customer invoice/order details from the dropdown.
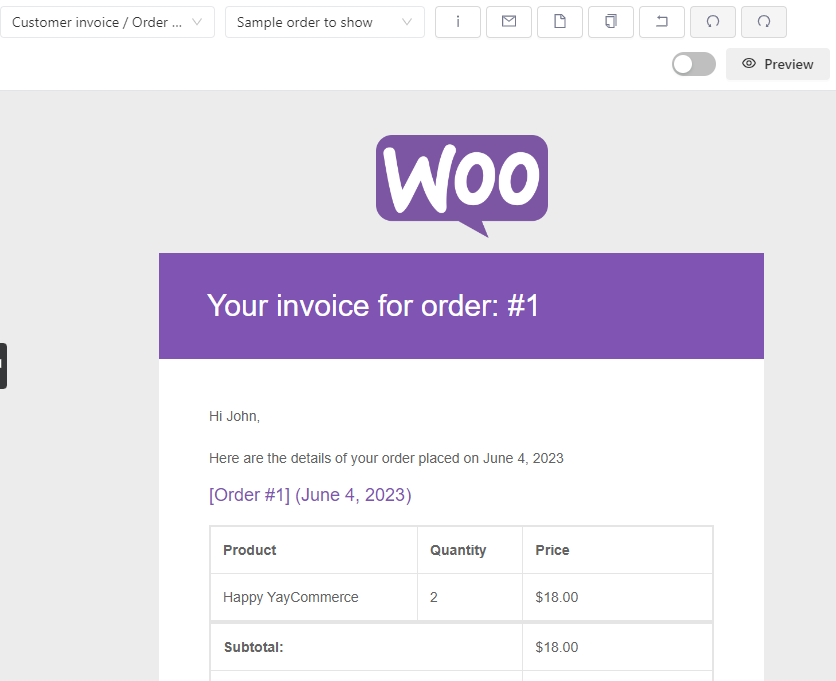
And inside the live preview wizard, you can see the current template design.
By clicking on individual elements, you can start editing them. For example, if you need to tweak the logo used in the email, click on the logo. And in the left-hand side, you will see further configuration options.
2.1) Logo Customization
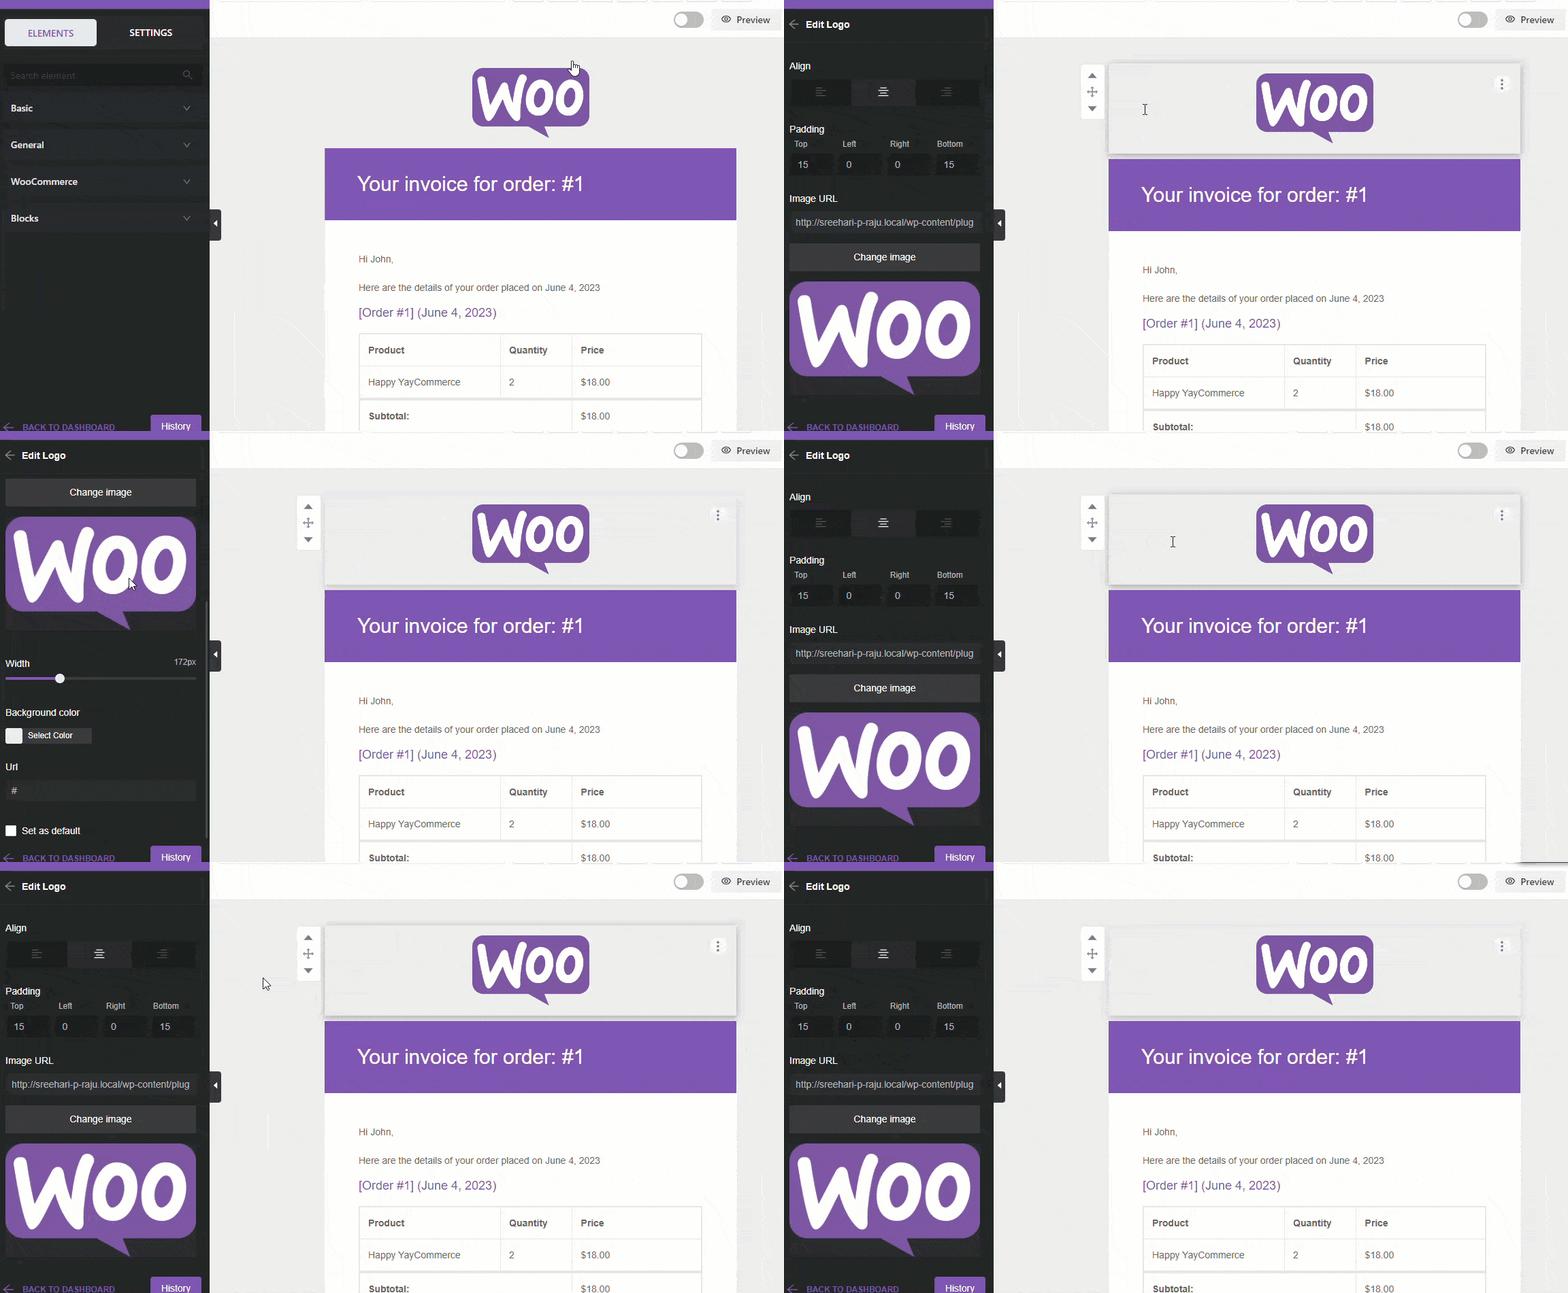
As you can see, you will see further logo customizations like:
- Alignment
- Padding
- Uploading custom logo
- Width adjustment
- Background color customization
- URL
And so on. Using the default WooCommerce logo could be more professional. So, let’s tweak it a little bit. After a few minutes of customization, we created this:
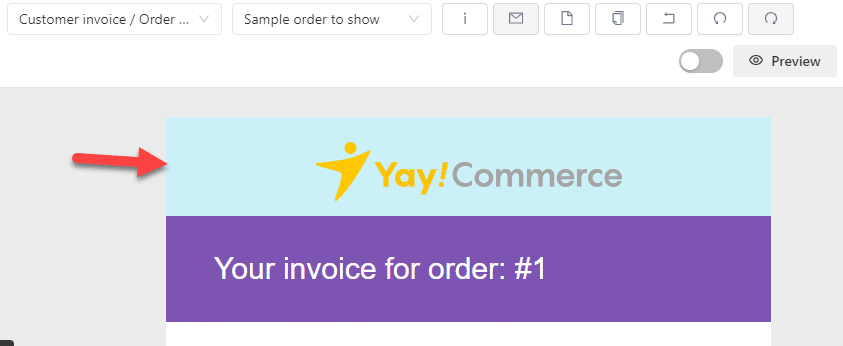
The customizations performed are:
- Replaced the logo
- Adjusted padding
- Changed the width
- Modified background color
Once you have created a custom logo section, move to the next section.
2.2) Header Customization
As we did before, click on the area you need to configure. And on the left-hand side, you will see every configuration option.
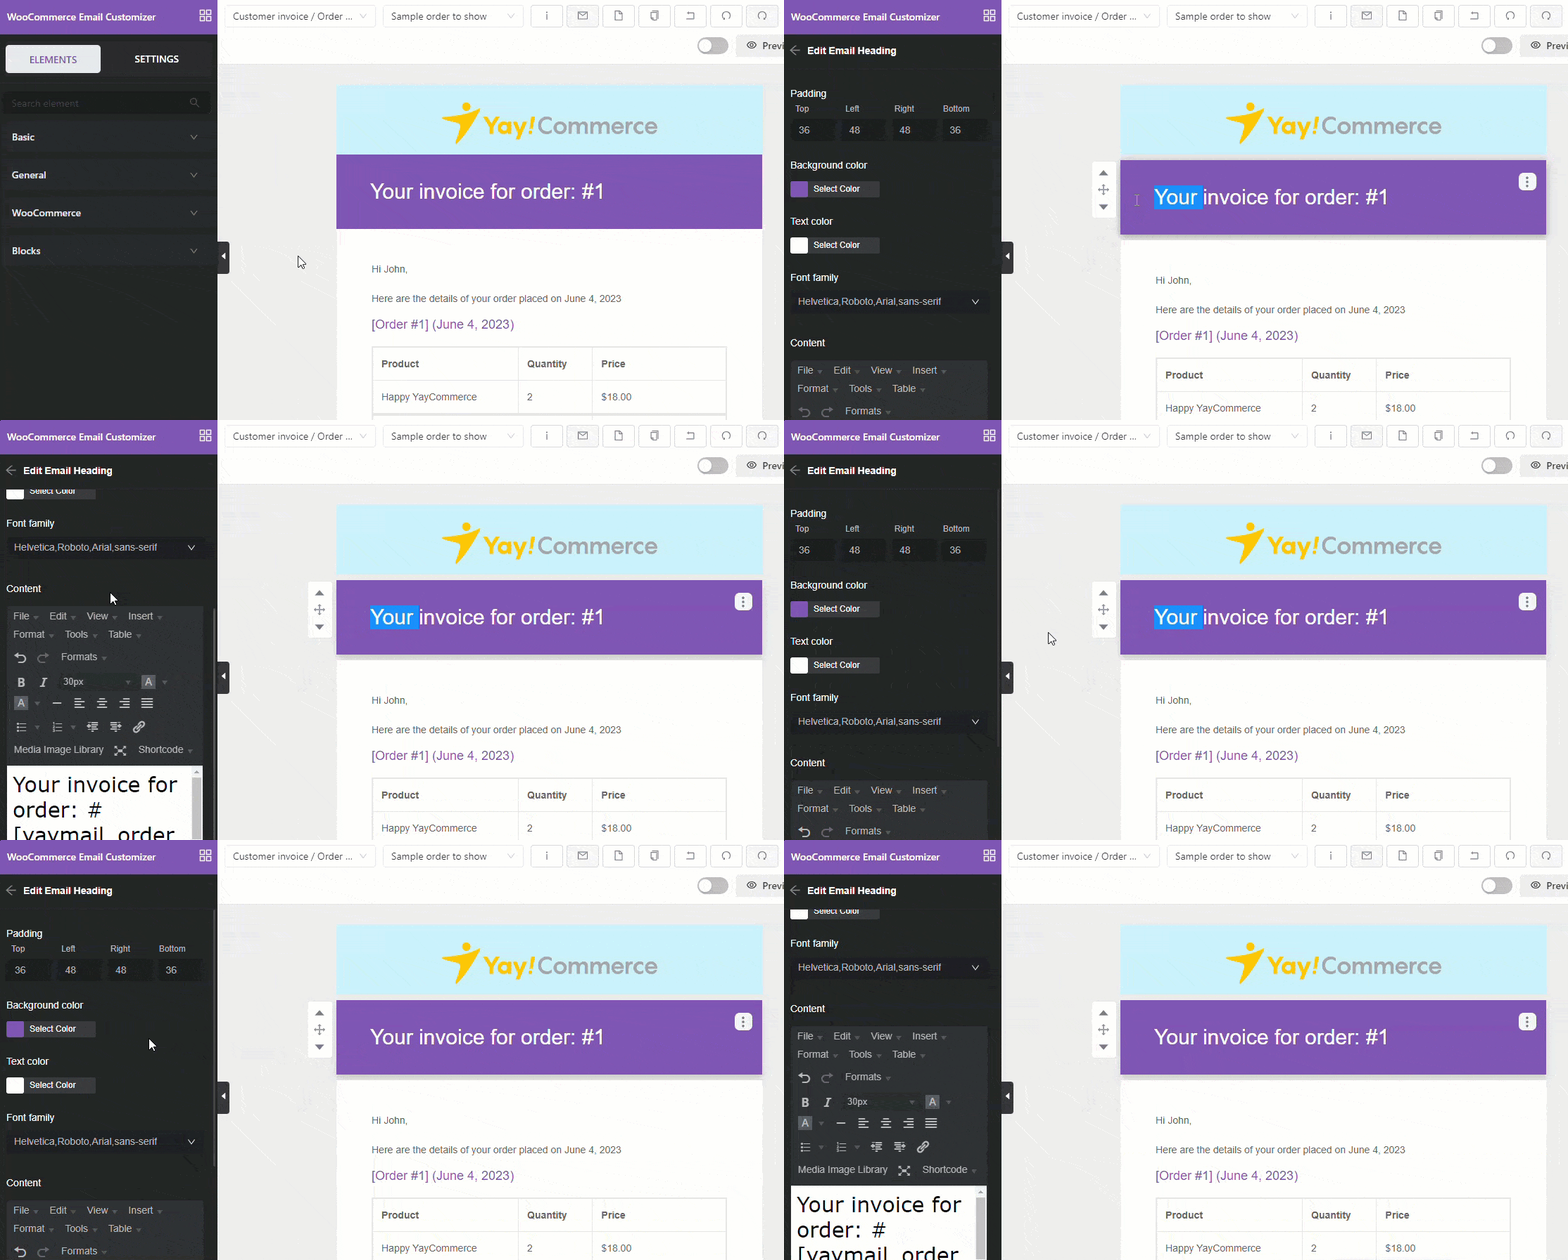
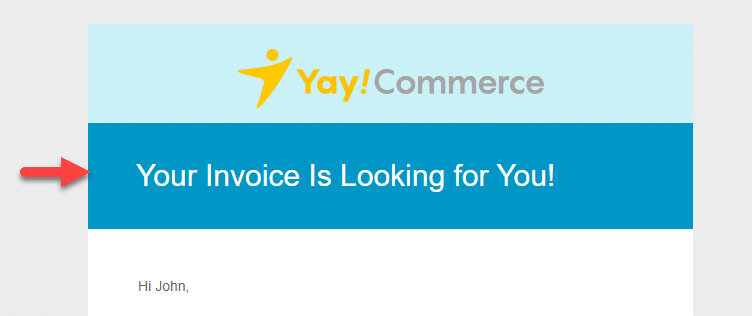
Since this is the email heading, add a catchy headline to grab the user’s attention. Once you have modified the text, you can also tweak the background color, text color, padding, and font family.
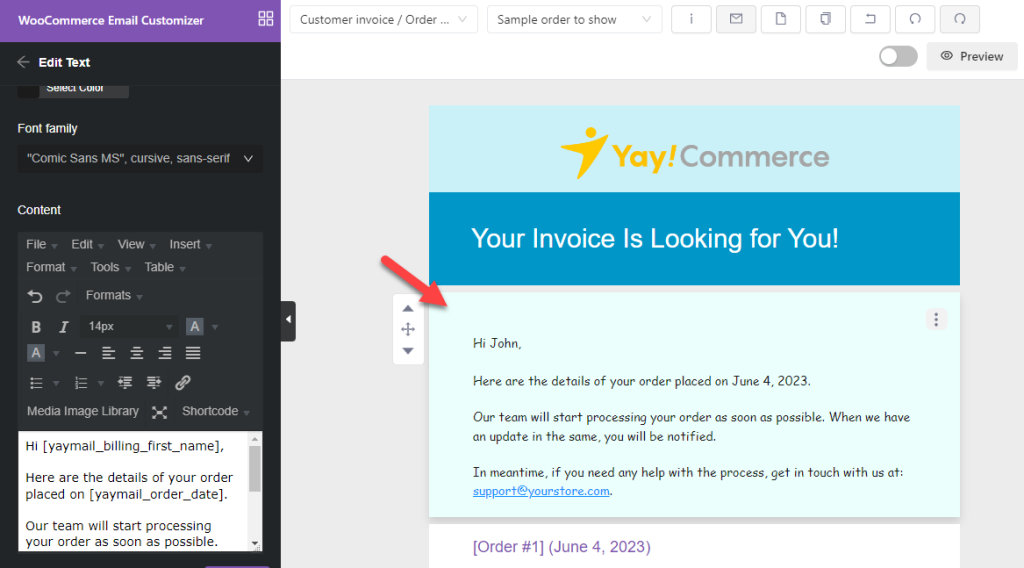
Next, you will see a text area and order details.
2.3) Text Area Customization
The text area is thin. So, you can add more descriptions for a better user experience. Try to change the font, color, and more.
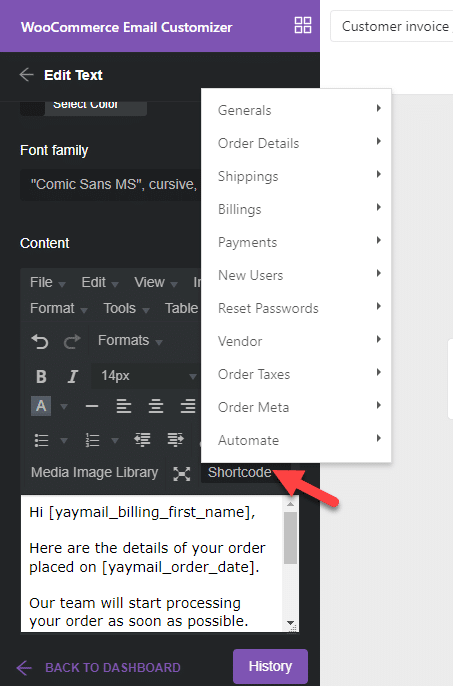
Since YayMail provides access to unique shortcodes, you can use them as you like. It is a great way to display dynamic content.
Next, you’ve order area:
2.4) Main Body Customizations
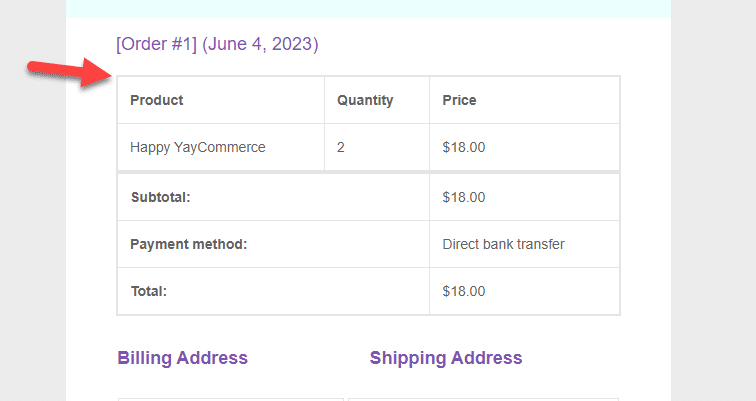
Here, we will be displaying the customer’s order. The data available are:
- Product name
- Quantity
- Price
- Subtotal
- Payment method
- Total amount due
After clicking on it, you can see the customization options on the left-hand side.
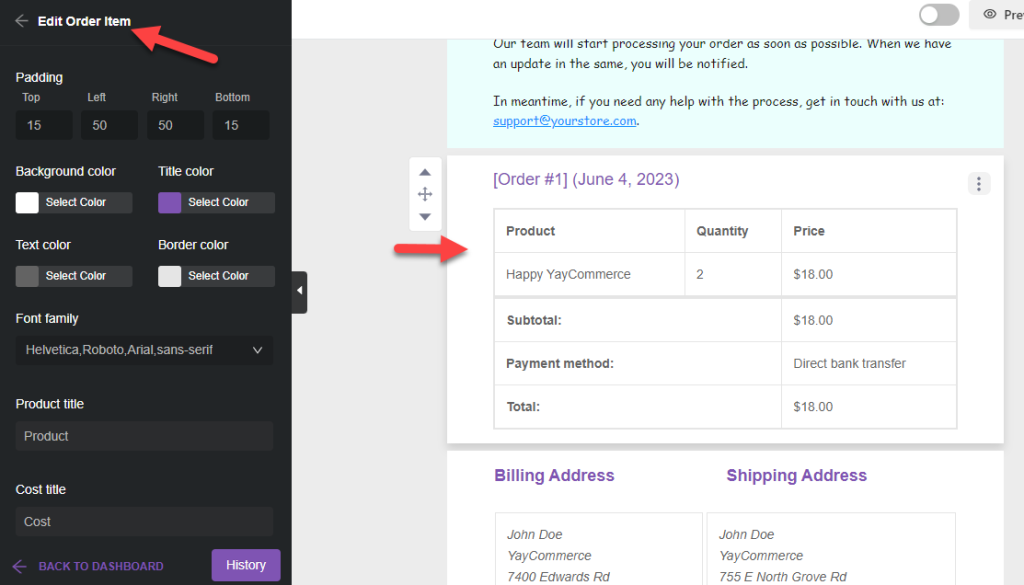
Apart from the colors and padding, you can customize the labels. Finally, you will come to the billing and shipping address field. You can either keep it or remove it from the email template.
Click on the three dots to remove an element from the email template. Then, choose the Delete option.
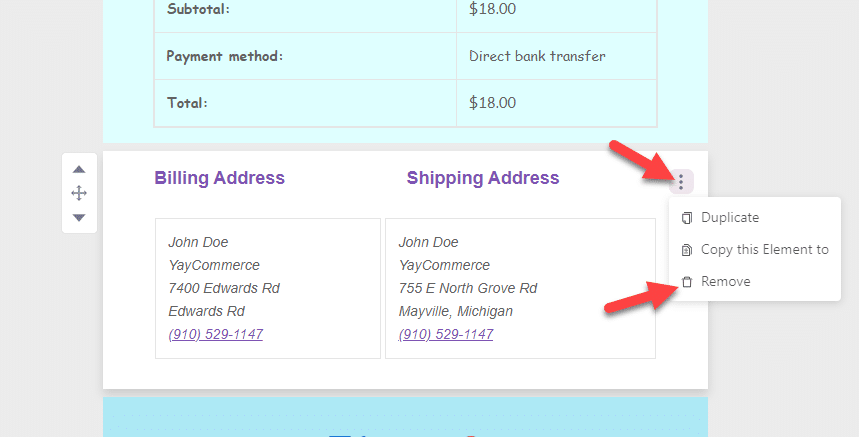
In this case, we will remove this field and add something else.
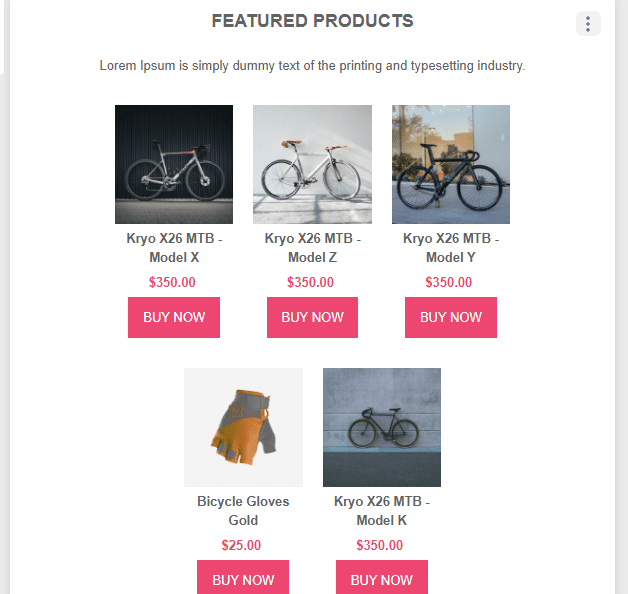
To increase the upsells, mentioning products trending in your online store would be helpful. Since the YayMail plugin has a dedicated featured product element, you can use it in your template.
Simply drag the template and drop it inside the editor.
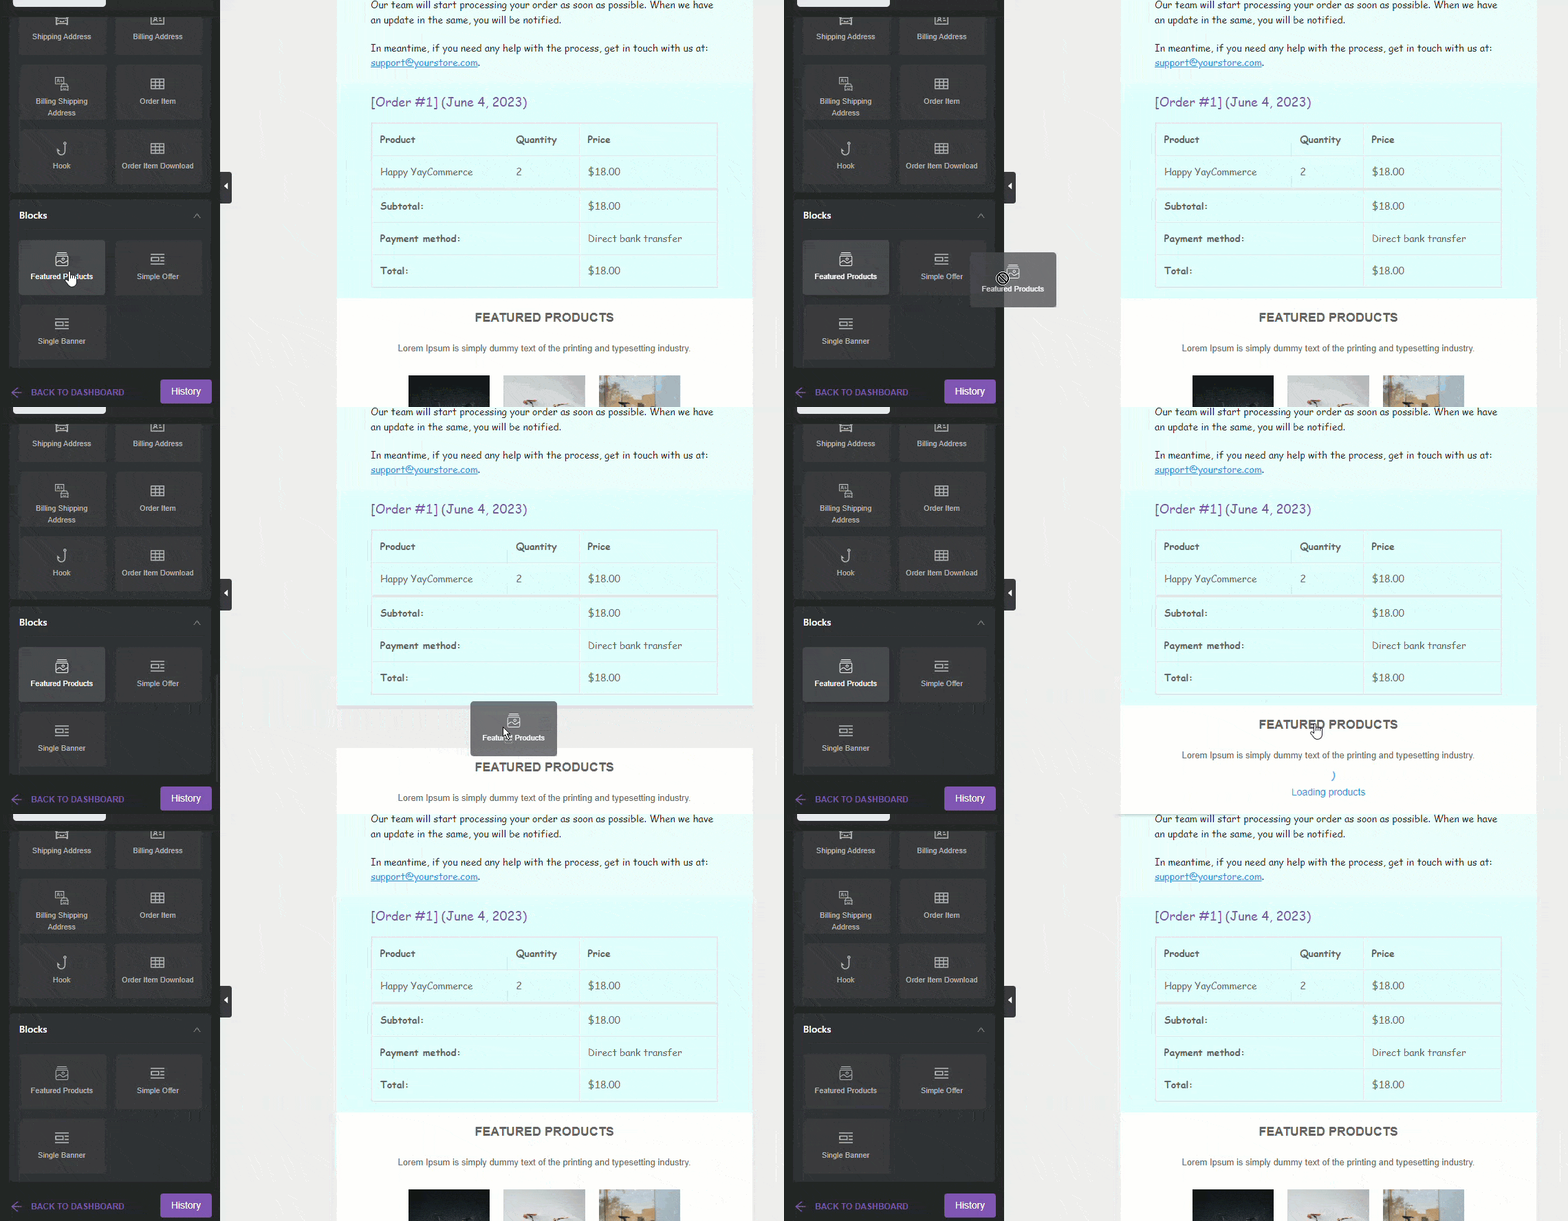
The element will list 5 of the best products you have in your store.
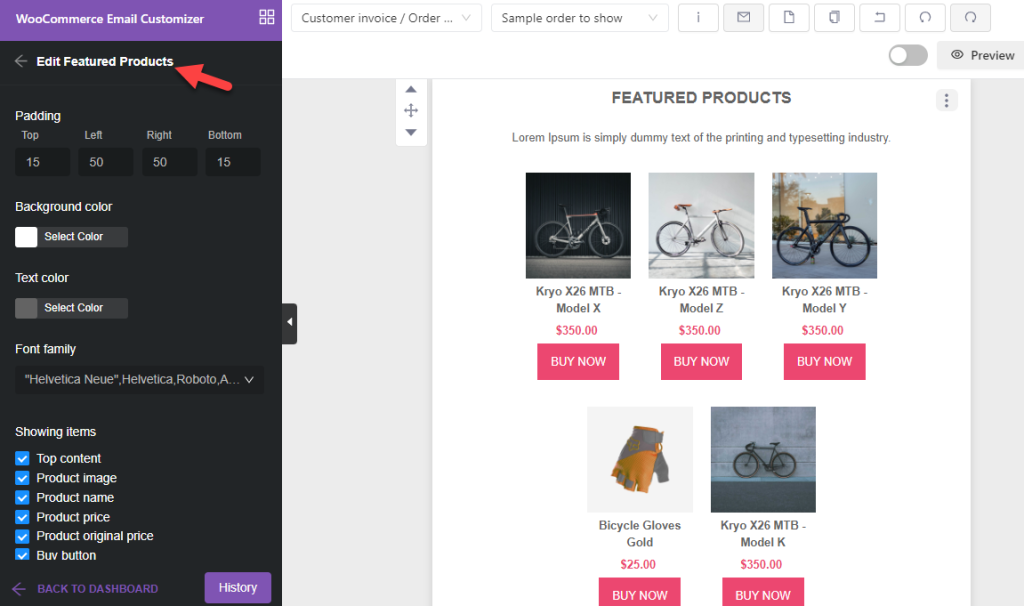
Once you have clicked on the element, you can customize it further.
Finally, if you have social media channels, the footer is the best place to mention them.
2.5) Footer Customization
Drag the social icon from the left-hand element panel and drop it inside the footer.
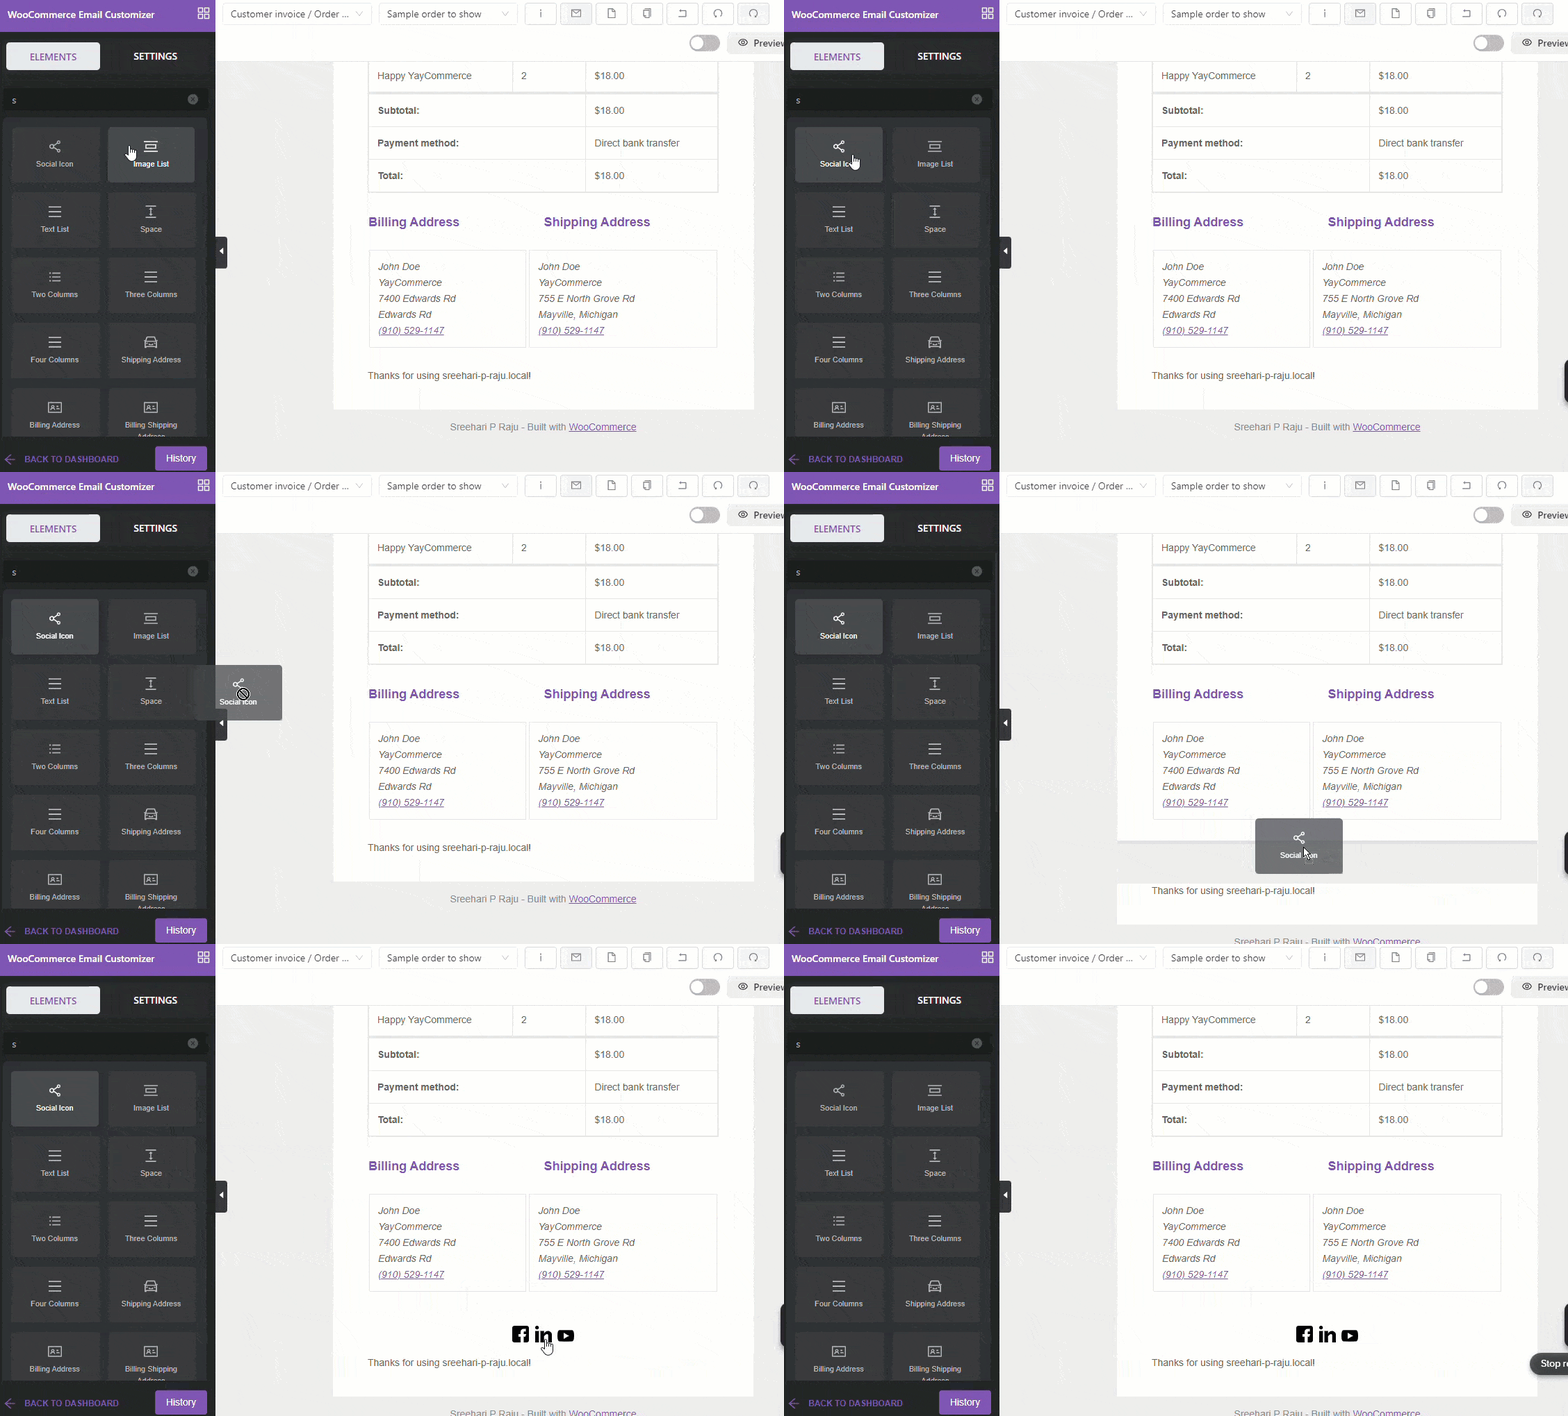
After adding it, you can change the padding and styling of the icons. On top of that, you can also add more social media handles to the section.
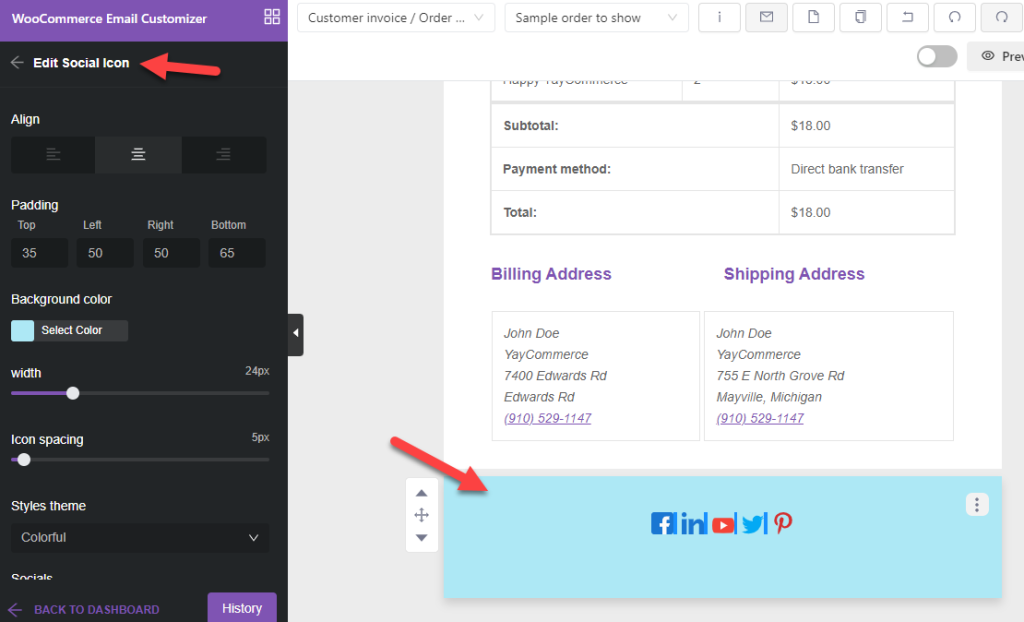
Once completed, ensure every link works fine and is appropriately designed.
After customizing the email template, enable the template and save it.
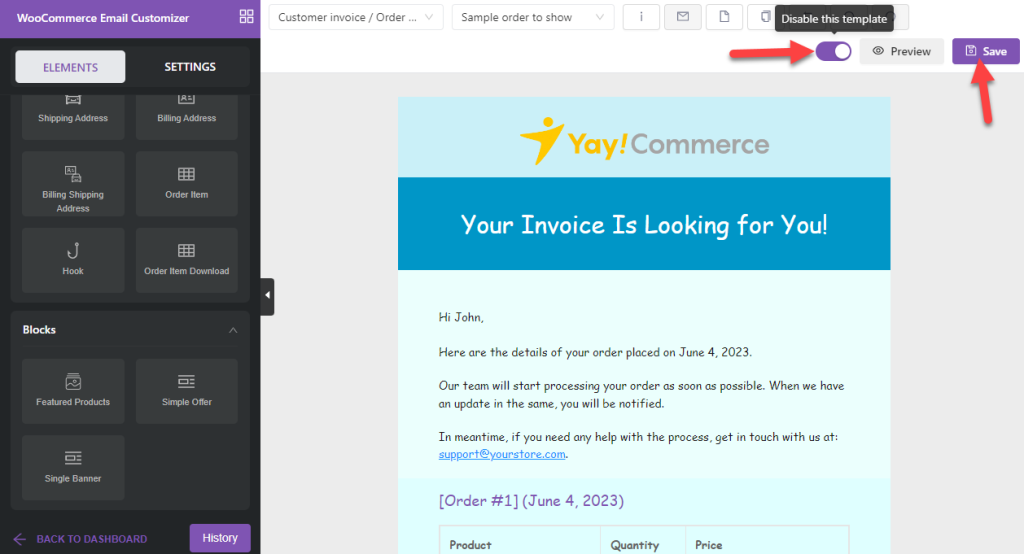
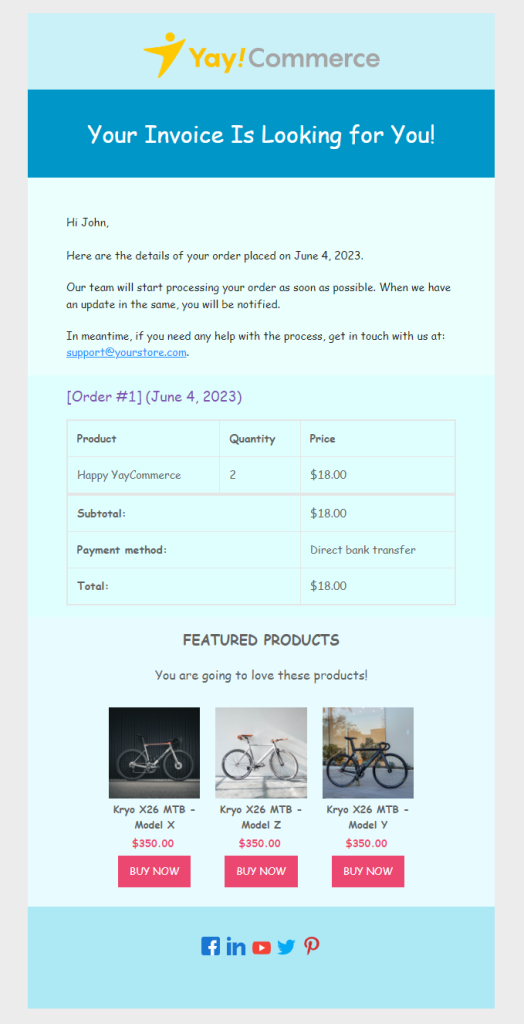
When someone orders a product, this email will be delivered to their registered address. Matching it with your brand colors is a feasible option. In our case, we have changed the customer invoice email template to this design:
Next, let’s learn something advanced – using conditional logic with YayMail.
3) Using Conditional Logic
Conditional logic is a powerful feature. You can display specific results based on the user’s choice and preferences. YayMail comes with a conditional logic add-on.
From your account, download the plugin files.
Once you have done that, install the add-on.

After installation, activate it.
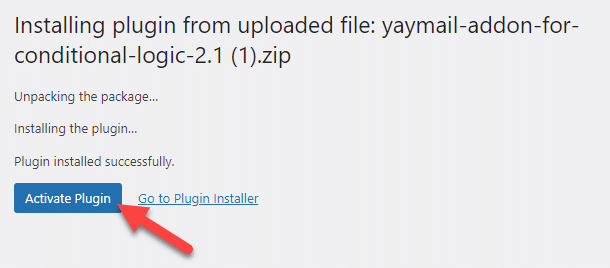
There will be no dedicated plugin settings page. All the configuration options can be seen under YayMail. Conditional Logic would be a good option in various situations.
For example, this option will be handy if you need to offer a coupon code to every customer who purchases goods for more than $500.
Here’s how you can do it.
The first thing you need to do is, create a coupon code.

Next, add a text widget to the email template. Once you have added the text widget, enter the coupon code there.
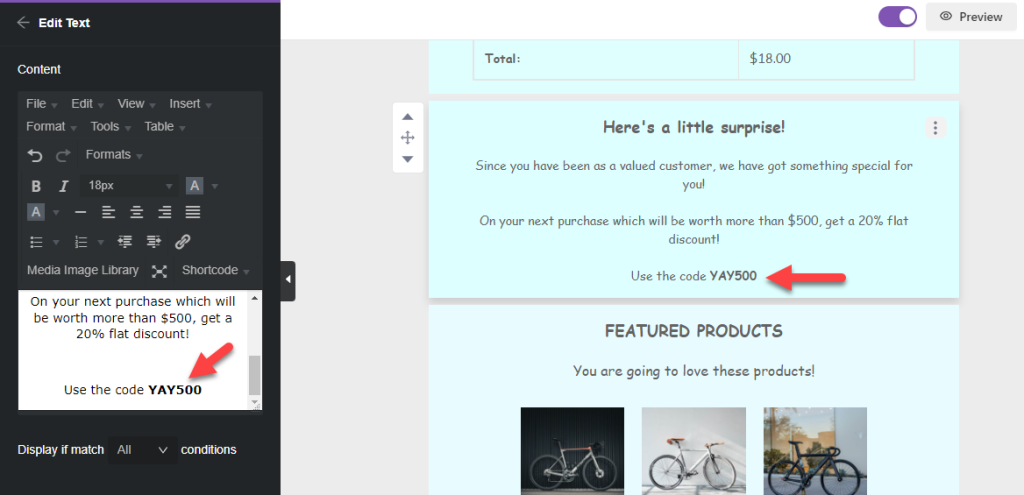
If you scroll down, you will see an option for mentioning the conditional logic rules.
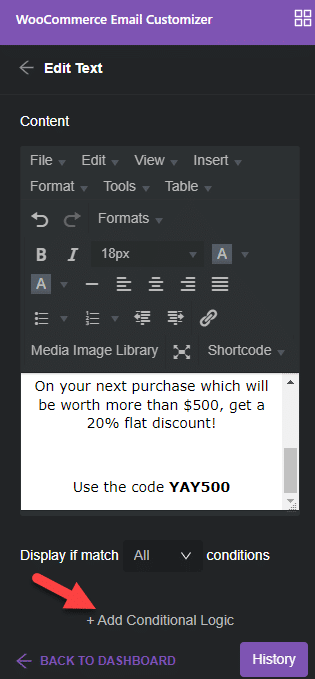
From the dropdown, choose the rule and mention the price.
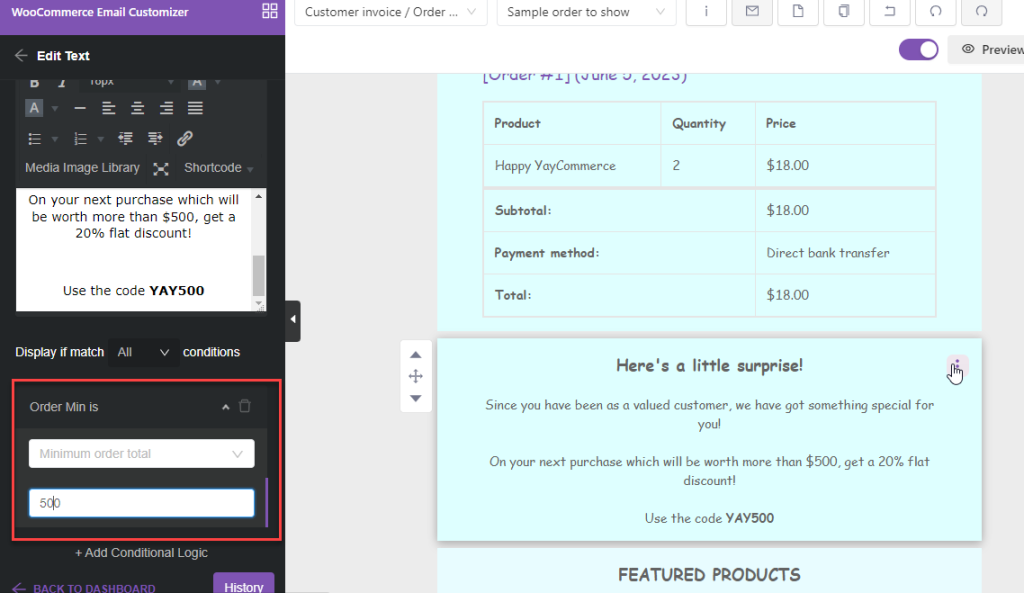
As you can see in this screenshot, we have mentioned $500. So when someone completes an order worth $501 or more, the coupon code will be displayed.
This will help you get more orders from the same customer, making more sales! You can use many rules to ensure maximum conversion rate and control over the email. You can also add additional conditional logic rules to make the template even more powerful.
That’s it!
This is how you can customize WooCommerce new order email to customers.
Conclusion
While dealing with a customer-centric business like an online store, you must develop strategies to boost the user experience. You can stand out by tweaking the new order emails and adding a personal touch.
Since the WooCommerce plugin doesn’t have the required features, a plugin like YayMail will simplify the task. As seen in this article, you do not need to add/edit a single line of code to tweak the new order emails.
If you plan to boost your customer experience, try this method.
We hope you have found this article helpful and learned how to customize the WooCommerce new order email to customers. If you did, please share this post with your friends and fellow bloggers on social media. For more awesome WooCommerce articles, check out our blog archive.
Are you planning to customize the WooCommerce new order emails to customers?
How are you planning to design it?
Let us know in the comments!

Thanks. I have customized my new order emails.