
Shop the look is an image hotspot linking feature initially introduced in the Prestige (Shopify theme) back in 2018. With the image hotspots, you can easily showcase multiple products and product sets on the same featured image.
Are you trying to make the images in your WooCommerce shop more interactive? You can do this by simply using a powerful image hotspot plugin that will enable you to showcase visuals more interestingly.
Image hotspot plugins for WooCommerce will help highlight the image location, plus any other type of content using the animated tooltips. You only need to get the right tools to kick you off.
Here we’ll talk about the process of creating your WooCommerce shop to have the look of image hotspots to improve the visualization of products.
- Reasons for showcasing images with an image hotspot
- Steps to create image hotspots for your WooCommerce shop
- Step 1: Editing a new page for creating interactive images in WooCommerce.
- Step 2: Searching and selectinging the image hotspot widget.
- Step 3: Editing the Content of the Image Hotspots.
- Step 4: Customizing the style of the content of the image hotspot.
- Step 5: Modifying the style of the pointer to create interactive images.
- Step 6: Changing the style of the title of the hotspot image.
- Step 7: Customizing the style of the hotspot image and description.
- Step 8: Publishing the changes made to the hotspot image
- Image Hotspot (Exclusive Addons for Elementor)
- Image Hotspot by DevVN
- WooCommerce Shop the Look
- Getwid Image Hotspot WordPress Block
- Hot Spot (Happy Addons)
- EA Image Hotspot (Essential Addons for Elementor)
- Final Thoughts
Reasons for showcasing images with an image hotspot
Image hotspots are essential for ensuring that your shop visuals become more interesting for your customers.
The hotspots help define the purpose of each image, history, price, and any other idea you can interactively share with your customers while utilizing the image hotspots.
Regardless of your field, as long as you are a WooCommerce shop owner, it is advisable to use image hotspots on your Website. It will help you make infographics more easily to enhance customer engagement at first sight of your Website.
Here, we’ll look at the specific uses of image hotspots in your WooCommerce shop to engage customers and improve conversion rates. These uses include:
- Making your image display section more amazing.
WooCommerce shops are essentially e-commerce websites that you can access at any time from anywhere. One thing that most WooCommerce site visitors look out for is getting new content and information every time they access your site. For this reason, it is essential to make the website image content section a bit more interactive by using image hotspots.
The image hotspots will assist in beautifully representing your visual on the Website and provide a more meaningful experience as customers go through your site.
- We are creating Infographics more easily.
You can easily design an infographics section on your Website using image hotspots. A hotspot image can pass on information more efficiently and effectively than writing down long descriptive texts in your WooCommerce shop. It will help define what type of information you wish to convey and make that section more informative to the customers.
- Easy product Online marketing
If you are running a WooCommerce shop as an E-commerce business, you can quickly develop a dedicated section that provides the name and prices of the products you offer using image hotspots. You can easily capture critical information visually by utilizing image hotspots, and this can help you a great deal when it comes to product marketing. By using conditional discounts for WooCommerce, it will also help to make your product promotions more engaging for your customers.
- Improving user experiences and engagement
One of the strategies WooCommerce shop owners now adopt to improve their customer engagements and experiences is using image hotspots for their websites. The image hotspot sections reduce boredom while using your Website and provide specific information about your products. It quickly assists clients and customers as they don’t have to read through tons of text to know more about a product in your WooCommerce shop.
Follow the following simple steps above to create image hotspots for your WooCommerce store today.
Steps to create image hotspots for your WooCommerce shop
Let’s take a quick look into the steps involved in creating the WooCommerce hotspot images.
Step 1: Editing a new page for creating interactive images in WooCommerce.
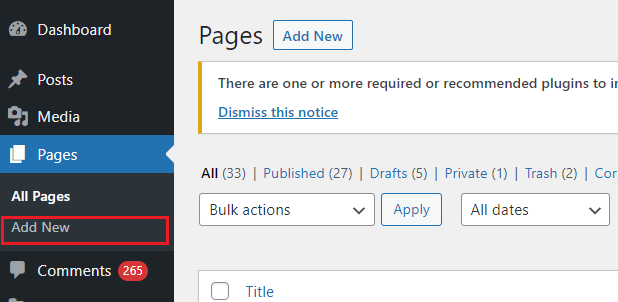
The first thing you need to do is to install and activate the image hotspot plugin after purchase. Afterward, go to your dashboard and then visit the pages. Click on “Add New” to create an interactive image hotspot.
After that, click the edit button to create a new hotspot image for your WooCommerce shop.
Step 2: Searching and selectinging the image hotspot widget.
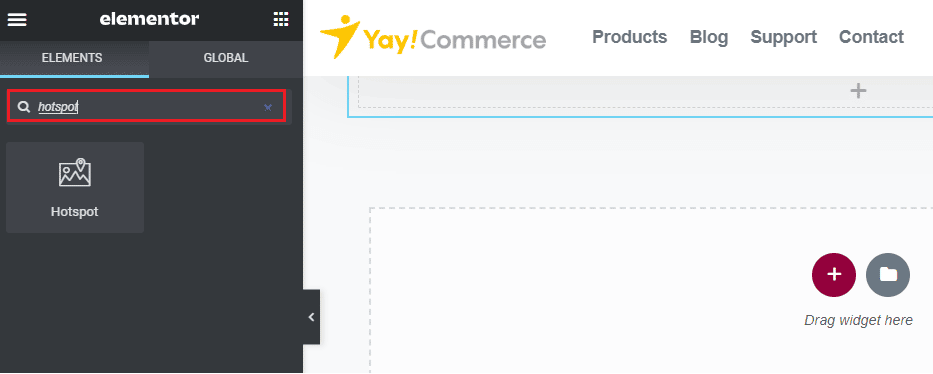
In this second step, you’ll need to search for a hotspot widget in the widget search box.
Drag the hotspot widget and add it to the new section like the image or picture.
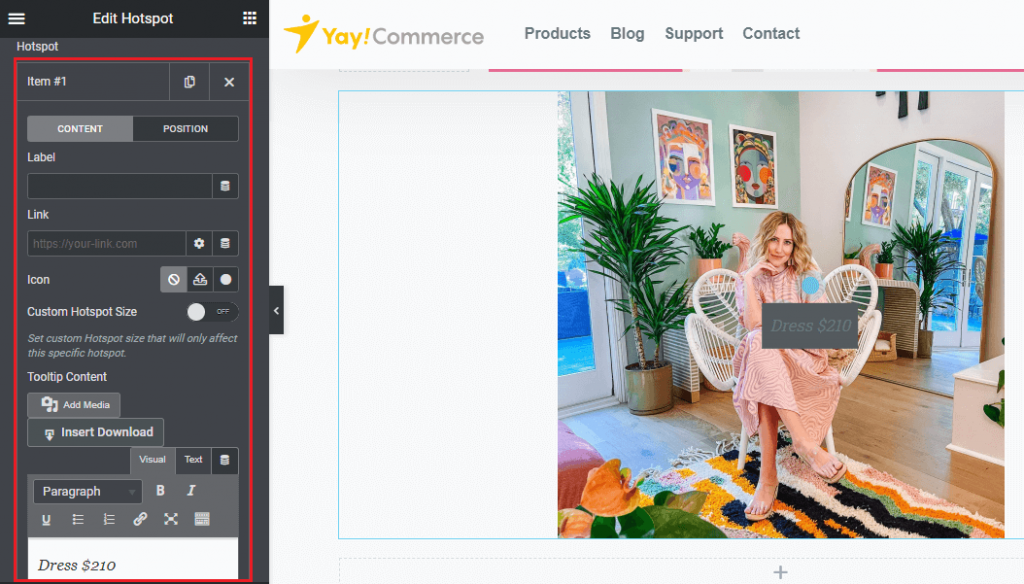
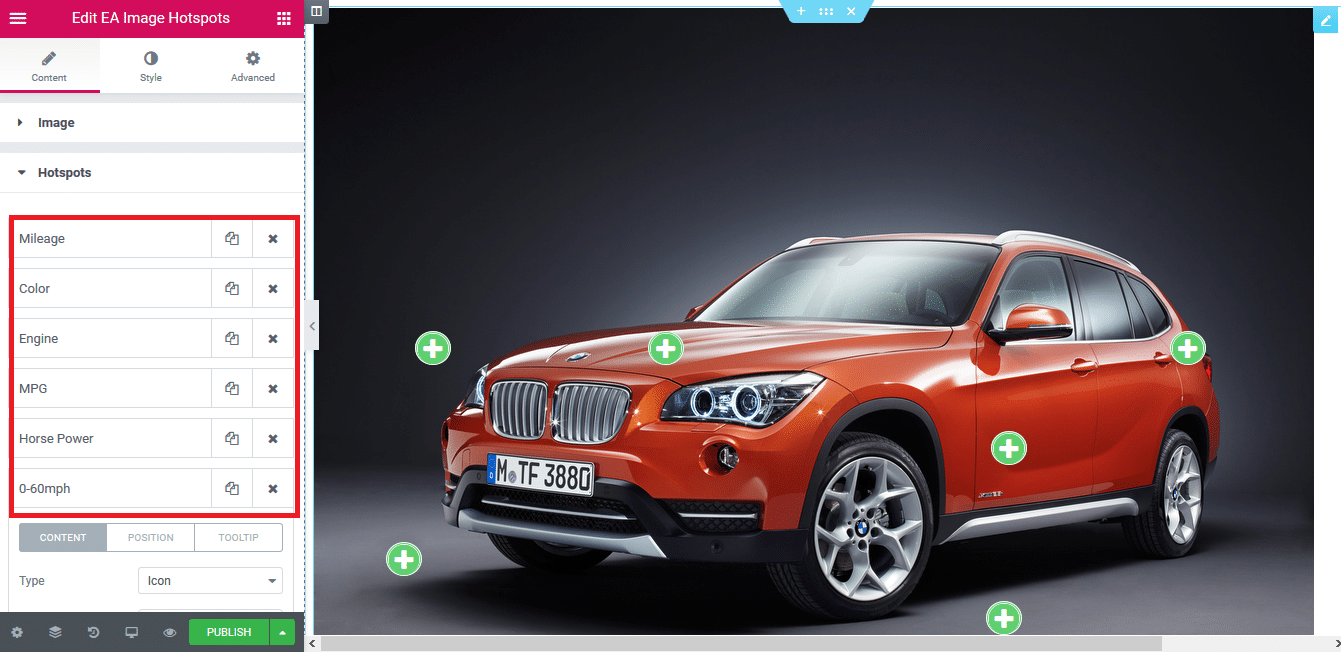
Step 3: Editing the Content of the Image Hotspots.
After successfully adding the hotspot widget, it is time to edit your device’s content. For this purpose, you must choose the style and background image from your WooCommerce media library or personal computer. After selecting the image you want, now upload it to the site.
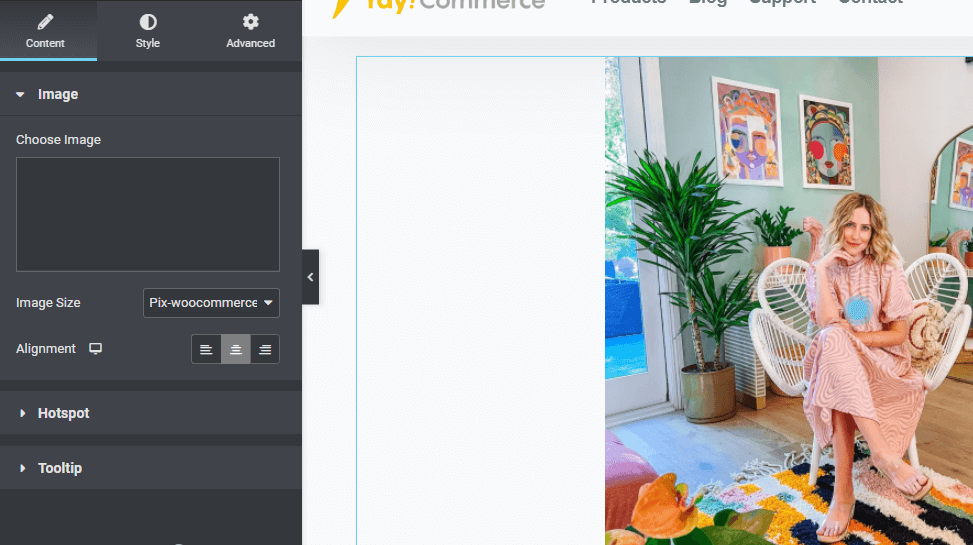
You can also go ahead to edit the following things in the hotspot widget:
- Showing glow: You can decide to show or hide the light that appears around the pointer.
- Click or hover: This option will be helpful to you when deciding whether you want the tooltips to appear on clicking or hovering. If you settle for hovering, the tooltips will display on hover or click when a user clicks on the image of the hotspots.
- Active or not: You also have the option of showing or hiding all tooltips with this feature.
After editing everything above, add a tooltip for the hotspot image. To do this, click the box having the mark in the picture. Then, add a description and title for your tooltip and a suitable image. The image can be any of the ones you already selected earlier.
Adjust the tooltip position allowing you to move your pointer to any direction and add more hotspot images by clicking the add item button.
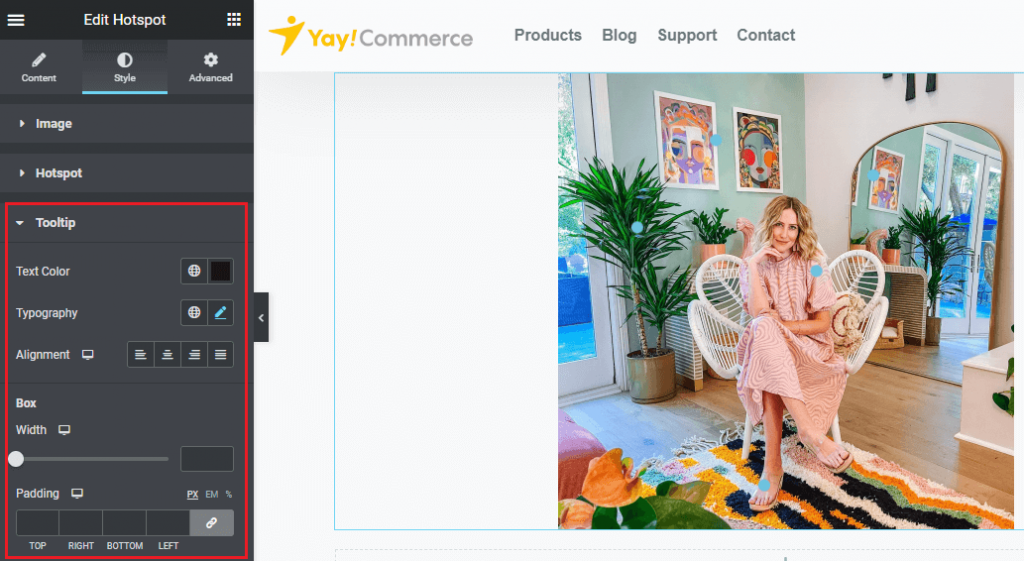
Step 4: Customizing the style of the content of the image hotspot.
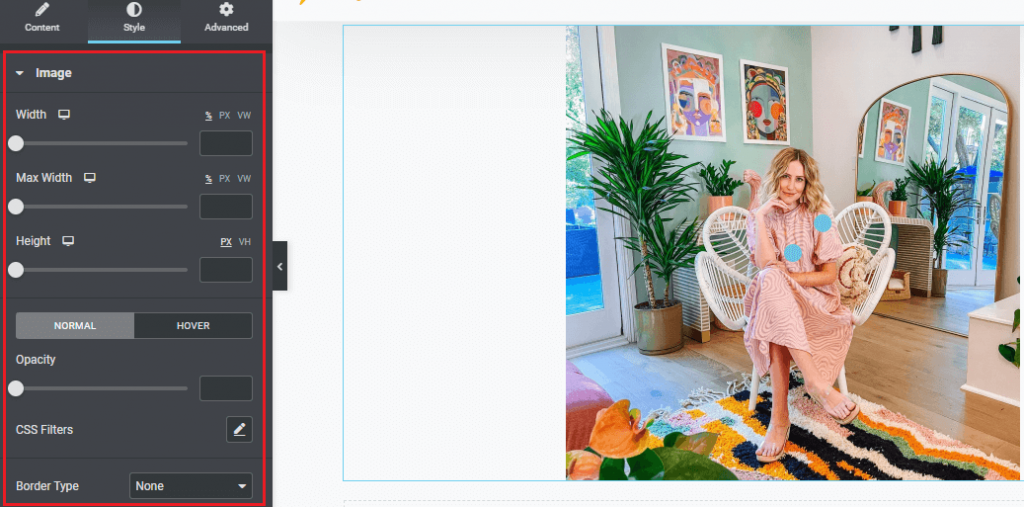
In this next step, you need to edit the style of your hotspot content. Choose the desired background color and image to change the default content styling of the hotspot image. Proceed to Set width, padding, and alignment for the default content as you wish.
Step 5: Modifying the style of the pointer to create interactive images.
In this step, you will need to customize the pointer by customizing the following areas:
- Background color: decide on the background color for your pointer.
- Pointer size: Set the size of the pointer. You can make it larger by dragging the circle to the right.
- Border radius: This option lets you change the radius of the pointer if you wish to.
- Box shadow: You can add shadow with the pointer using this option.
- Border type: Select the kind of borders you want for the pointer.
Step 6: Changing the style of the title of the hotspot image.
For styling the title, you need to go for the correct typography for your title. You can change the following areas in the typography section: Family, Size, Weight, Transform, Style, Decoration, Line height, and Letter spacing. You must also decide on the text color and set the appropriate margin for your title.
Step 7: Customizing the style of the hotspot image and description.

For this, you’ll need to edit the description of your tooltip content. It will be similar to title customization. Proceed to set the image position where you want it to appear on the tooltip.
Lastly, change the width and margin of the hotspot image according to your specifications.
Step 8: Publishing the changes made to the hotspot image
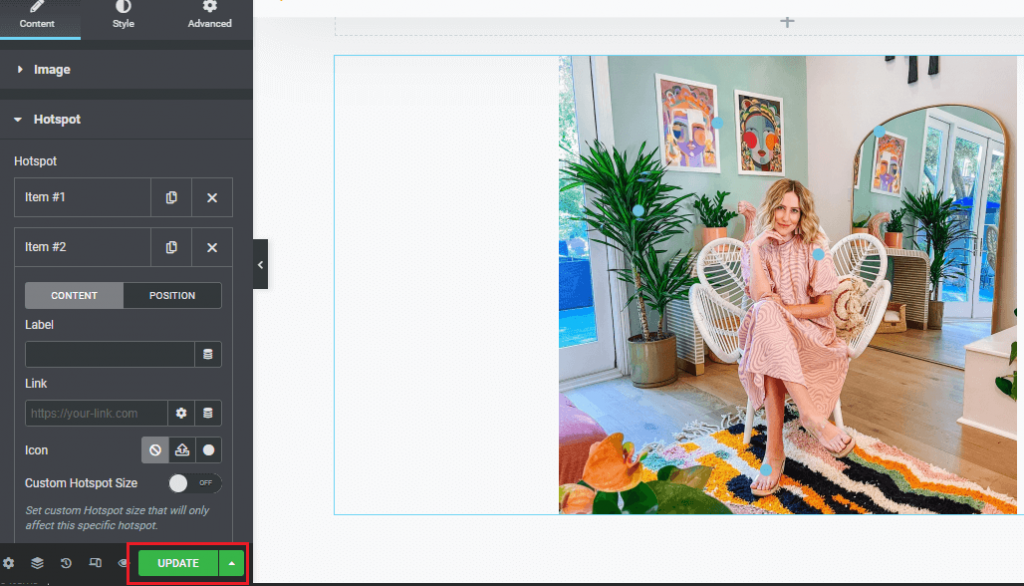
After making all the necessary changes, it is time to publish the image. Click the publish button, and you’ll be all set for your hotspot images.
Below is the completed website preview after adding and customizing hotspot image for a WordPress sales page.

The image hotspots help put more creativity into your WooCommerce shop along with customizing WooCommerce product page. The hotspots will ultimately attract more customers to your website as they will easily acknowledge the facts and information you relay through the images. Below you will find some alternative ways to do that with the help of some free & paid plugins.
Image Hotspot (Exclusive Addons for Elementor)
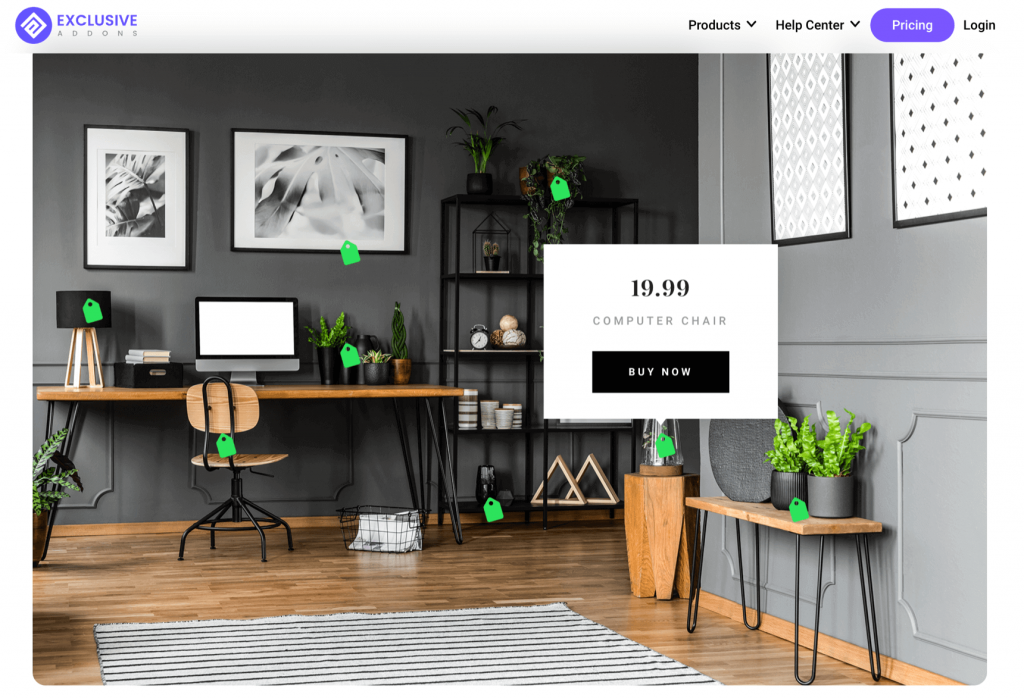
If you’re looking to create an attractive and innovative design by adding product name, price, button and link to image hotspots, then Exclusive Addons is most probably the best solution.
To bring your product showcase to the next level, you can also use Image Comparison Widget, Image Magnifier, and other brilliant widgets available in Exclusive Free & Pro Widgets.
Image Hotspot by DevVN
This plugin is a great choice for developers. It comes with basic features but goes along well with other web page builders such as WP Bakery, Elementor, etc.
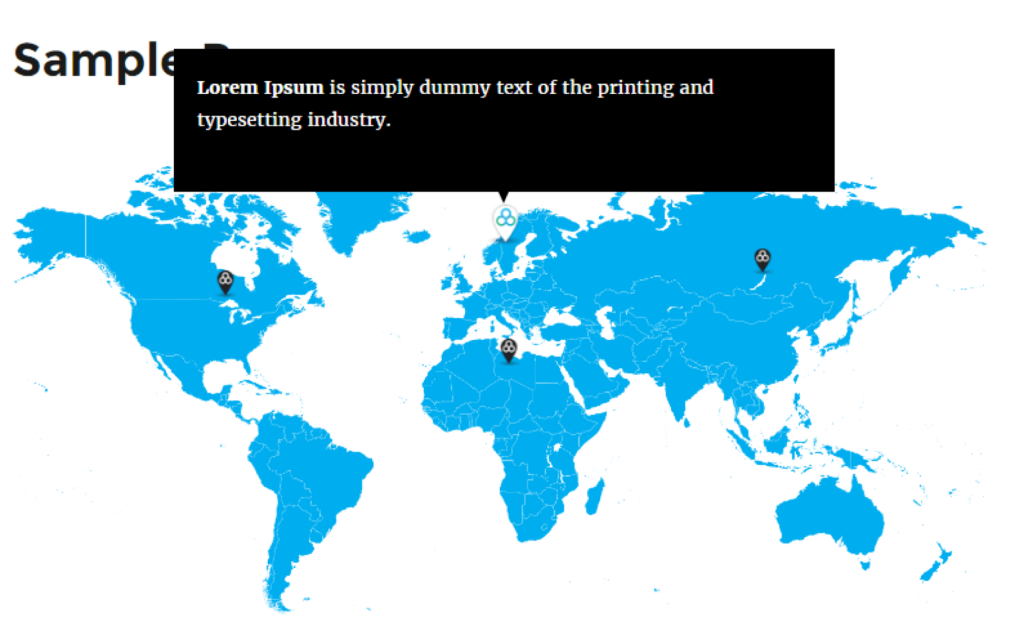
You can use the plugin as part of a header/footer image on a homepage, which can present location maps with tooltips on the fullscreen of desktop and mobile versions.
WooCommerce Shop the Look
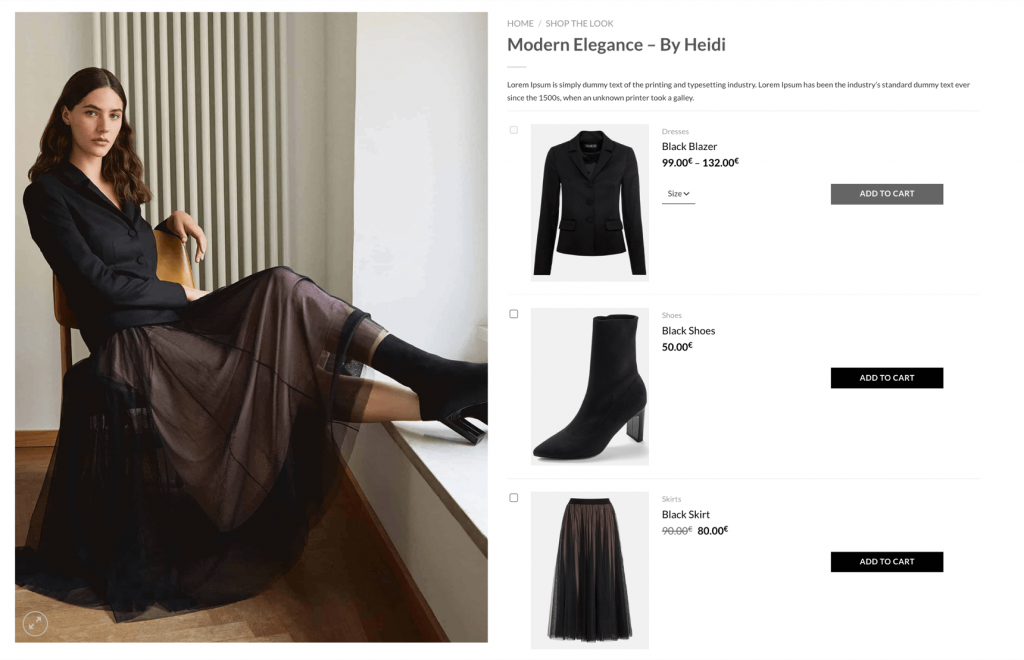
WooCommerce Shop the Look is a fantastic helper if you wish to increase your average order value through shoppable outfits, bundles, or packages.
Use cases:
- Show matching items for Women or Men including size and color variations.
- Cross-sell gaming equipment sets containing speakers, mouse, keyboard, and so on.
- Present complete setup for living room including sofa, table, lighting, etc.
It is built by one of the most long-established WooCommerce expert teams on Codecanyon. Be sure to check out their profile using the buttons below.
Getwid Image Hotspot WordPress Block
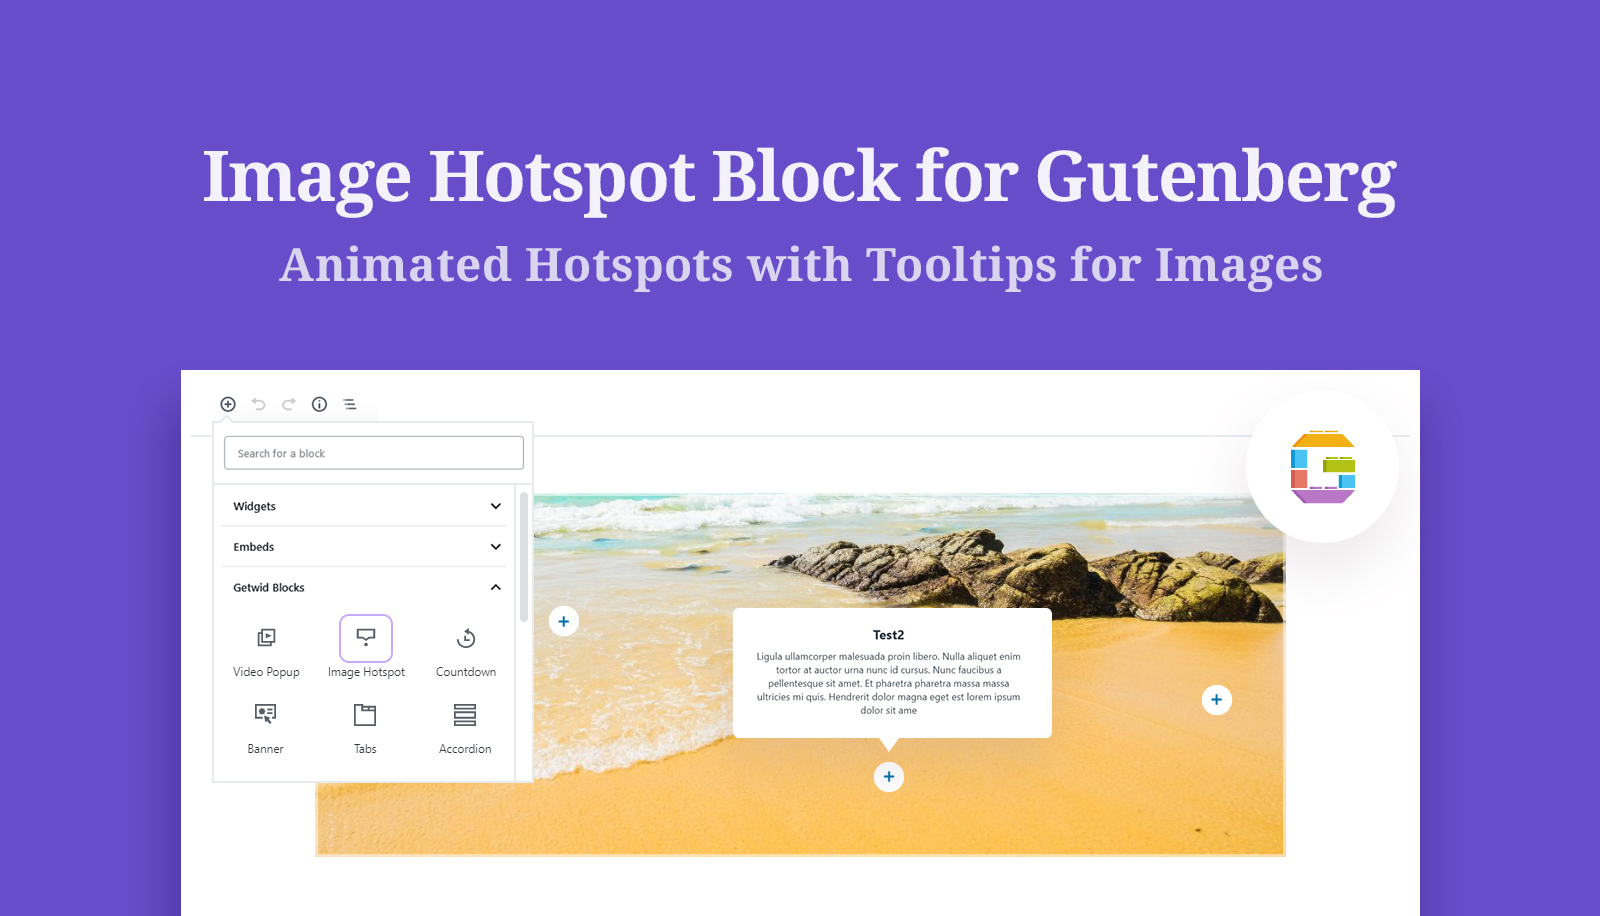
If you’re a fan of Gutenberg blocks, this plugin is the ultimate choice for you! The free version allows you to place unlimited markers with fully customizable tooltips over your image to make it more informative and interactive.
You can add an image with hotspots to any page/post. These hotspots link to anchors within the same post. And when you click on the link in the tooltip, it scrolls down to where the anchor is positioned.
Hot Spot (Happy Addons)
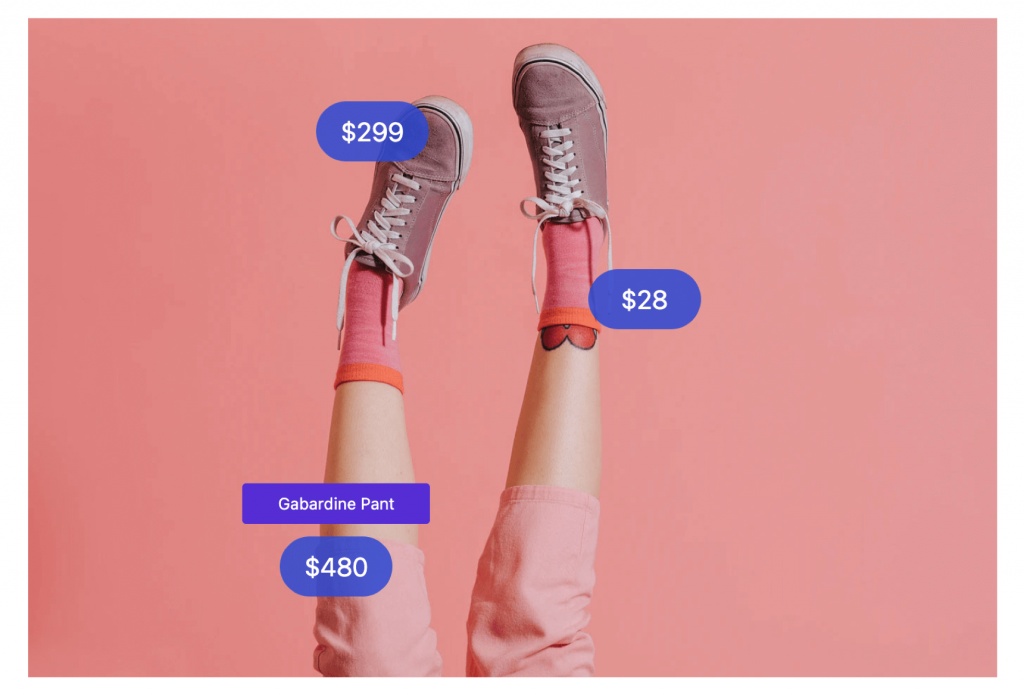
The Hot Spot Widget of Happy Elementor Addons allows you to mark the noteworthy parts of your image by adding spots. And also you can customize them individually by adding text, icons, and also images. It’s possible to style the tooltip by changing the background color, text color, and typography.
Advanced effects like motion can be added if you use this plugin in combinaton with Happy Effects.
EA Image Hotspot (Essential Addons for Elementor)
EA Image Hotspots element is a part of the premium-only features of Essential Addons Pro Plugin for Elementor.
Hotspot section comes with three separate tabs to allow you to adjust its content, position, and tooltip. Other features include:
- Open the links of image hotspots in the same tab or in a new tab
- Animation effects including in/out, speed, delay timing, etc.
Final Thoughts
A hotspot image is an interactive image that contains hotspot icons on the image. The hotspot icons have popup windows or tooltips that contain images, texts, links, and other elements.
Creating interactive images will help you provide essential information through clickable areas. By adding a hotspot icon on a WooCommerce hotspot image, it will capture the attention of your website visitors. The users and visitors will also spend more time on your site because of the eye-catching and informative photos available.
You may also like: Add Conditional Logic to WooCommerce Emails